How a No-Gi Rashguard Should Fit: A Grappler’s Guide to Compression, Sleeves, and Seams
There is a simple test for whether a rashguard fits. Grab a fistful of it at your ribs and pull. If you can gather a handful of loose fabric, it is too big — and on a no-gi mat, that handful is exactly what your training partner will use to control your posture, break your grips, and stall your escapes. A rashguard is not a t-shirt with a technical name. It is the closest thing grappling has to a second skin, and the way it should fit is unlike almost anything else in your wardrobe.
Most people who are new to no-gi buy a rashguard one size too large because that is how they buy every other shirt. Then they spend six months wondering why the collar rides up, why the hem creeps toward their chest during scrambles, and why they finish rounds tugging everything back into place. The fix is almost never a different brand. It is understanding what “correct fit” actually feels like — because a rashguard that fits right should feel slightly wrong the first time you put it on.
The Torso: Compression Without a Struggle
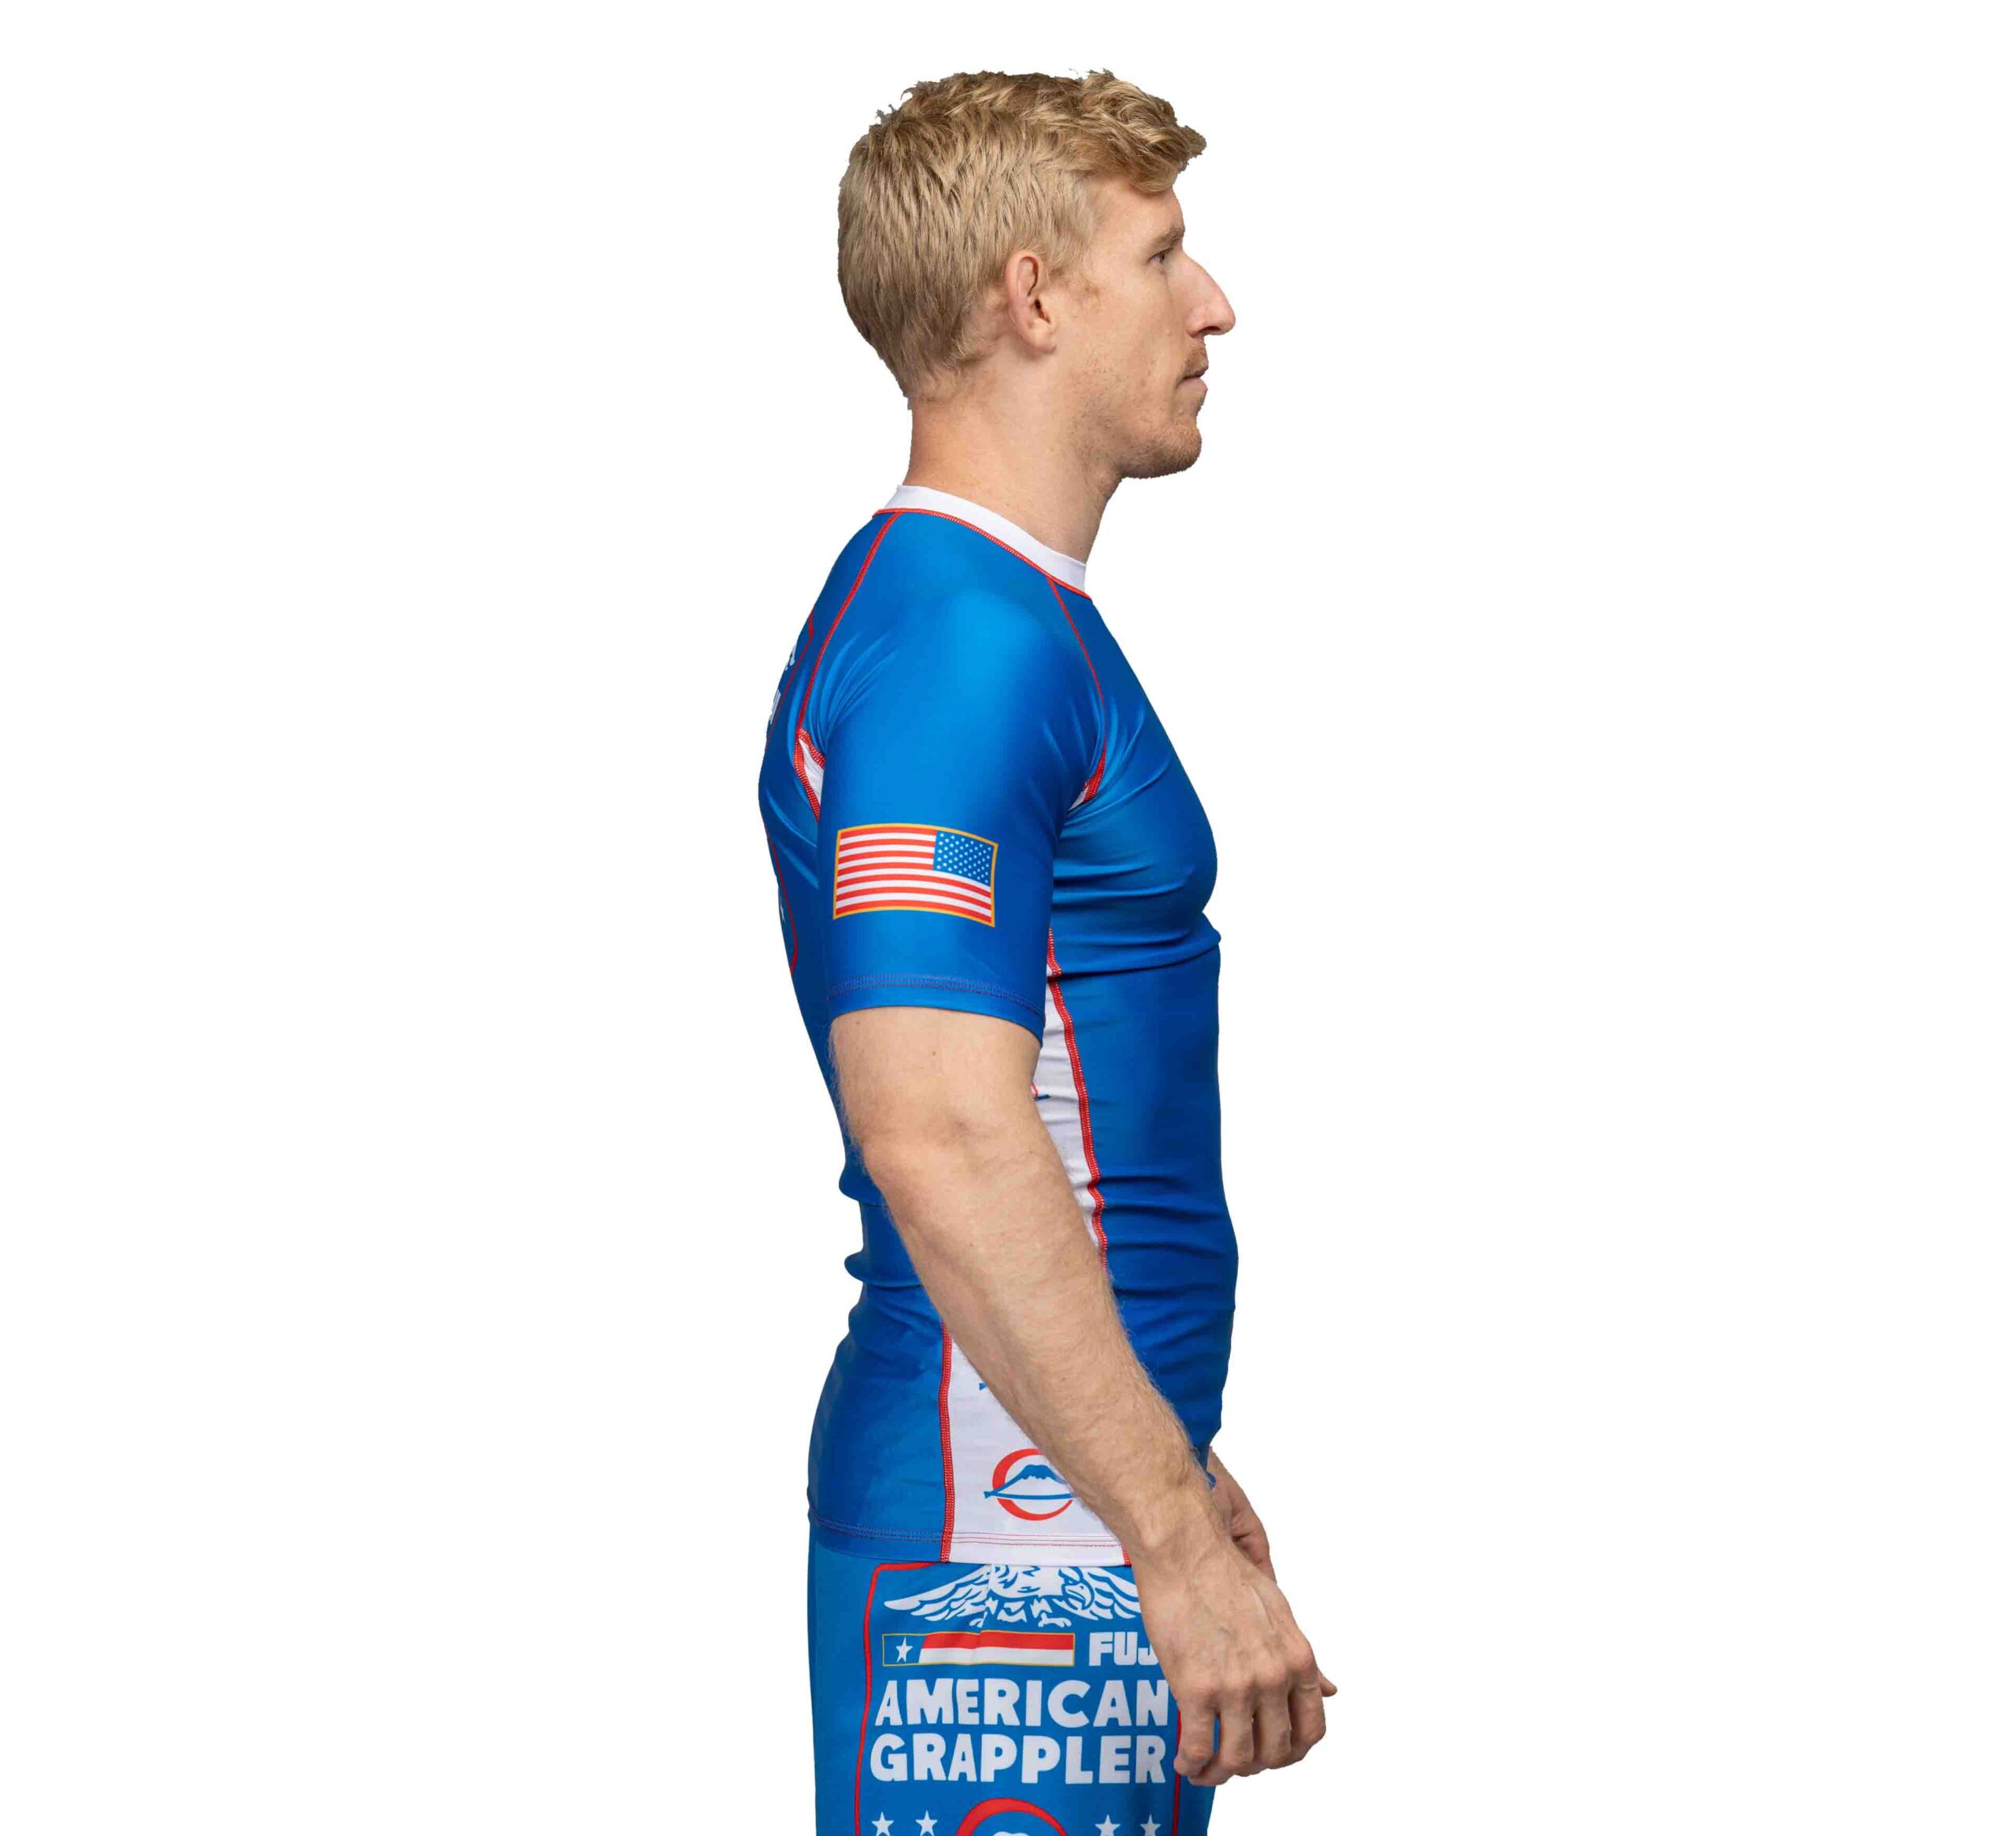
The body of the rashguard is where fit matters most, and the target is genuine compression — the fabric pressing lightly and evenly against your skin from collar to hem with no gaps, no ballooning, and no folds when you stand relaxed. When you run your hand flat across your stomach, you should feel skin through the material, not a layer of air between the two. That contact is the whole point. Compression fabric only wicks sweat and prevents mat rash when it is actually touching you.
The mistake in the other direction is buying something so tight it restricts your breathing or digs a red band into your waist. A correctly fitted rashguard should let you take a deep belly breath and rotate your torso through a full twist without the fabric fighting you. The feeling you want is “held,” not “squeezed.” Think of the way a good pair of compression shorts feels versus a tourniquet. If you have to peel it off after class like a wetsuit and it leaves deep marks that last twenty minutes, size up. If you can pinch loose material anywhere, size down.
Length is the quiet part of torso fit that almost nobody checks in the store. A no-gi rashguard needs to be long enough that when you raise both arms overhead — the position you hit constantly defending chokes and posting on a scramble — the hem stays below your navel. Too short, and every underhook battle untucks it. Grapplers with longer torsos should specifically look for “tall” or “long” cuts rather than assuming a size up will fix the length, because sizing up usually just adds unwanted width first.
Sleeves: Where Fit Gets Overlooked
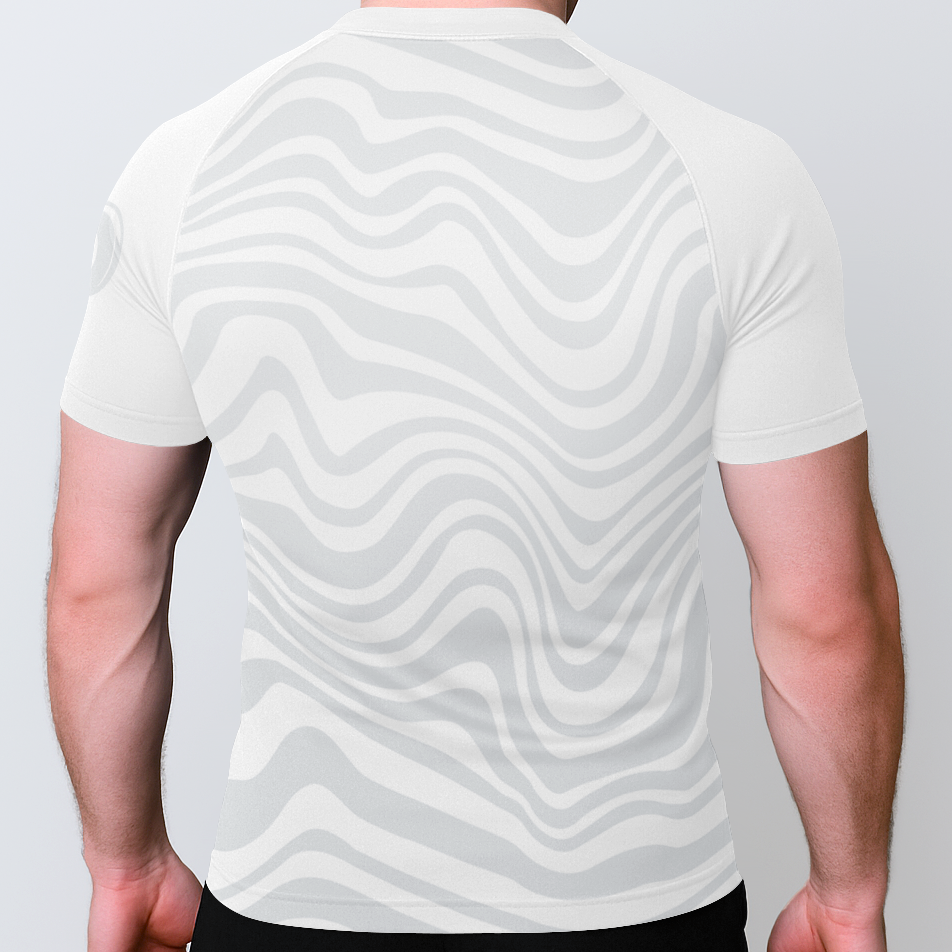
Sleeves are the single most common place a rashguard fails, and it is almost always because they are too loose rather than too short. A sleeve that flares out at the bicep or bunches at the forearm gives your opponent fabric to grip. In no-gi, where the entire premise is that there is nothing to hold onto, a baggy sleeve quietly hands the gi back to your partner. The cuff and the whole sleeve should track the shape of your arm closely enough that a hand sliding down it finds no slack to catch.
Short Sleeve vs Long Sleeve Fit
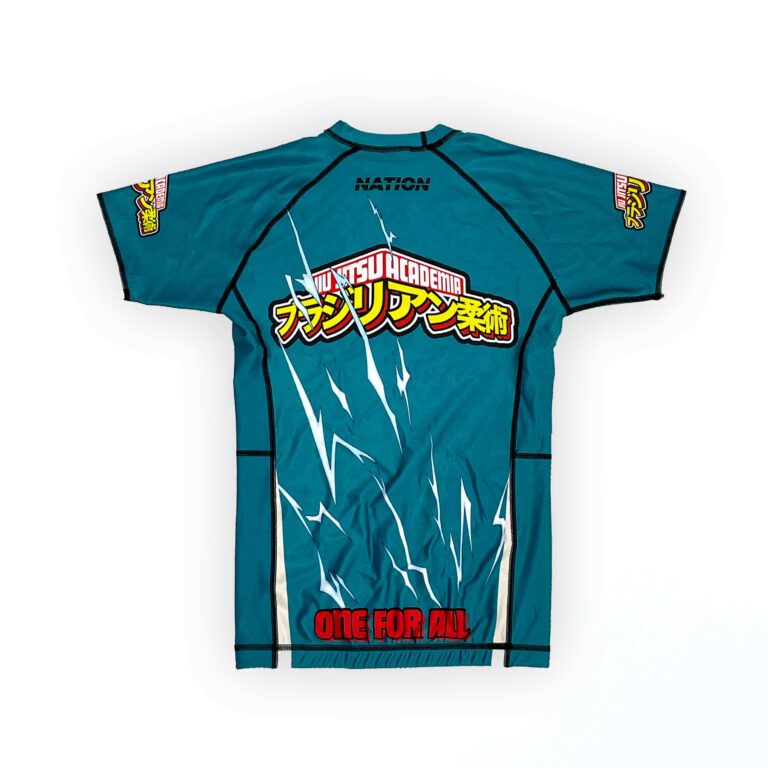
Short sleeves should end mid-bicep and stay there. If they ride up toward your shoulder when you shoot a hand inside for an underhook, they are cut too wide at the opening. Long sleeves are trickier: the cuff should reach the base of your palm and grip your wrist without a gap, but not so tightly that it cuts off circulation to your hand during a long round. A good long-sleeve cuff stays put when you grip and re-grip; a bad one slowly migrates up your forearm until it bunches at the elbow, which is both distracting and, again, grippable.
Arm length is worth measuring honestly before you buy online. Many brands cut sleeves for average proportions, and if you have long arms, a size that fits your chest perfectly may leave the cuffs stranded halfway up your forearm. In that case, look for brands known to run long, or accept that you may need to prioritize sleeve length and get the torso taken in — the reverse is much harder to fix.
The Collar and Shoulders: The Anti-Ride-Up Zone
The collar is where a poorly fitting rashguard announces itself. During a round you spend a lot of time with your chin tucked and your neck flexed — defending guillotines, framing off a smother, turning into a scramble. If the collar is too loose or cut too low, all that neck movement drags it around and it ends up gapping away from your throat or creeping up under your jaw. A correct collar sits flat against the base of your neck and stays there through a full head-and-neck range of motion. It should feel like it is barely there.
Shoulders and the armpit seam are the anchor points that keep the whole garment from migrating. The shoulder seam should sit right on top of your shoulder, not halfway down your upper arm — a dropped shoulder seam is the tell-tale sign the whole rashguard is too big. The armpit should fit close with no pouch of empty fabric. When these two points fit, the rashguard is essentially locked to your frame, and that is what stops the hem from climbing and the collar from wandering during hard rolls. When they are loose, nothing else you do will keep the shirt in place.
Seams: The Detail That Decides Comfort
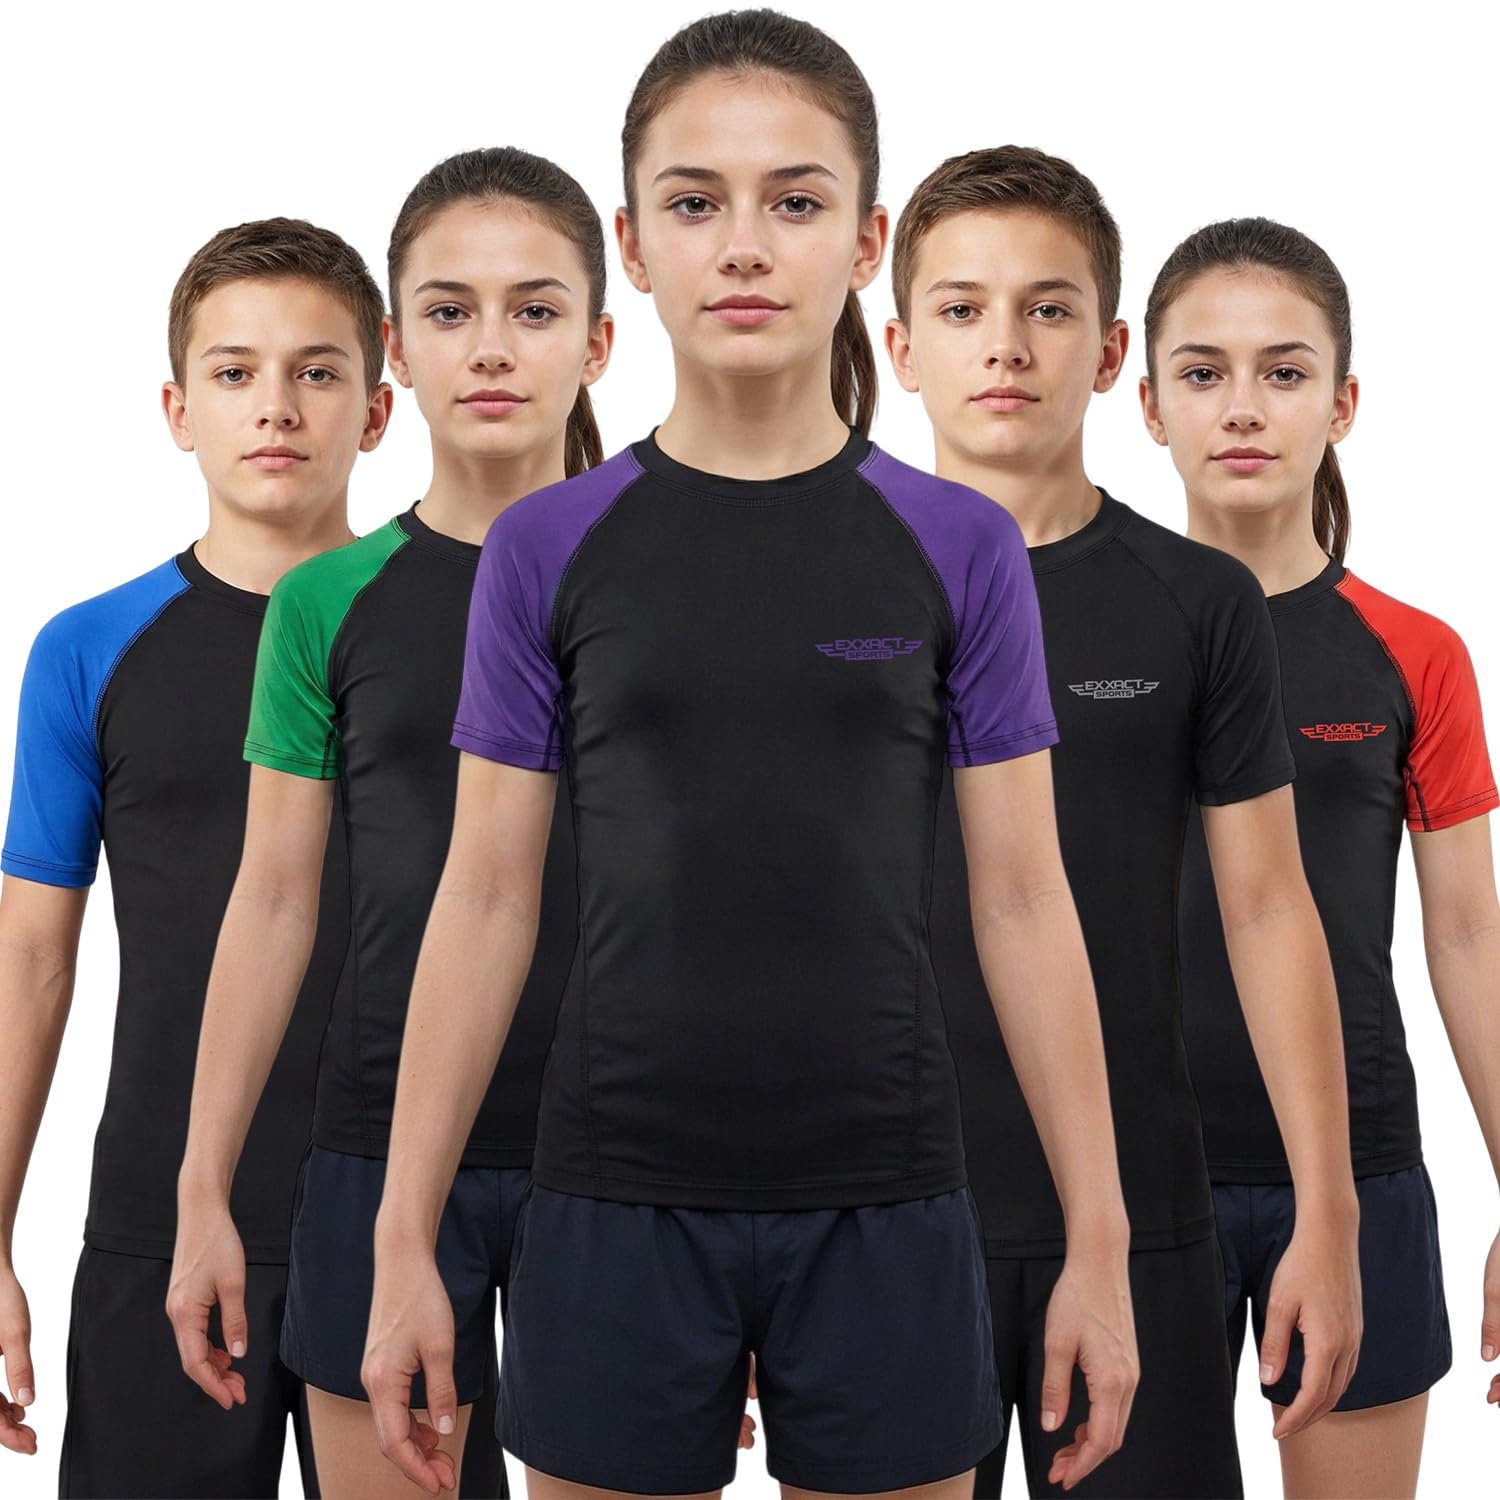
Fit is not only about dimensions — it is also about where the seams land and how they are built. Flatlock stitching, which lies flat instead of forming a raised ridge, is the standard for grappling gear because a bulky seam pressed against the mat under your bodyweight for a five-minute round becomes a hot spot and eventually a chafe mark. Run your fingers along the underarm and side seams: they should feel smooth and low-profile, not like a rope sewn into the fabric.
Seam placement interacts with fit in a way that only shows up on the mat. On a well-designed rashguard, the main seams sit away from the highest-friction zones or are reinforced where your body grinds against the mat and your partner. If a rashguard fits your measurements but the side seam sits right where your ribs press into the floor in side control, you will feel it. This is one reason trying to judge fit purely from a size chart falls short — two shirts with identical chest measurements can feel completely different depending on seam construction and panel design.
Why No-Gi Fit Is Stricter Than the Gi
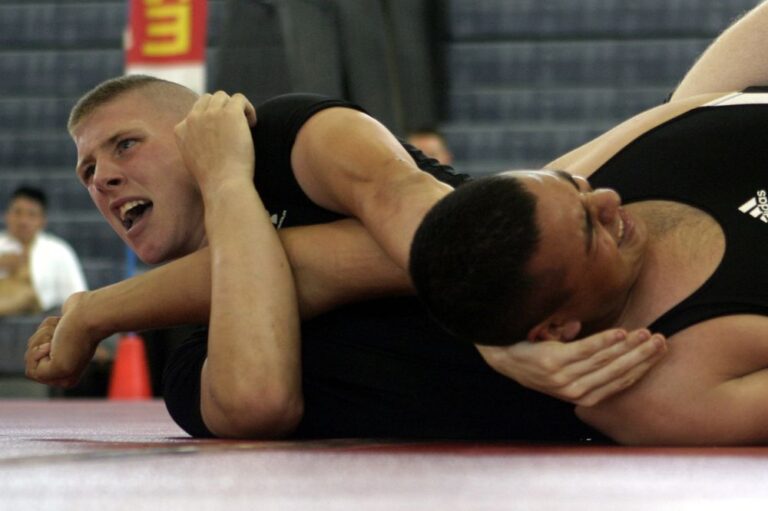
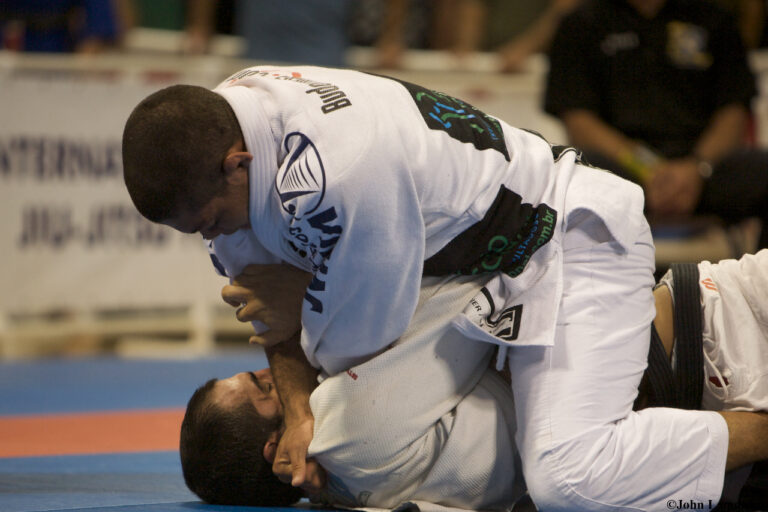
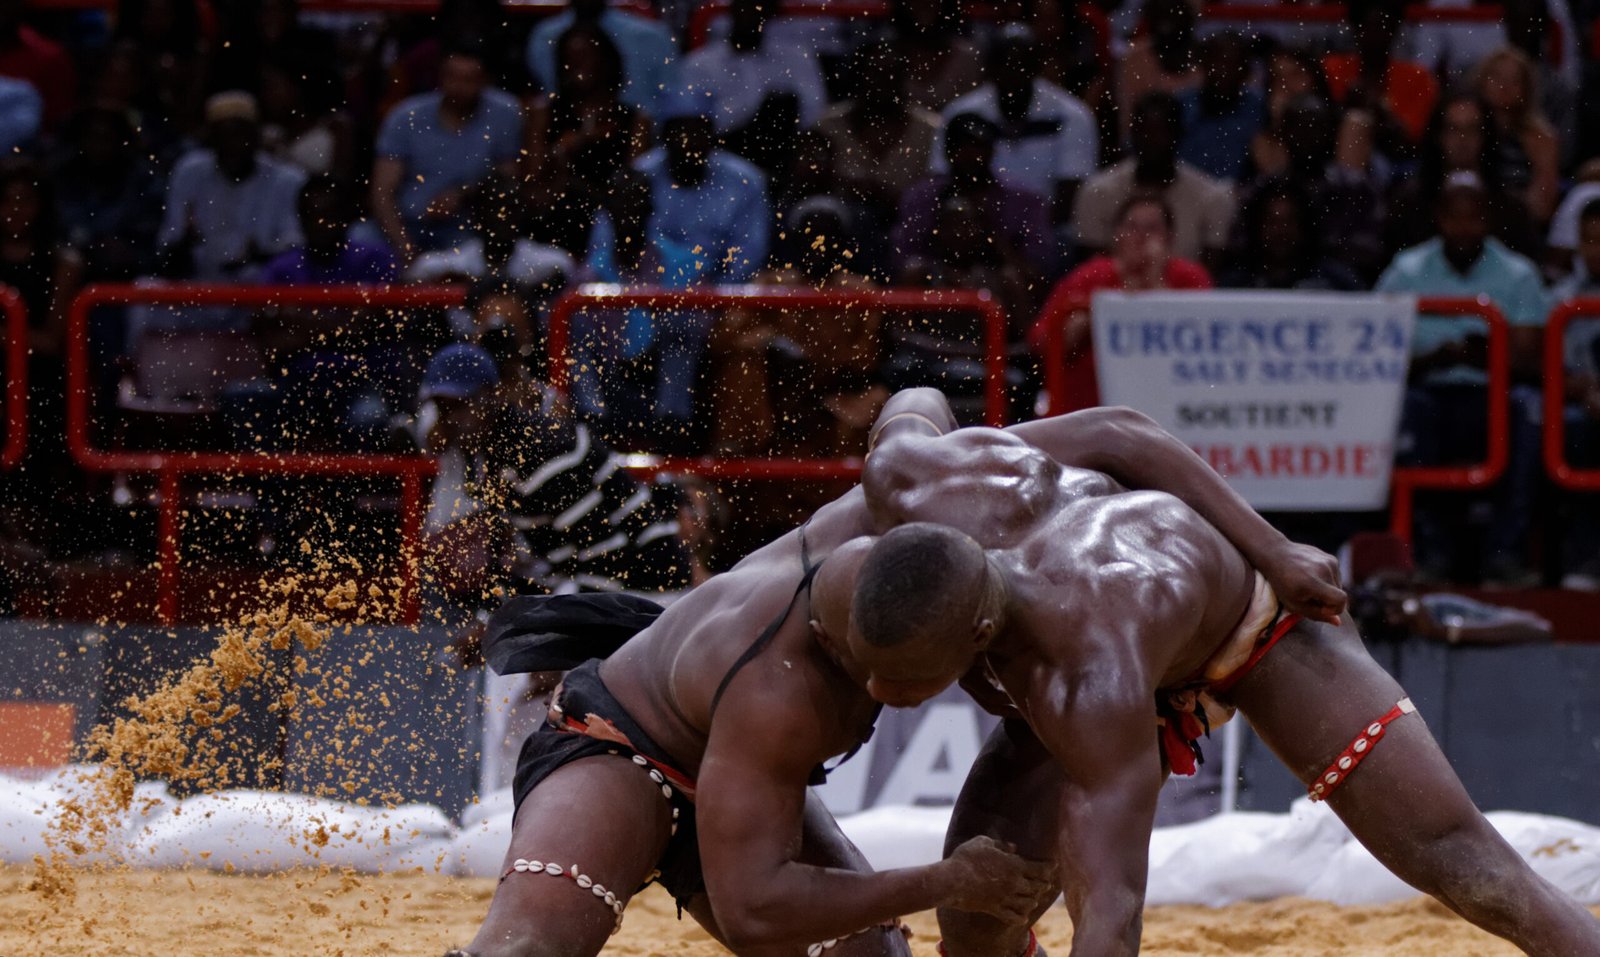
Under a gi, a slightly loose rashguard is forgiving — the jacket holds everything in place and nobody is gripping your base layer directly. No-gi removes that safety net entirely. Your rashguard is the outermost layer, it is what your opponent’s hands slide across all match, and there is no jacket to pin it down. That is why the fit standard is genuinely stricter for no-gi: what passes as “snug enough” under a gi becomes a liability the moment the kimono comes off.
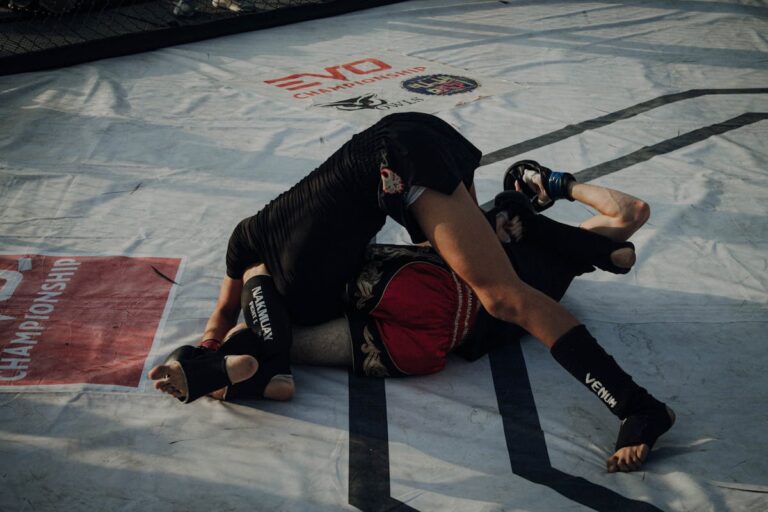
There is also a competition dimension. Most no-gi rulesets expect a form-fitting rashguard specifically because loose, flapping fabric can be grabbed and can hide grips. A baggy rashguard is not just slower to roll in — depending on the event, it can draw a comment from the referee. Fitting close is partly a performance choice and partly playing by the spirit of the rules.
Buying for Fit: Charts, Break-In, and the Shrink Question
When you are buying online and can’t try before you roll, the size chart is your friend only if you actually measure. Take a soft tape to your chest at the widest point and your waist, and measure your arm from the shoulder seam of a shirt that fits to where you want the cuff to land. Compare those numbers to the brand’s chart rather than trusting a generic S/M/L, because rashguard sizing varies wildly between manufacturers — a large from one brand is a medium from another.
The reason two brands’ “medium” can be forty millimeters apart in the chest is a concept called negative ease — a compression garment is deliberately cut a few centimeters smaller than your actual body so the fabric has to stretch to close the gap. Every brand picks its own amount of negative ease, which is why the letter on the tag is marketing and the centimeter range printed underneath it is the actual contract. Read the numbers, not the word “medium,” and you stop guessing every time you try a new brand. If you’re on the fence between two sizes, treat your chest measurement as the primary gate and let torso length break the tie — sizing up to fix a tight chest usually just trades one problem (restriction) for another (a hem that rides up because the torso panel is now loose).
Account for break-in and fabric behavior, too. Quality poly-spandex blends barely stretch out over time, so what you buy is close to what you keep — which means you should not size up hoping it will “tighten later.” It won’t loosen much either. A brand-new technical rashguard that feels correctly snug on day one is fitting correctly; one that feels perfect out of the bag is often already a touch loose. If you are between sizes, the smaller one is almost always the right call for no-gi.
One caveat on the tight-is-better rule: compression should never restrict your shoulders or breathing. If you cannot fully reach overhead, cannot take a deep breath, or feel the collar choking you when you look down, you have crossed from snug into too small. The correct fit lives in a real but findable window — tight enough to stay put and offer nothing to grab, loose enough to move and breathe freely. When you hit it, you stop thinking about your rashguard entirely, which is exactly the point.
The Quick Field Test
Before your first roll in a new rashguard, run through a thirty-second check standing in front of a mirror. Reach both arms overhead and confirm the hem stays below your navel. Tuck your chin hard and confirm the collar stays flat. Twist your torso and confirm no fabric bunches at the ribs. Slide your own hand down each sleeve and confirm there is no slack to catch. Take a deep breath and confirm nothing fights you. If it passes all five, the fit is right — and you can forget about it and go train.
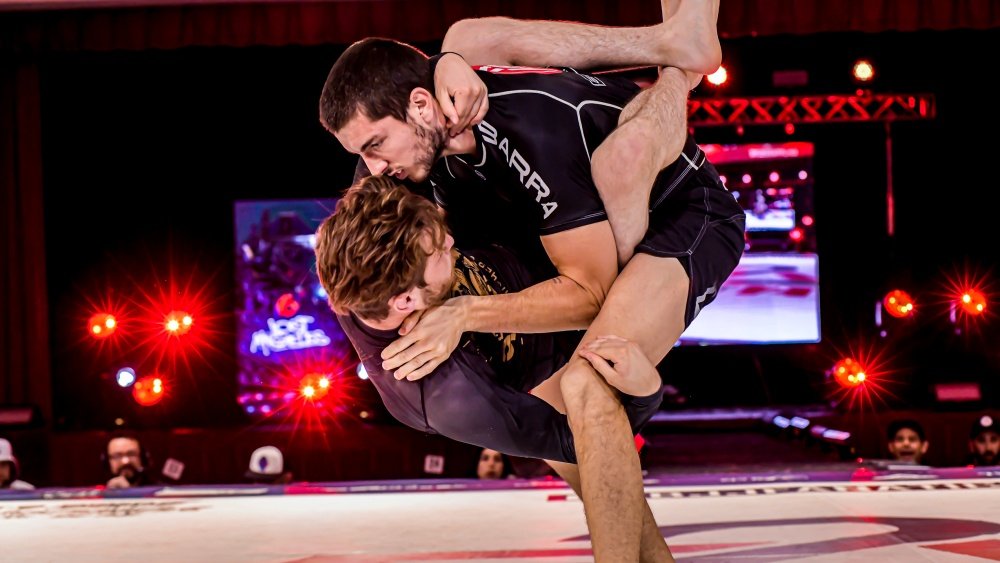
A rashguard that fits correctly disappears. You stop tugging, stop adjusting, stop noticing it exists, and all of your attention goes where it belongs — into the grappling. That is the real measure of fit. Not the size on the tag, not what you wear in a normal shirt, but whether, three minutes into a hard round, you have thought about your rashguard even once.
Go Deeper: Fit Guides for Specific Situations
This guide covers the fundamentals every no-gi rashguard has to get right. A few situations deserve a longer look than a single section can give them, so we’ve broken them out into their own guides:
- Rashguard sizing charts, decoded — how to read a brand’s chart, what negative ease means for your measurements, and what to do when you land between two sizes.
- How your build changes the way a rashguard sits — specific fixes for a long torso, a broad/muscular frame, or a lean and shorter build.
- Short sleeve vs. long sleeve fit — the two cuts fail differently, and each has its own checklist.
- Why loose fabric is a free grip — the tactical case for tight fit, read through what it hands an opponent.
- When to retire a rashguard — how compression fabric ages, and the signs a once-perfect fit has quietly died.
Ready to Find Your Fit
Once you know what correct fit feels like, shopping gets far easier. Measure your chest, waist, and arm length, match them to the brand’s actual chart, and size down when you are on the fence. Browse current no-gi BJJ rashguards and compression tops built for grappling, and if you have a longer frame, search specifically for long sleeve compression rashguards cut to keep the cuffs where they belong.
Sources
- International Brazilian Jiu-Jitsu Federation (IBJJF) — governing body rules on uniform and rashguard requirements for no-gi competition.
- Rash guard — Wikipedia — background on rashguard fabric, compression construction, and history.
- FloGrappling — coverage of elite no-gi competition where form-fitting rashguards are the standard.