Wrist Locks No-Gi: 6 Setups Most Grapplers Ignore
Most grapplers train wrist locks exactly zero times per week, which is exactly why a wrist lock ends rounds. The submission doesn’t require strength or a specific body type. It needs timing — and the timing window opens every single round, usually multiple times, whenever your opponent posts a hand to push, posture, or escape. At ADCC 2024, wrist lock submissions accounted for a small but meaningful portion of submission finishes at elite no-gi competition, and Pete Letsos built an entire instructional series (Vol. 1 and Vol. 2 No-Gi) specifically around the gaps grapplers leave open. This article maps the six positions where those gaps consistently appear.
Why Wrist Locks Work in No-Gi (When Others Don’t)
In the gi, the wrist is always accessible — you can hunt it off collar grips, sleeve grips, and lapel control. In no-gi, most grapplers assume the wrist disappears as a target because there’s no fabric to grab. That assumption is the opening.
Without a gi, your opponent’s instinct is to post their hand on your body to create frames, manage pressure, and initiate escapes. Every time they do that, they’re putting a bent, pressured wrist within reach of a joint lock. The mechanics are simple: the wrist joint handles forward flexion and backward extension, but it has almost no tolerance for outward rotation combined with extension. A wrist lock exploits that rotational limit.
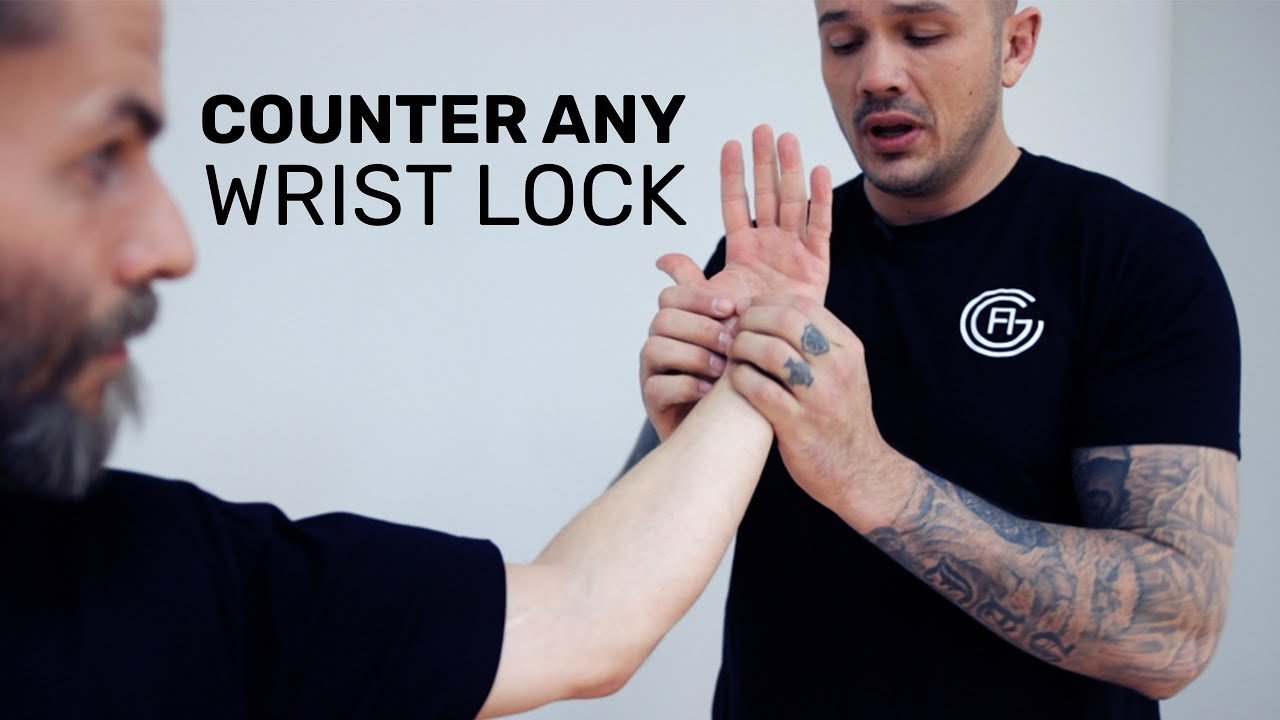
There’s a key distinction between no-gi wrist lock grips versus gi wrist lock grips. In the gi you can palm-over-palm the wrist using sleeve fabric as a handle. In no-gi, you use a two-hand cup grip — one hand controls the back of the hand, the other wraps the forearm just below the elbow — and apply force by rotating the hand outward while keeping elbow pressure inward. The smaller the grip surface, the more precise you need to be with the torque angle. Get the angle wrong and you’ll feel resistance; get it right and the tap comes before the person understands what happened.
Wrist Locks No-Gi Setup 1: The Guard Bottom Posting Trap
This is the highest-percentage no-gi wrist lock for one reason: guard passing requires your opponent to post their hand on your body. Every guard pass generates a wrist lock attempt, if you’re looking for it.
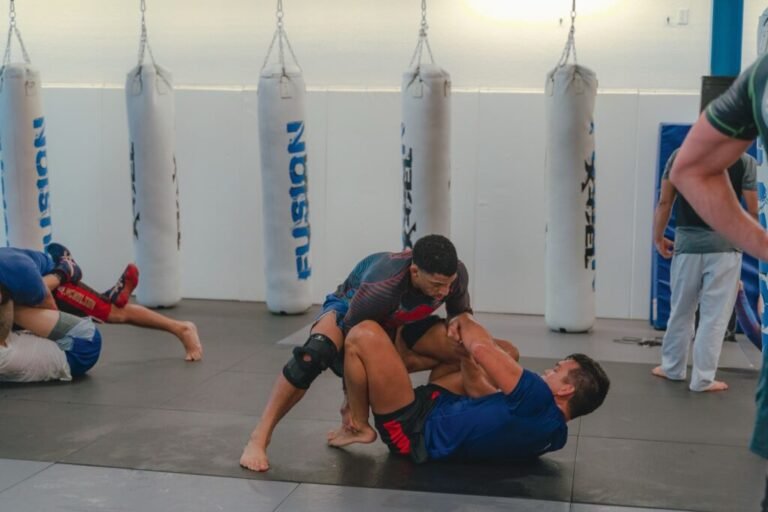
When your opponent is in your closed or half guard and places their hand flat on your hip, stomach, or lower chest to create space, both your hands are free. Reach across with your far hand and cup the back of their posting hand. Your near hand grabs the forearm above the wrist. Now break their posture slightly forward with your legs — this removes their ability to pull their arm back cleanly — and rotate their wrist outward (thumb pointing toward their far shoulder). The joint pops with minimal force.
The timing trap: most people look for this when the opponent’s hand is static. Hunt it when they’re actively driving their hand into you to push. That’s when their elbow is locked out and their attention is on the push, not on defending a small joint manipulation they didn’t expect.
Wrist Locks No-Gi Setup 2: Mount Top — The Bridge Defense Counter
From top mount, every escape your opponent attempts involves posting. The bridge-and-roll generates a post; the elbow-knee escape generates a post; the trap-and-roll generates a post. Wrist locks live at the intersection of every one of those.
Focus on the elbow-knee escape attempt. When your opponent is flattened under mount and drives their inside knee toward their elbow to create the frame, their near-side hand will often push flat against your hip or chest to help create space. At the moment they apply that push, cup their posting hand with your near hand, control the forearm with your far hand, and rotate outward. Your hips stay weighted on their midsection — you don’t need to move your base. The wrist lock fires without relinquishing mount.
What makes this setup reliable: your opponent’s attention during a mount escape is split between the knee frame, hip timing, and your base. A wrist lock lands in a cognitive gap. They’re processing three problems at once, and the wrist isn’t one of them until it’s too late.
For more on attacking from mount, see our breakdown of the americana submission in no-gi — the americana and wrist lock share the same hand control platform and chain naturally off each other.
Wrist Locks No-Gi Setup 3: Side Control — The Frame Pushoff
Side control is where wrist locks become dangerous as counters to escape attempts. When you’re on top in side control and your opponent tries to push your head away with their far arm — the classic “hip and head” escape — that far arm reaches across their body and lands near your face. Their wrist is bent, their elbow is driving, and their attention is on the escape.
Don’t fight the head push. Let their arm extend. As it extends, drop your chin to trap their forearm against your shoulder, reach your near hand over to cup the back of their hand, and apply a bent-wrist lock by flexing their wrist toward their forearm while rotating outward. The forearm-to-shoulder trap acts as the second point of control so you don’t need to grip with both hands immediately.
Variation: when your opponent pushes your near hip (rather than your head) with their near arm while you’re in side control, the mechanics are almost identical. Drop your elbow to trap the pushing forearm, cup the back of their hand with your near hand, and rotate. You stay in side control throughout.
Wrist Locks No-Gi Setup 4: The Kimura Bail-Out Transition
This is a chain, not a standalone setup. You attack the kimura from guard bottom or from top half guard; your opponent defends by pulling their elbow tight to their body and gable-gripping their own hands. That defense closes the kimura. It opens the wrist lock.
When they gable-grip to defend, their wrist is bent and their hand is near your chest. Release your figure-four kimura grip on the arm. Instead, reach your top hand to the back of their defending hand and your bottom hand to their forearm. The transition takes less than a second. Rotate outward and the wrist torques in a direction the gable grip doesn’t protect.
The reason this chain works: the defender is focused on maintaining their gable grip and keeping their elbow in. They’re solving for the kimura. The wrist lock comes from a completely different axis of force and catches them mid-solution.
See the full kimura setup guide at kimura in no-gi for the grip mechanics that feed directly into this wrist lock chain.
Wrist Locks No-Gi Setup 5: The Triangle Counter-Attack
When you have someone in a triangle and they posture up — hands on your hips, hips driving forward, trying to relieve the choke — their posting hand is under pressure and their wrist is exactly where you need it. This is the setup Pete Letsos specifically features in his No-Gi volume because it’s consistent at higher belt levels where posturing out of the triangle is a standard defense.
As they posture up and drive a hand into your hip or lower abdomen, release your choking leg tension momentarily — enough to give them confidence they’re escaping — while you grip the back of their posting hand with your far hand and wrap their forearm with your near hand. Rotate the wrist outward and down toward their center line. The leg tension doesn’t need to return. The wrist lock finishes the job, often faster than a fully locked triangle would have.
This setup is particularly effective against larger grapplers because a bigger, stronger opponent will posture harder and more confidently. Harder posture means more committed hand position. More committed hand position means more wrist lock opportunity.
Wrist Locks No-Gi Setup 6: Front Headlock Wrist Isolation
The front headlock is a control position, not just a choke setup. From the front headlock — where you’ve caught a shot or redirected a takedown attempt and wrapped your arm around their head — your opponent’s natural defensive reaction is to post their near hand on your thigh or on the mat to prevent you from taking their back or completing the guillotine choke.
That posted hand is isolated. Slide your far hand off the head wrap and onto the back of their posting hand. Your near hand controls the forearm. Compress their posting hand by rotating outward while your front headlock still keeps their posture broken and their head down. The combination of the head control and the wrist lock means they can’t create the space to defend either threat.
This is the least-trained setup among the six because front headlock wrist locks feel low-percentage to most people. They aren’t — they’re low-trained. The position gives you mechanical advantage on both the neck and the wrist simultaneously. The moment you isolate that posting hand, the finishing rate is high.
For the full picture of front headlock sequences and how they chain into back takes, see our guide on mount escapes in no-gi, which covers the defensive posting mechanics from the other side of the position.
The Only Wrist Lock Warning That Matters
Wrist locks tap faster than armbars. The joint has a smaller range of motion and gives less warning before it reaches the breaking point. Train them slowly against a partner who knows they’re coming — the finish doesn’t need speed, it needs precision. Apply pressure at a rate where your training partner can tap cleanly. In competition, the finish can be quick. In training, it shouldn’t be.
IBJJF No-Gi allows wrist locks at all adult belt levels. ADCC allows them. EBI and most major submission-only rulesets allow them. NAGA allows them from blue belt and above in some divisions — check specific event rules before competition.
How to Add Wrist Locks to Your No-Gi Game
The fastest way to develop wrist lock timing is positional drilling from mount and guard with a specific assignment: your partner plays normal escapes, and your only submission is a wrist lock. This constraint forces you to recognize the posting moment in real time rather than hunting for it abstractly. After two or three rounds like this, the posting moment becomes impossible to miss.
The second step is adding the kimura bail-out chain in your normal submission drilling. Every time you drill the kimura, add three reps where your partner gable-grips their defense and you immediately transition to the wrist lock. The chain becomes reflexive inside a month of consistent drilling.
The submission that nobody trains is the one nobody defends. That’s the only real argument for wrist locks you need.
Sources
- Wristlocks in BJJ: What Makes Them Work — GrappleArts breakdown of wrist lock mechanics and legal status across rulesets
- How to Do a Wrist Lock in BJJ — NAGA Fighter guide covering standing, closed guard, and side control setups
- Wrist Lock The World Vol. 2 No-Gi by Pete Letsos — BJJ Fanatics instructional covering triangle and front headlock wrist lock chains
- Technical Trends from 2024 ADCC Worlds — FloGrappling analysis of submission trends at elite no-gi competition
Image credit: submissionsearcher.com