Guillotine Choke Defense: 5 No-Gi Escapes
Marcelo Garcia submitted 11 opponents by guillotine at ADCC alone. Charles Oliveira has put 13 UFC fighters to sleep with it. The choke appears at every level of no-gi competition precisely because it catches people mid-scramble — during shot attempts, after failed takedowns, and in any moment when posture breaks. Knowing how to escape it cleanly isn’t optional for serious no-gi grapplers. The problem is that most coaching on the subject collapses different guillotine variations into a single escape that only works for one of them.
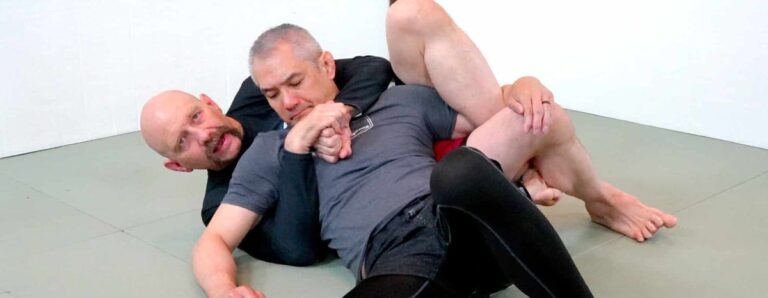
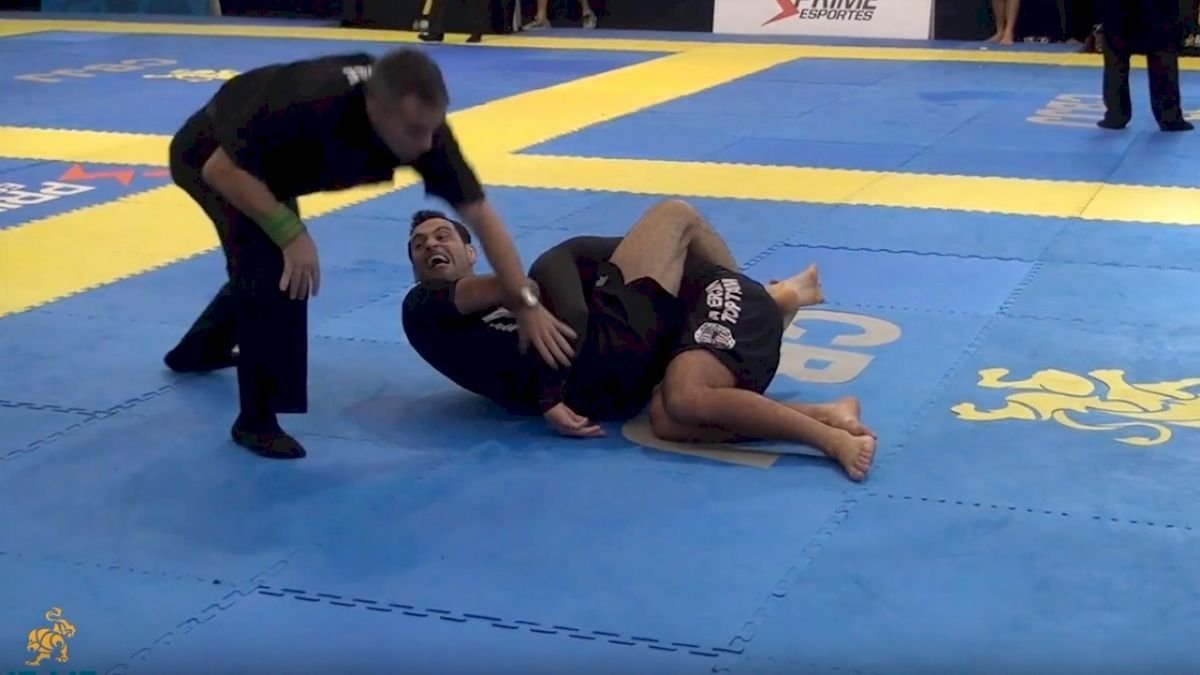
The standard arm-out guillotine — most common entry in no-gi off a failed takedown or scramble.
Why the Guillotine Catches So Many No-Gi Grapplers
The guillotine is opportunistic. Unlike the rear naked choke, which requires back control, or the triangle, which demands precise hip position, the guillotine can be grabbed in real time during a scramble, a sprawl, or a failed shot. That’s exactly when your posture is worst — head low, spine bent, neck exposed.
In no-gi competition, front headlock positions account for a significant share of submission finishes. According to Digitsu’s competition tracking data, the guillotine choke alone represents around 7.4% of all recorded submission wins in no-gi grappling — making it one of the top three most common finishes alongside rear naked chokes and heel hooks. The arm-in variation carries an even higher finish rate because it traps the defender’s arm against their own carotid artery, adding a second compression vector.
The defense breaks down into two distinct categories that demand different responses: the arm-out guillotine (classic, fingers-laced grip) and the arm-in guillotine (Renzo Gracie popularized this against wrestlers who shoot with one arm inside). Treating them identically is the most common mistake — and the reason experienced grapplers still get tapped by it.
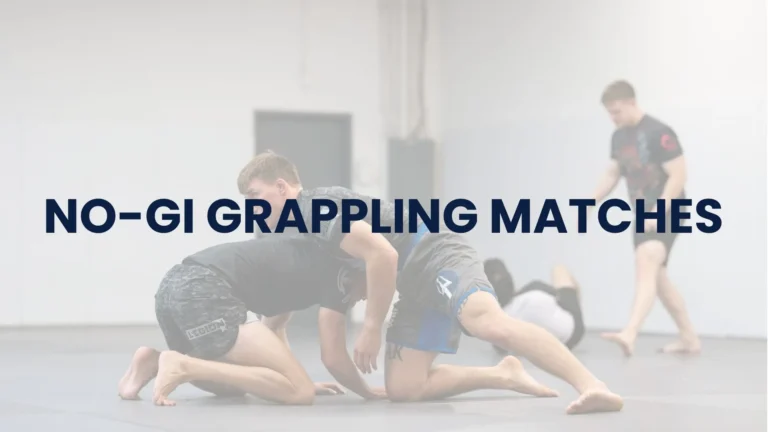
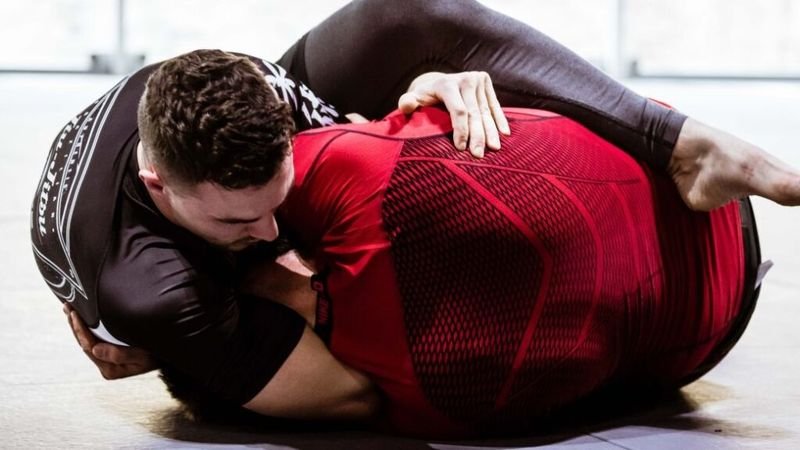
The front headlock is the entry point for guillotines, D’arce chokes, and Peruvian neckties — controlling the position is the first line of defense.
Escape 1: Near-Side Pass — The Foundation
If you only learn one guillotine escape, make it this one. It works against the arm-out guillotine from closed guard, which is the scenario most grapplers face first.
When the grip locks — figure-four or clasped — your immediate move is not backward. Pulling your head back extends your neck and tightens the choke. Instead, drive your hips forward into the choking arm’s side. Wrap both arms around your opponent’s torso on that side. Your shoulder goes across their centerline, your chest pressing into them.
From there: posture up aggressively. Straighten your spine while keeping your head pinned against their body. With your inside hand, grip and peel the choking wrist downward while driving your shoulder into their neck. Walk your hips around to complete the pass to side control — on the same side as the choking arm.
That last detail matters. Passing to the far side leaves the choke angle intact. Passing to the near side compresses their own choking arm against their body, killing the choke angle mechanically. Lachlan Giles demonstrates this principle in his dedicated guillotine defence breakdown, noting that the near-side pass collapses even deep figure-four grips that would survive a straight posture defense.
The mistake grapplers make most often: they posture up and then try to pull straight out. The posture is right. The direction is wrong. You’re not trying to exit through the top — you’re driving through the side and earning position.
Escape 2: Arm-In Guillotine Defense
The arm-in guillotine is a different animal. Renzo Gracie made it famous against wrestlers who shoot with one arm inside, and Josh Hinger has 22+ competition submissions with his own variation of it. When your arm is trapped inside the grip, the choking mechanics change: the attacker now presses your own arm against your carotid artery rather than relying purely on forearm-against-throat pressure.
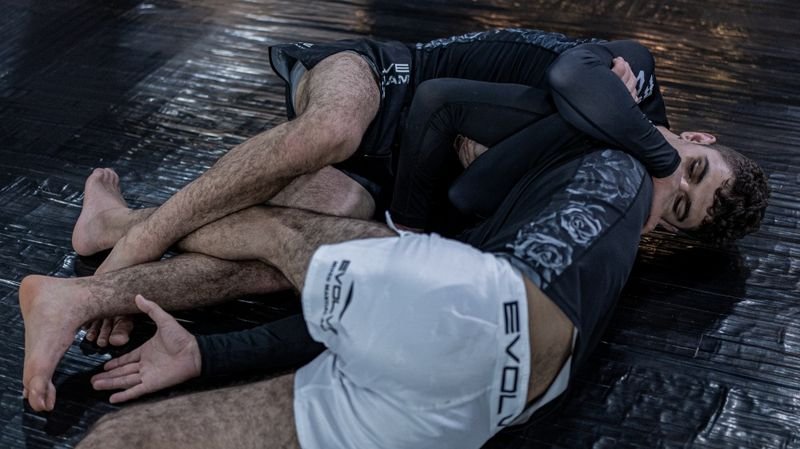
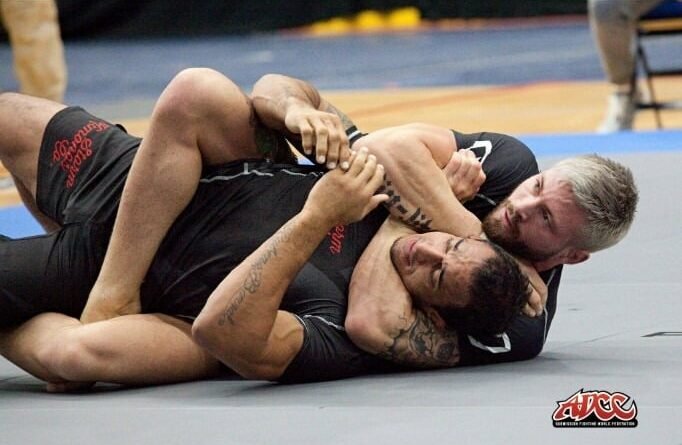
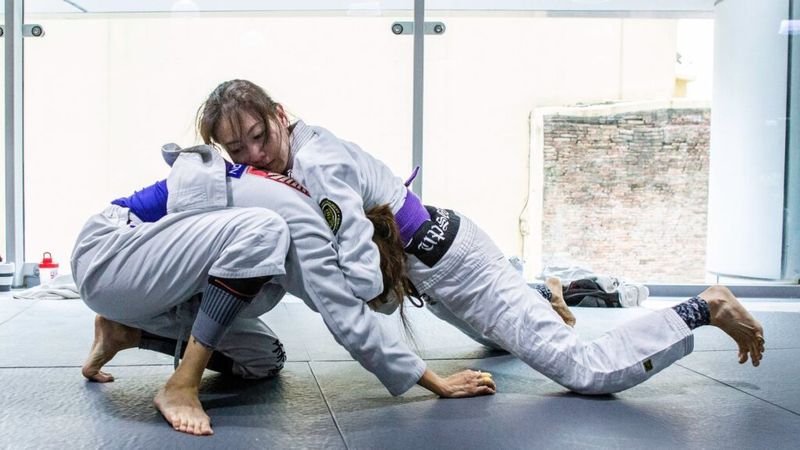
The arm-in variation traps the defender’s arm inside the choke — a key difference that changes the required defense sequence.
The near-side pass still works here, but the grip strip step changes. With the standard near-side pass against arm-out, you’re peeling a wrist away from your neck. Against arm-in, you first need to free your trapped arm before the figure-four fully closes. The window is narrow — usually the first two seconds after the grip is initiated.
To free the trapped arm: with your free hand, push your own trapped elbow forward and across the center of your body. This rotates the elbow out of the grip pocket rather than pulling the arm back. Once the arm starts to exit the grip, commit to the near-side pass immediately. If you free the arm and then hesitate, the attacker readjusts to a standard arm-out grip and you’re back to square one.
If the arm-in grip is fully locked with a figure-four before you react: switch to a different priority. Rather than escaping, focus on shrinking the space between your trapped arm and your neck using your shoulder. Contract everything tight, turn your face toward their choking arm, and look for an opportunity to spin under (rolling escape) as a last resort. The Von Flue counter (escape 5 below) is also specifically available here from top side control if they’re stubborn about holding the grip after you’ve passed.
Escape 3: High-Elbow Guillotine Counter — The Marcelotine Problem
Every experienced instructor says the same thing about the Marcelotine: it’s the hardest version to escape. Few go further than that, which leaves grapplers with an identified threat and no answer for it.
The Marcelotine works because Garcia places his elbow high — planted on top of the opponent’s trapezius rather than across the throat at a lower angle. This raises the compression point toward the carotid arteries and dramatically shortens the effective grip. The near-side pass that works against a low elbow guillotine hits a wall here because the shoulder pressure alone can’t relieve the high-elbow angle.
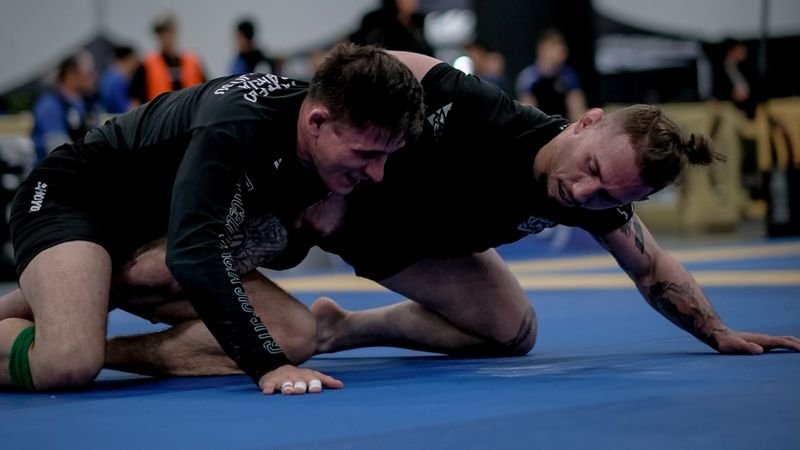
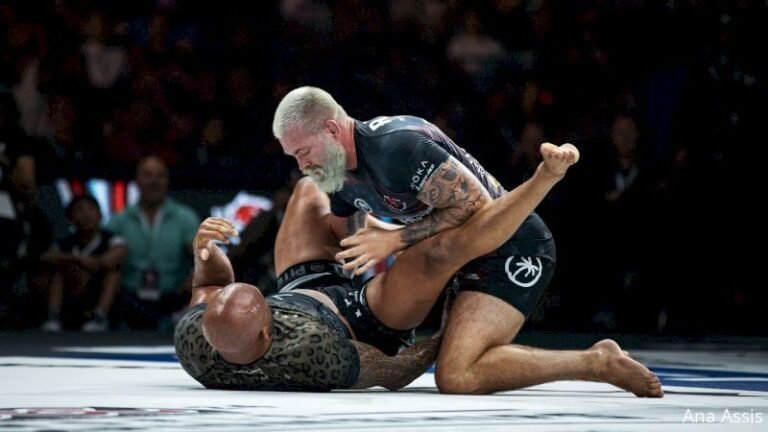
Active training against high-elbow guillotine setups is the only reliable way to build timing on these defenses — drilling static positions is not enough.
John Danaher’s response to this problem is specific: address the elbow directly. When caught in a high-elbow grip, your first task is to create vertical space between your neck and their elbow, not horizontal space. This means driving your shoulder not forward into their center, but upward and inward underneath their elbow. The goal is to get your trap muscle above their elbow, neutralizing the angle.
Simultaneously, use your free hand to attack the locking grip — not the choking wrist, but the hand that closes the figure-four. Breaking that lock reduces the choke to a loose squeeze that you can drive through with the near-side pass. Without breaking the lock first, even a perfect posture has nowhere to go against a deep Marcelotine.
The reality check: against a elite-level high-elbow guillotine, survival depends heavily on how early you respond. At the entry moment — before the figure-four closes — the near-side pass works. Three seconds in with the grip tight? You’re fighting a more difficult battle. This is why the prevention section at the end of this article matters as much as the escapes themselves.
Escape 4: Standing Defense and Back Step
The standing guillotine — caught during a takedown shot, off a failed double leg, or in a clinch — has different mechanics than the ground version because you don’t have the floor limiting movement. The attacker has less control, but the choke can finish faster from standing if you panic.
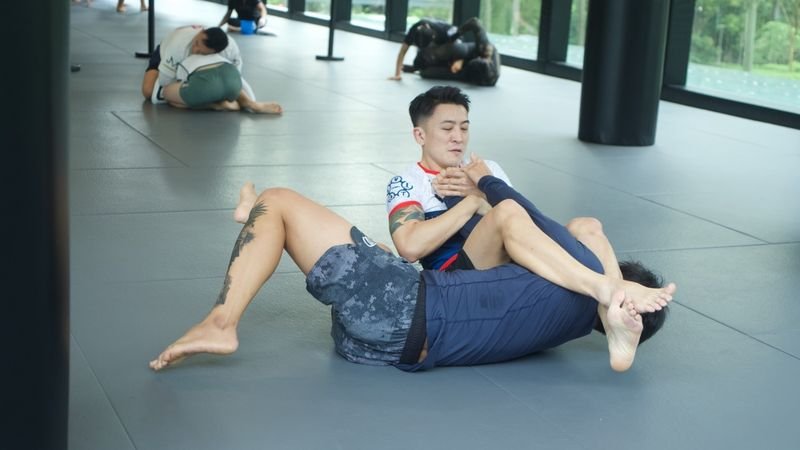
Maintaining head position during wrestling exchanges is the first line of guillotine prevention in no-gi.
The standard response when caught standing: don’t go down with them. Place both hands on the attacker’s hips and push while stepping backward with one foot. This creates horizontal space and forces your arms to a straighter position. Once your arms are extended and their pull forward is neutralized, circle your head toward the choking arm side — nose toward their armpit — and step through to extract your neck. The combination of pushing their hips and rotating toward the choking side takes away the angle they need to finish.
The most common error in standing guillotine defense: trying to posture up vertically first. This takes time and telegraphs your intent. The push-and-backstep is faster and disrupts the attacker’s balance, giving you a margin before they can commit to pulling guard or finishing standing.
If they pull guard while you’re in the grip: you’ve transitioned to a ground scenario and escape 1 applies — near-side pass, driving shoulder to their choking-arm side. The danger here is landing heavy and tightening the choke with your own body weight. Control the descent, keep your posture, land with intent rather than falling forward.
Escape 5: Von Flue Counter — Hunting the Choke
Most articles mention the Von Flue as a danger to the person holding the guillotine. That framing is backwards for the person being choked. The Von Flue is a weapon you should actively pursue once you’ve passed to near-side side control.
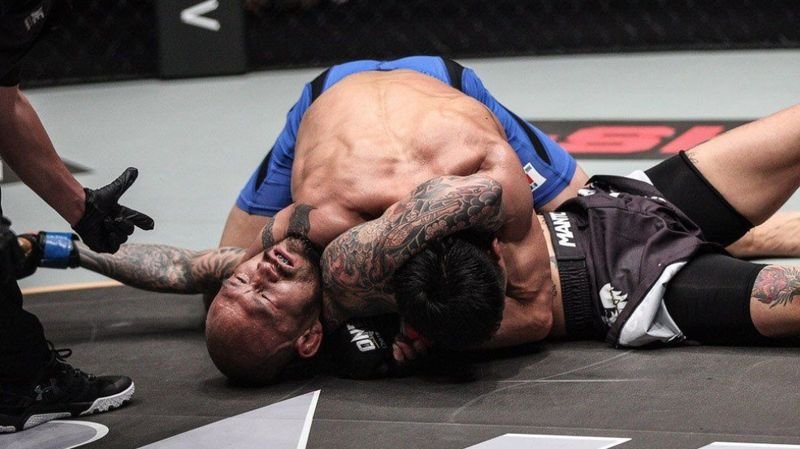
The Von Flue choke — a shoulder compression counter named after UFC fighter Jason Von Flue — works when an opponent maintains a guillotine grip after you’ve passed to side control.
Jason Von Flue submitted Alex Karalexis at UFC Fight Night 3 in 2006 with a shoulder compression choke from side control. The mechanics are straightforward: your opponent is holding a guillotine grip on your neck from the bottom while you’ve already established side control. Instead of trying to extract your head from the grip, you embrace it. Lace your hands together under their back (a sprawl-style hand clasp), and drive your near-side shoulder directly down onto their neck — specifically targeting the carotid artery on their choking-arm side.
The choke works because their own arm is now trapped between your shoulder and their neck. As you settle your full weight with hips back and shoulder forward, their grip actually helps compress their own artery. Grapplers who hold the guillotine stubbornly after side control is established are setting themselves up for this finish.
Where it works best: arm-out guillotine, opponent holding a figure-four from closed guard bottom after you’ve passed. Where it’s less reliable: arm-in guillotine, or when the opponent releases the grip the moment they feel your shoulder driving down. It’s worth noting that the Von Flue is significantly more effective against arm-out grips than arm-in — the arm-in version positions their arm to block your shoulder from reaching the carotid cleanly.
Against opponents who know the counter and release quickly: use the threat. If they release to avoid the Von Flue, your head is now free, you’re already in side control, and you’ve accomplished the escape. The threat is as useful as the finish itself.
Prevention: Keep Your Neck Safe Before the Grip Forms
Every escape in this guide assumes the grip is already established. Prevention is the better investment.
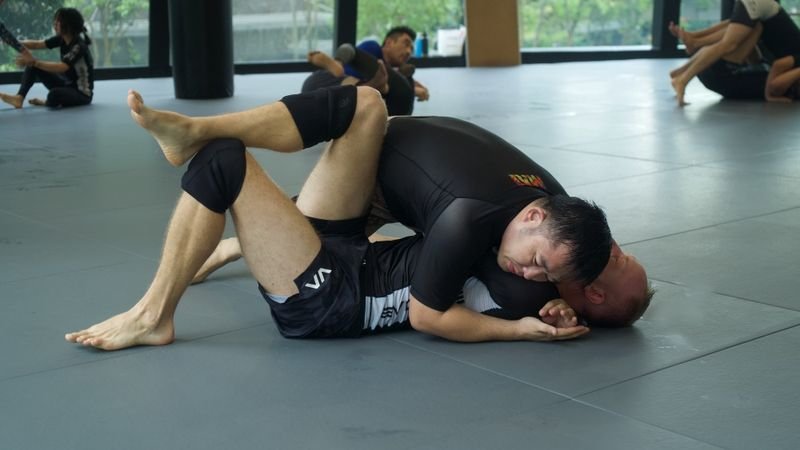
Establishing side control cleanly — head outside the choking-arm side — is both the goal of the escape and the position that enables the Von Flue counter.
Chin tuck is the single most effective preventive habit. The moment you feel a hand coming around your neck — during a sprawl, while shooting, or in a clinch tie-up — drive your chin down and engage your neck muscles. A tucked chin shortens the neck, reduces the throat exposure that the choke relies on, and buys time for your posture response.
Head position during shots: keep your head to the outside. Shooting into a double leg with your head pressed into their chest exposes your neck to the front headlock. Shooting with your head outside their body — hip to hip, head beside their leg — denies the guillotine angle entirely. This is basic wrestling, but grapplers who come to no-gi from a pure guard-pulling background often skip it.
Underhooks during front headlock: when you find yourself in a front headlock position without a grip on your neck yet, get an underhook on the choking-arm side immediately. Drive that underhook and your head into their armpit. This not only blocks the guillotine entry but opens the door to a snap-down, a single leg, or a back take. The front headlock is a dangerous position for both people — the one who acts first usually wins it.
Neck strength matters more than most grapplers acknowledge. A direct 4-minute bridge routine — front bridge, back bridge, side bridge — builds the isometric strength that lets you resist a partially-locked grip long enough to execute a clean escape. It’s not glamorous training, but the difference between a grip that finishes in seven seconds and one that you escape cleanly is often 30% neck tension.
If you want to understand how the D’arce and anaconda chains work off the same front headlock position — and how defending the guillotine creates exposure to those attacks — the D’arce choke guide on this site covers the full transition sequence. And for building the kind of positional control that makes these escapes work in real rolling, the no-gi arm bar guide covers the top position mechanics that transfer directly to guillotine escape positioning. On the choke side, understanding finish mechanics from the attacker’s perspective is the fastest way to understand what they need to defend — the rear naked choke breakdown applies this principle to the most common no-gi submission.
YouTube — Watch It in Motion
For visual reference on the foundational near-side pass and high-elbow guillotine defense, Lachlan Giles’s dedicated guillotine defence instructional is the clearest demonstration available online. Giles is a two-time ADCC silver medallist whose front headlock system is among the most studied in modern no-gi grappling:
Sources
- Digitsu — Guillotine Choke Competition Data — Tracking data on guillotine submission rates across gi and no-gi competition formats.
- BJJ Fanatics — Guillotine Escapes with Lachlan Giles — Breakdown of near-side pass mechanics and high-elbow defense principles.
- Wikipedia — Guillotine Choke — Overview of choke mechanics, competition legality, and historical context in MMA.
- Wikipedia — Jason Von Flue — Background on the UFC Fight Night 3 submission that gave the Von Flue choke its name.