Anaconda Choke: 5 No-Gi Setups That Work
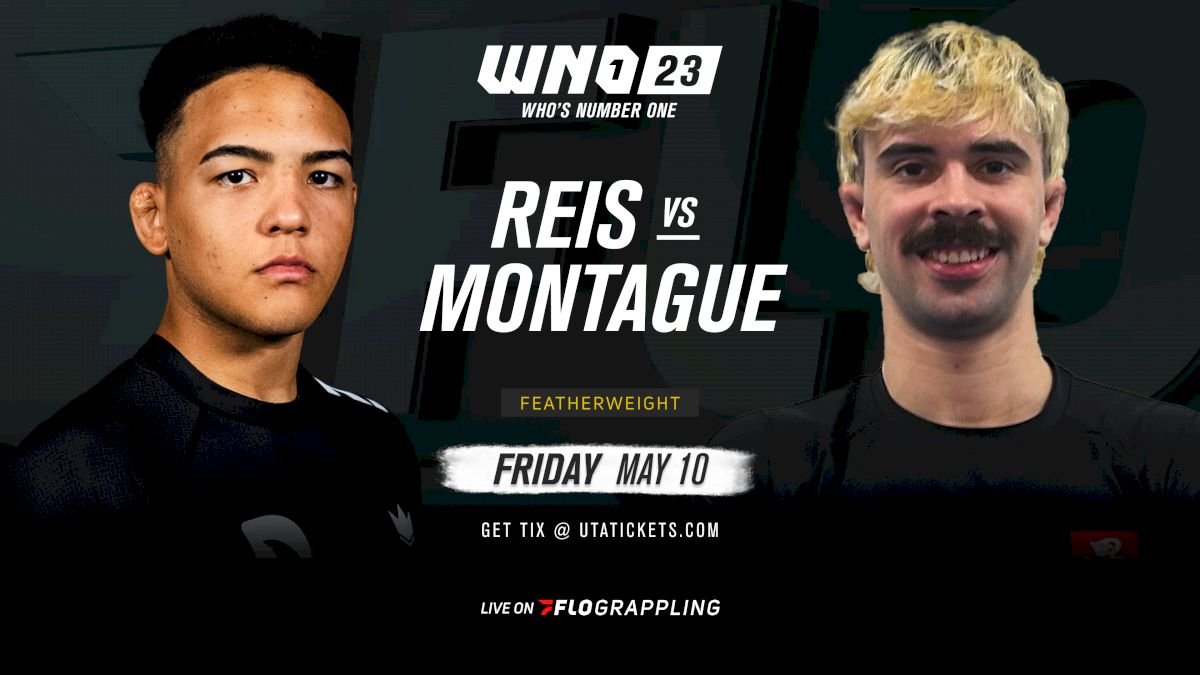
The anaconda choke has one defining characteristic that separates it from every other front headlock submission: the roll. When you thread the arm correctly and drop into a side roll, you generate rotational pressure that most opponents cannot bridge out of. At WNO 23, Diogo Reis used it to submit Shay Montague with a clean finish — not because Montague was sloppy, but because the mechanics punish any attempt to flatten out and stall.
If you already drill the D’arce choke, the anaconda is not a separate technique to learn. It’s the same front headlock control applied with a different arm path — one that becomes available precisely when the D’arce gets defended. Understanding both as a pair is what makes either one dangerous.
How the Anaconda Choke Actually Works
Most front headlock chokes work by threading one arm under the neck and squeezing. The anaconda is a blood choke — it compresses both carotid arteries simultaneously — but the arm path is what makes it distinct from the D’arce.
In the D’arce, your arm goes under the opponent’s armpit, threads across their chest, and grips your own bicep from underneath. In the anaconda, your arm goes over their arm (the one closest to the mat), under their chin, and grips the bicep from the same side. The result: you’re choking around the outside of their arm rather than through the armpit. This changes both the entry angle and the finish mechanics.
The finish is almost always a roll. You fall to the side of your choking arm, arch your back, and let the rotation close the choke. That rolling finish also works against opponents who are bigger or who have strong defensive postures — you’re not grinding it out with upper-body strength, you’re using momentum and position.
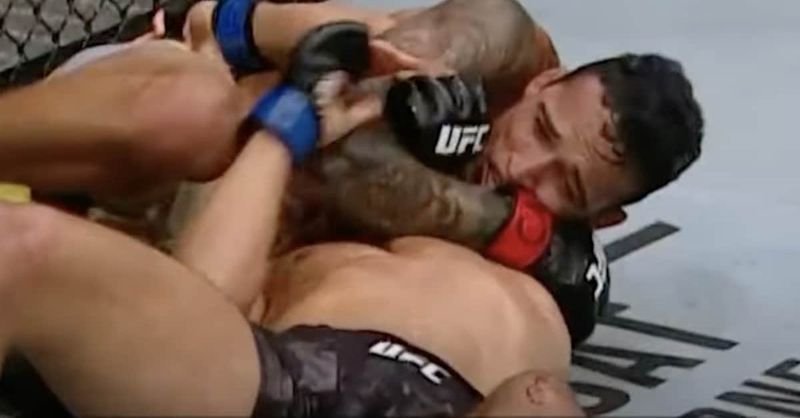
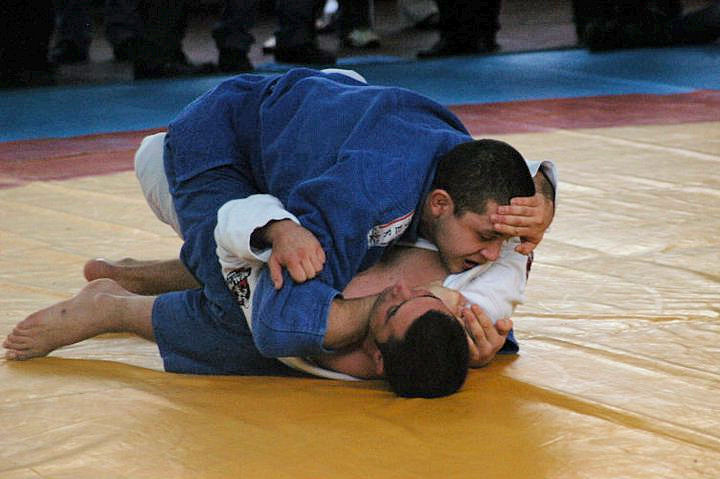
Anaconda choke grip mechanics: arm over the near shoulder, under the chin, bicep grip locked.
Setup 1: The Snap-Down Entry
The snap-down is where most anaconda chokes start in no-gi. From a collar tie or underhook battle, you snap the opponent’s head down sharply — if they don’t post a hand out, they land chest-down with their head exposed. That’s your window.
As their head drops, shoot your choking arm directly under their chin. Don’t reach for the arm first — get the neck first, then let the arm come naturally as you control the head. Grip your bicep, drop your elbow to the mat to trap their arm, and turn your head away from the roll direction. The roll itself should feel like a side breakfall — let the momentum carry you through rather than muscling it.
The detail most people miss: your choking arm’s elbow needs to stay tight against your own body as you roll. If the elbow flares out, the choke loosens mid-roll and you’ll come out the other side holding nothing.
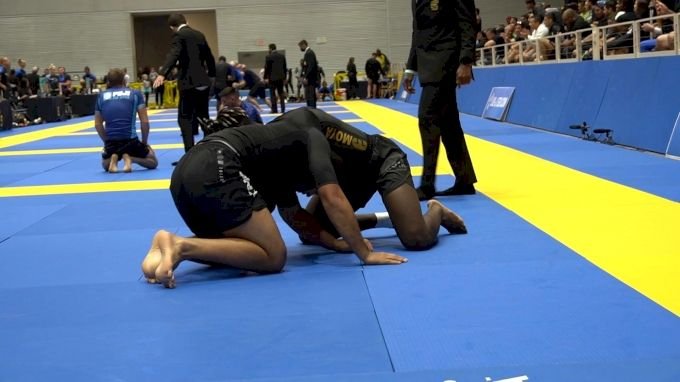
Devhonte Johnson locks in the anaconda choke finish at No-Gi Worlds.
Setup 2: Arm Drag to Anaconda
The arm drag gives you the anaconda from a position most opponents don’t expect — standing or seated, rather than the floor-level scramble where most front headlock chokes start.
From a collar-and-elbow tie, drag their wrist across your body while stepping outside their lead foot. As their arm crosses, their head naturally dips forward. The same threading action applies: arm over their shoulder, under the chin, bicep grip. The difference here is the angle — you’re threading from a more upright position, so you need to drop your level as you grip to bring them down into the roll.
This entry works especially well when an opponent is aggressively posting forward to stop a single-leg. Their own pressure drives them into the front headlock position you need, and the roll direction is already loaded.
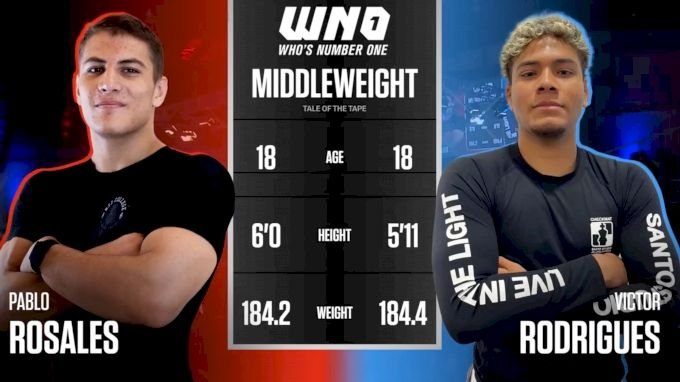
Pablo Rosales controlling front headlock position at WNO 28 before the anaconda finish.
Setup 3: The Leg Staple Entry
The leg staple is the least-taught anaconda setup, and it’s the one that works against opponents who know how to base out and stall in the front headlock. When someone posts a leg back and creates a wide stance, most grapplers abandon the choke attempt. The leg staple is the counter.
After establishing your front headlock grip, step one leg over the opponent’s near knee, pinning it to the mat. This cuts off their ability to widen their base or drive forward. With their basing leg neutralized, you can now drive your weight forward over the top and take them down to their side. Once they’re tilted, the roll finish closes the same way as the snap-down entry.
This setup requires more hip mobility than the basic roll finish, but it turns a stalled front headlock into a high-percentage submission attempt rather than a position to abandon.
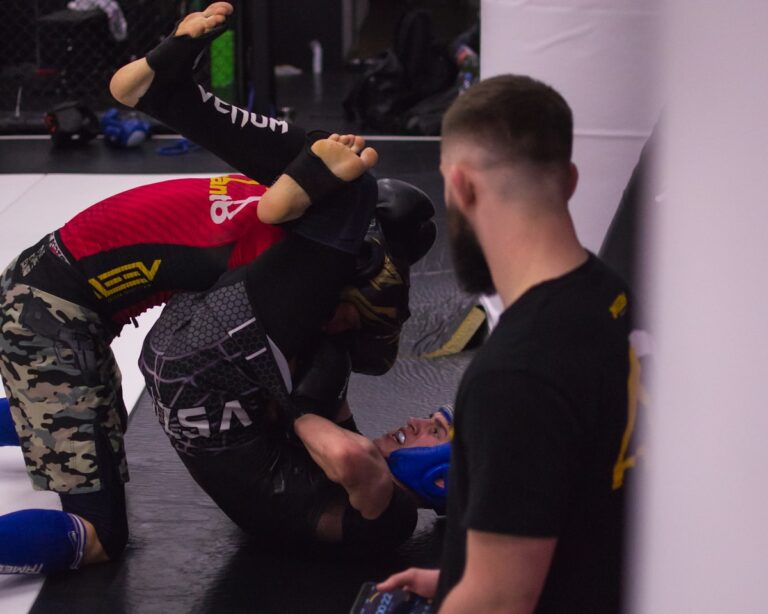
No-Gi Worlds competition: front headlock control is the gateway to both anaconda and D’arce chokes.
Setup 4: Turtle Top
When an opponent turtles to avoid a sweep or takedown, the anaconda is often the fastest available submission. From turtle top, their neck is exposed and their defending arm is often pinned under their own body weight.
Thread your arm under their chin from the side, get the bicep grip, and use your body weight to drive them off their knees and onto their side. The roll here is shorter than the snap-down version — you’re collapsing them sideways rather than executing a full rotation — but the choking pressure is the same.
One adjustment from turtle: keep your hips low and chest pressure on their upper back as you thread. Opponents in turtle will often try to spin out the moment they feel the arm coming. Hip pressure buys you the second it takes to lock the grip before they can react.
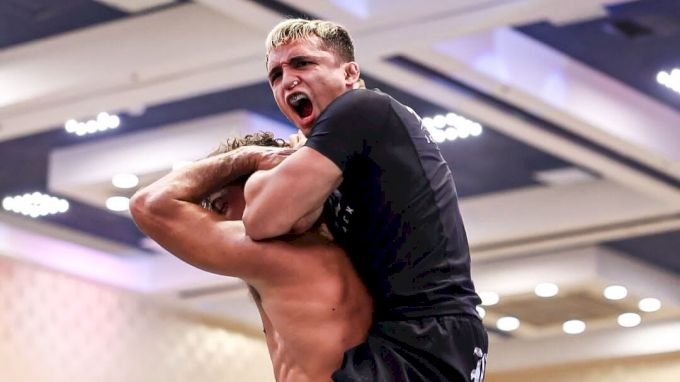
ADCC no-gi grappling: the turtle position is one of the highest-percentage entries for the anaconda choke.
Setup 5: D’arce-to-Anaconda Chain
The D’arce and the anaconda are natural training partners because each submission creates the conditions for the other when defended. The chain is the most reliable way to use both.
Start with the D’arce attempt: arm under the armpit, threading across for the bicep grip. A common defense is for the opponent to pull their near elbow back toward their hip, collapsing the arm path you need. When that elbow comes back, switch your arm path to go over the top of their shoulder instead of through the armpit. You now have the anaconda grip — and they’ve created the opening with their own defense.
The reverse is equally valid. If your anaconda roll gets stuffed and they’re flattening out to survive, look to transition to the rear naked choke by taking their back, or swim the arm under the armpit for the D’arce instead. Having both chokes in your front headlock game means there’s no safe defense — every escape attempt feeds the other threat.
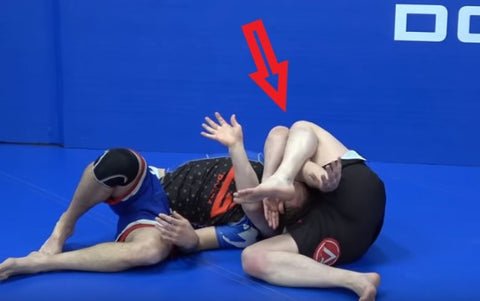
The anaconda choke grip: arm over the near shoulder, bicep grip locked before the roll.
Finishing Without the Roll
Against heavy opponents or skilled grapplers with good base, the standard side roll gets stuffed. They sprawl hard, get their hips low, and you end up face-down going nowhere. The roll-free finish solves this.
Instead of initiating the roll, drive your head into their far hip while squeezing the grip. This creates downward pressure rather than rotational pressure. The choke still compresses the carotids — it just does so through vertical force instead of rotation. You’ll feel the grip tighten as you drive.
The alternative when the roll is completely stuffed: abandon the choke finish and take their back instead. The arm position you have is nearly identical to a back-take entry. Release the bicep grip, swim your arm through, and take the top control position you’re already close to. Sometimes the back take scores more points than a stuck choke attempt.
Anaconda vs. D’arce: Which to Chase
The arm path is everything. If the opponent’s near arm is pinned low against their body, thread over it for the anaconda. If there’s space between their arm and torso — especially when you’re passing guard and they’re framing — thread under for the D’arce. Front headlock from a snap-down favors the anaconda because the arm is already on the mat. Guard passing favors the D’arce because the arm comes up as they frame.
In practice: learn both, feel which arm path is open, and commit to it. Hesitating between the two is how you get neither.
Three Mistakes That Kill the Finish
Arm depth is the most common problem. Threading your arm partway under the neck and going for the grip means you’re choking with your forearm bone against their trachea, not against the carotids. Get the arm deep enough that your elbow clears their centerline before gripping. If you can’t feel the side of their neck on your bicep, you haven’t threaded deep enough.
Rolling to the wrong side is mistake two. You roll toward the side of your choking arm — if your right arm is threading, you roll to your right. Rolling the opposite direction loosens the grip and lets them pop their head free mid-rotation. This is almost always why a tight-feeling anaconda doesn’t finish.
The third mistake is reaching for the bicep grip before the arm is threaded. Some grapplers try to grip early and then thread through the grip, which slows everything down and telegraphs the attempt. Thread first, grip second. The grip is a seal, not a handle to pull yourself into position with.
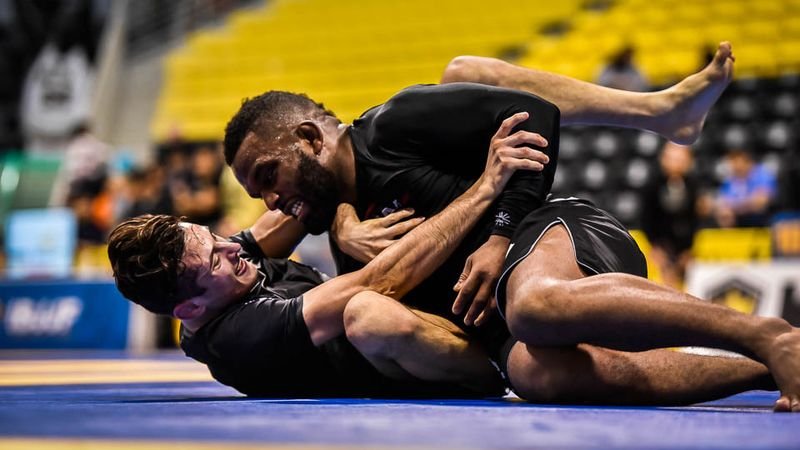
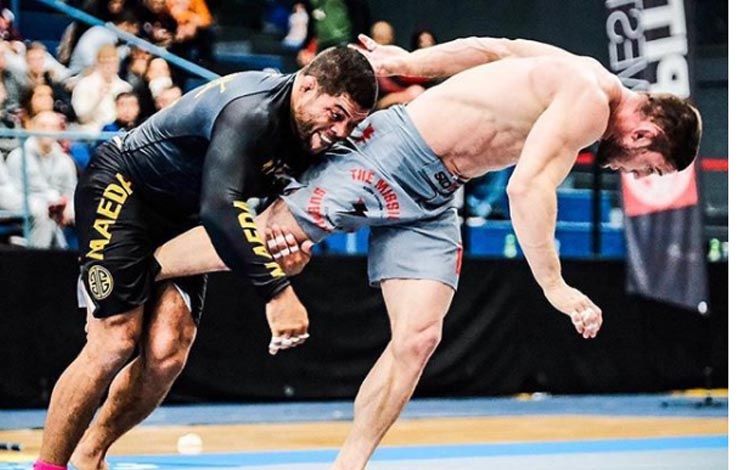
No-gi grappling competition: the anaconda choke’s rolling finish is what separates tight attempts from clean finishes.
Sources
- FloGrappling — Diogo Reis Anaconda Choke Win at WNO 23 — Competition footage of Diogo Reis’ anaconda choke submission finish.
- BJJ Fanatics — Fine-Tuning the Basics: The Anaconda Choke — Technical breakdown of anaconda mechanics and grip details.
- LowKickMMA — Anaconda Choke: BJJ Submission Guide — Setup variations including leg staple and Gable grip adjustments.
- Digitsu — Anaconda Choke in BJJ — Defense and escape sequences from the anaconda position.
- MatTime — Darce Choke vs Anaconda Choke Comparison — Structural comparison of arm path mechanics between the two submissions.