Same Tag, Different Body: How Your Build Changes the Way a Rashguard Sits
Two grapplers order the exact same rashguard in the exact same size. One walks out of the changing room looking like the catalog photo. The other looks like the sleeves ate his hands and the hem is crawling up his ribs. Neither of them made a mistake. The size chart didn’t lie, exactly. The problem is that a rashguard is a two-dimensional garment stretched over a very three-dimensional human, and the size tag only knows about a handful of measurements. Everything the tag doesn’t measure — torso length, shoulder width, limb-to-trunk ratio, how much muscle you carry and where — is what actually decides whether the thing sits right when you’re upside down in someone’s guard.
This is a guide for the person who has already read the sizing chart, already knows their chest measurement, and still ends up tugging their collar every thirty seconds. Fit isn’t a number. It’s a relationship between the fabric and your specific build, and once you understand that relationship you can predict how a rashguard will behave before you ever step on the mat. For the baseline standard every build is measured against, see our complete guide to how a no-gi rashguard should fit — this piece picks up from there and covers the builds the chart itself can’t see.
The Size Tag Only Knows Half the Story
Most rashguard sizing is built around one or two circumference measurements — usually chest, sometimes weight. That works fine if your body happens to match the “fit model” the brand designed around: an average torso length, average arm length, and a fairly even distribution of mass. The trouble is that almost nobody is average across every one of those axes at once. You might have an average chest but a long torso. You might be lean everywhere except a set of lats that fight the shoulder seams. You might carry your weight low, so a garment cut for a barrel chest bags out at your waist.
Compression fabric hides some of this because it stretches, but stretch has limits and, more importantly, stretch has direction. A four-way stretch panel will forgive a lot around the chest and still leave you short in the torso, because the fabric can only give so much vertically before it starts dragging the hem upward. When people say a rashguard “runs small” or “runs long,” what they usually mean is that the garment’s proportions don’t match their own — not that the whole thing is uniformly wrong.
What “Fits Right” Actually Feels Like, Briefly
Before we split things by body type, a quick baseline: firm compression across the torso without restricting a breath, a collar that sits flat and stays there when you bridge, sleeve cuffs anchored near the wrist bone, and a hem that grips without needing a re-tuck every round. None of that is about looks — a rashguard is equipment, and its job is to stay put while a training partner does everything possible to peel it off you. The question this guide answers is why two people can both nail that standard on paper and still get completely different results from the same size.
The Long-Torso Grappler
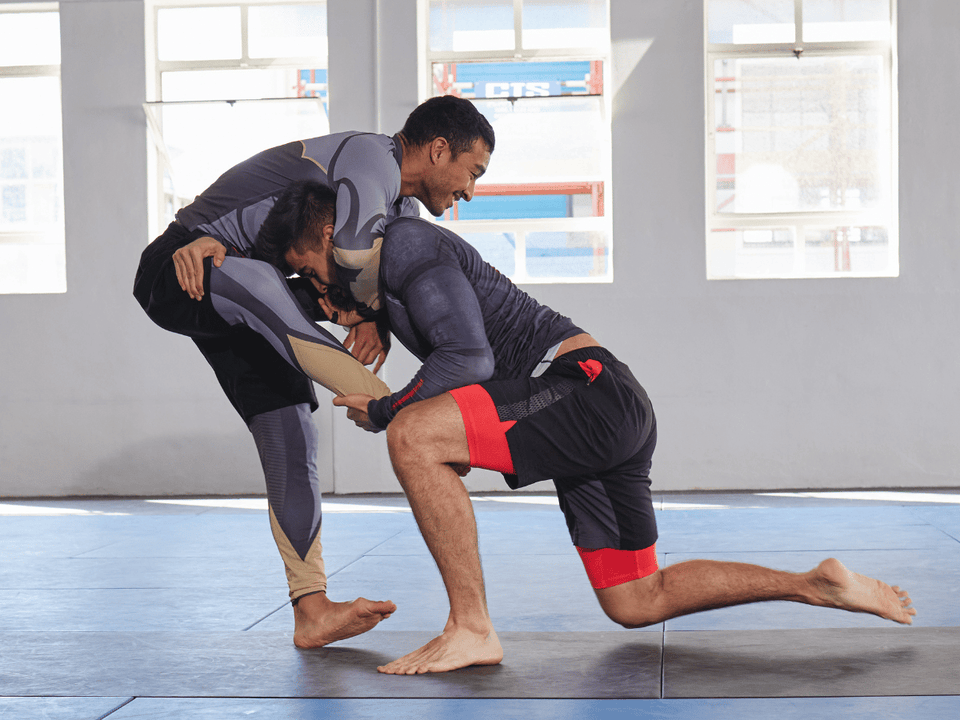
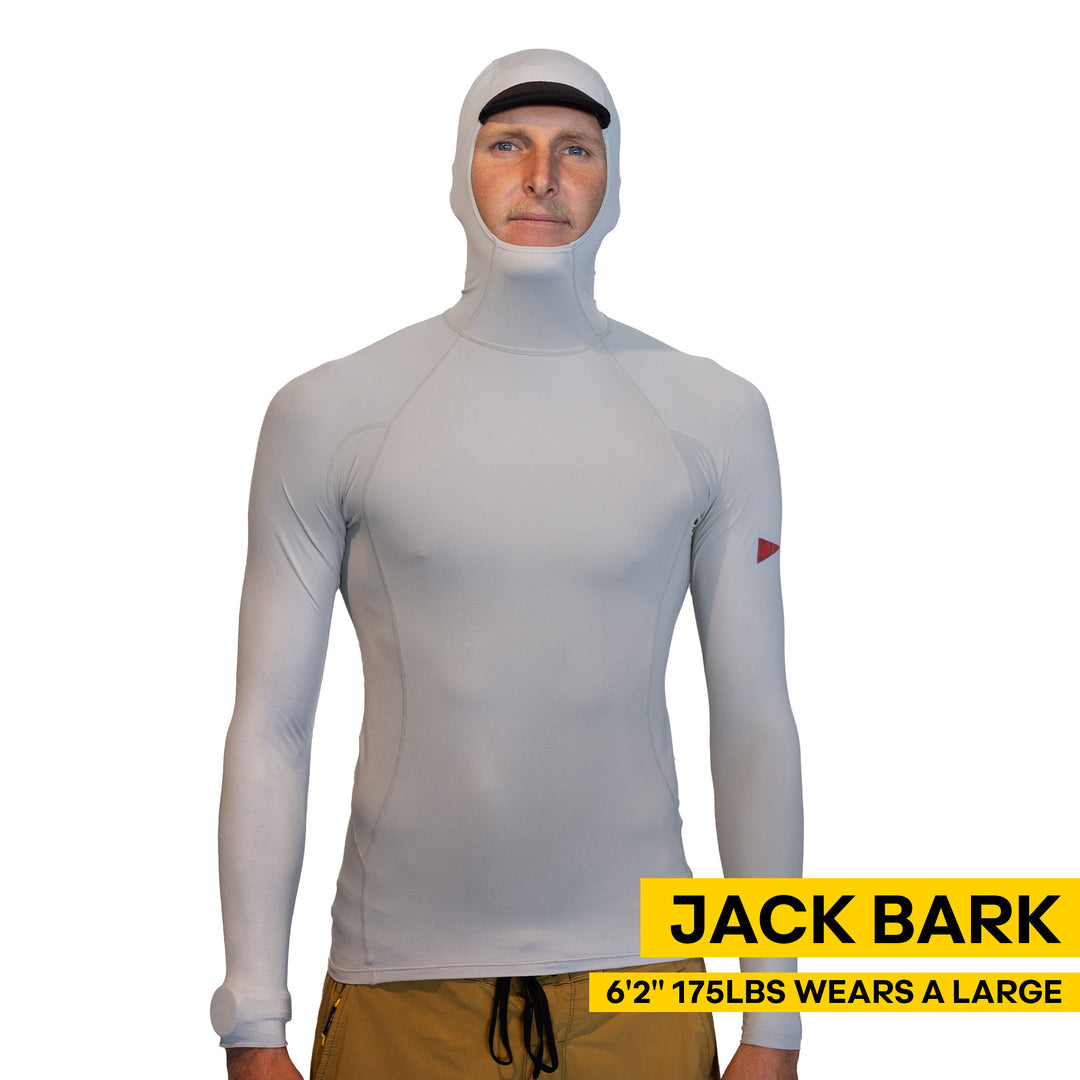
If you’ve ever had a rashguard that felt perfect around the arms and chest but crept up to expose your lower back the moment you shot for a takedown, you probably have a longer torso than the garment was cut for. This is one of the most common mismatches and one of the most frustrating, because sizing up to gain length usually means the shoulders and sleeves become sloppy in exchange.
The fix isn’t always a bigger size — it’s a longer cut. Some brands publish garment length in their charts; those numbers matter more to you than chest circumference does. When length isn’t listed, long-sleeve models tend to be drafted for taller frames overall, and “tall” or “long” variants exist specifically for this build. A rashguard with a slightly higher spandex percentage will also stretch vertically with less hem-crawl. If you’re stuck between hunting for length and living with ride-up, favor the longer body every time; a slightly loose sleeve is a minor annoyance, but an exposed lower back on the mat is a rash risk and a grip handle for your opponent.
The Broad and Muscular Build
Heavy lats, thick shoulders, and a developed chest create the opposite problem. The chest measurement says one size, but that number is being driven by muscle that also makes your shoulders wider and your arms thicker than the garment expects. Size to the chest and the shoulder seams sit too far inboard, digging in and limiting overhead range — a real issue when you’re framing or reaching for an underhook. Size up to free the shoulders and the torso balloons.
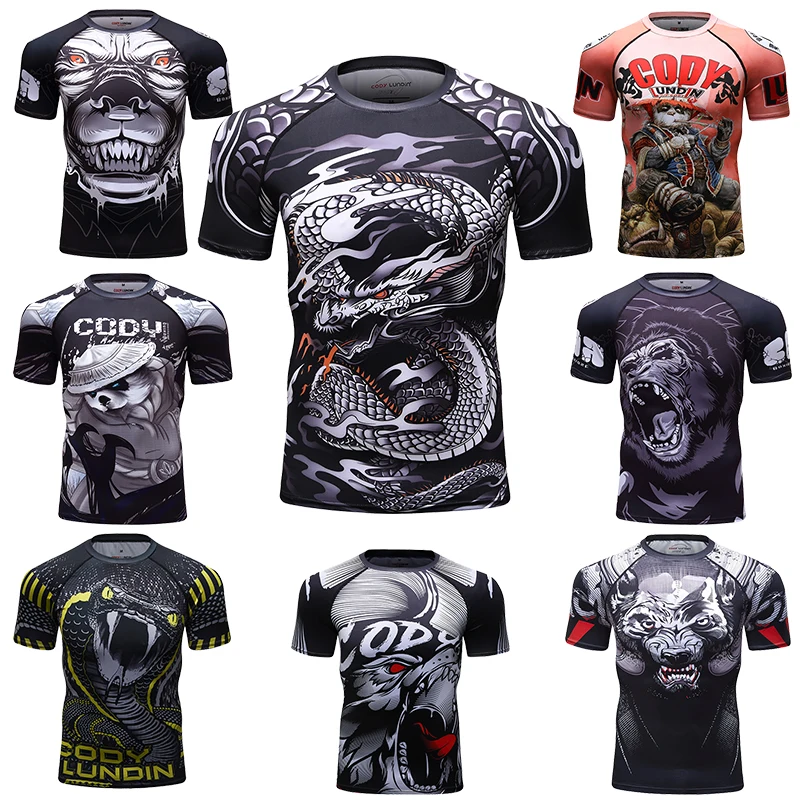
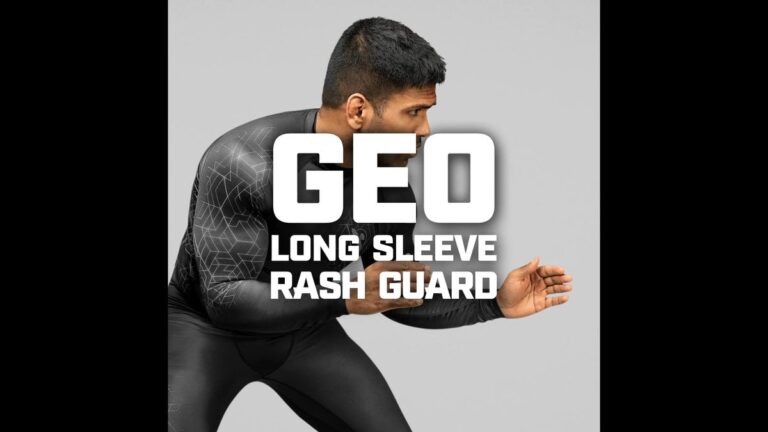
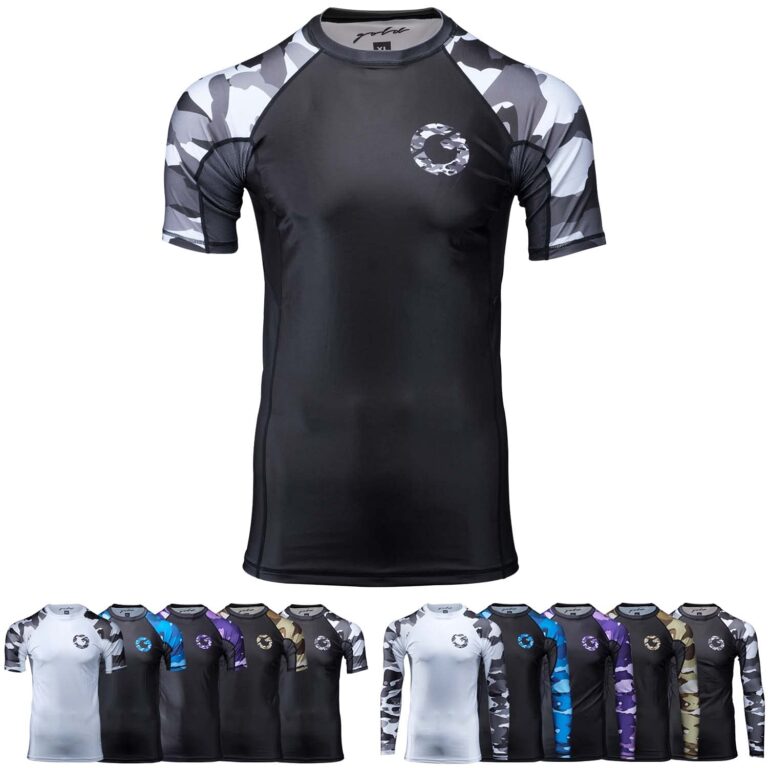
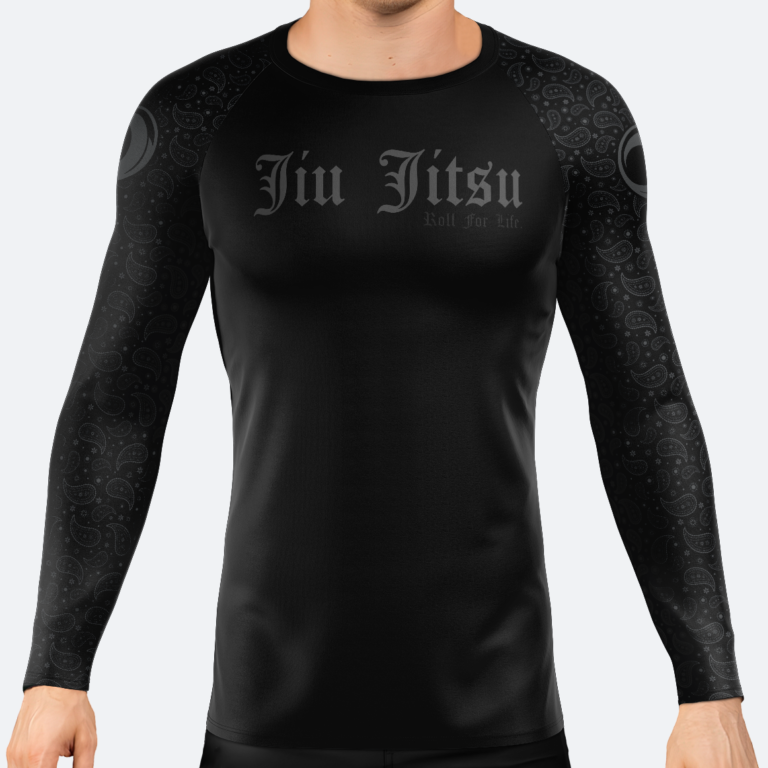
For this build, prioritize shoulder mobility over a snug waist and lean toward brands known for an “athletic” or “raglan-sleeve” cut. Raglan seams run diagonally from collar to underarm instead of sitting on top of the shoulder, which gives thick delts far more room to rotate without the seam becoming a tripwire. A touch of extra room through the trunk is a fine trade if it means you can actually posture up and extend your arms. Just make sure the hem still grips; a torso that’s loose everywhere will bunch and roll during ground exchanges.
The Lean or Shorter Frame
Lean and shorter grapplers usually face the reverse of the tall problem: the garment is too much rashguard for the body. Sleeves swallow the wrists, the hem hangs low, and the compression that’s supposed to feel like a second skin instead feels like a damp bag. Because the fabric isn’t being loaded — there’s not enough body volume to fill and tension it — it never delivers the supportive, locked-in feel that’s half the point of wearing one.
Sizing down is the obvious move, and it’s often the right one, but check the sleeve and torso length before you commit. A smaller size in a brand cut for tall frames can still leave you with too much sleeve. Youth or “slim” lines, and brands that build for lighter competitors, tend to hold their proportions better at the small end. The goal is firm, even compression with no loose folds — if you can pinch a handful of fabric anywhere on the torso, it’s too big for you no matter what the tag claims.
The Sleeve, Cuff, and Collar Test
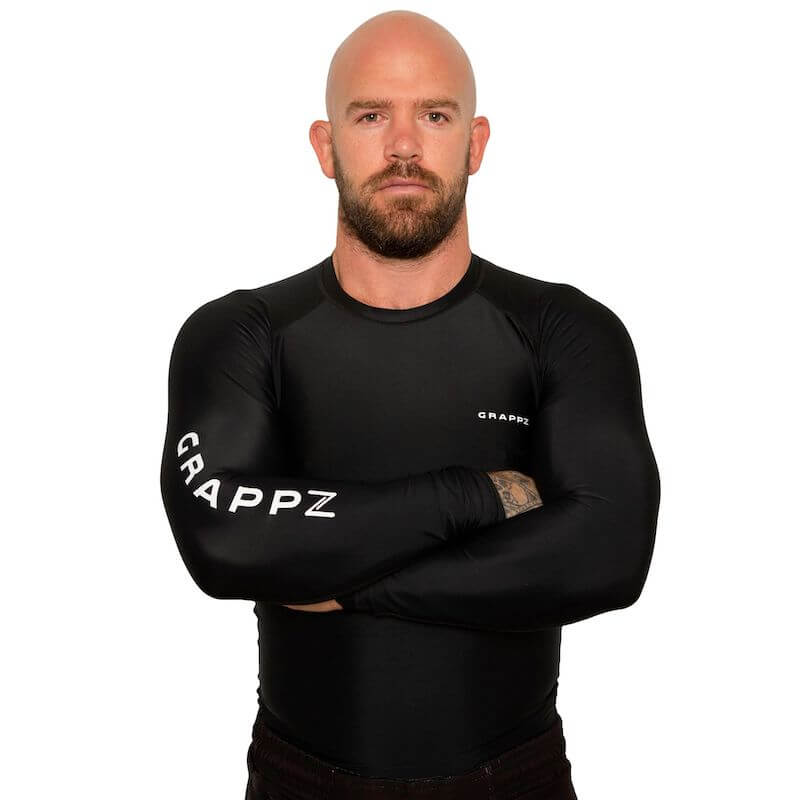
Body type shows up most obviously at the extremities, so these three details are worth checking before you trust any rashguard for a hard session. Pull the sleeve down and rotate your wrist through a full circle. A good cuff hugs the wrist bone and rotates with you; a bad one either strangles the forearm or slides halfway up during the motion. Long arms relative to your torso will expose a short sleeve immediately here.
Then bridge your neck back as if you’re escaping a mounted opponent. Watch the collar. If it gaps away from your throat or bites in, the neck opening isn’t matched to how you carry your head and shoulders. A collar that stays flat through that movement is what keeps mat grime and a partner’s sweat off your skin. These two tests take ten seconds and predict more about real-roll comfort than any measurement chart.
Seams, Chafe, and the Places Your Build Rubs
Where seams fall depends entirely on your proportions, and a seam sitting in the wrong spot is the difference between a comfortable roll and a raw patch of skin by round three. Flatlock stitching — the wide, flat seam you’ll see on quality no-gi gear — exists precisely because standard raised seams turn into sandpaper under repeated friction. If you have a broad build, pay attention to the underarm and lat seams; if you’re long-limbed, watch the elbow and forearm zones where the sleeve is under the most stretch.
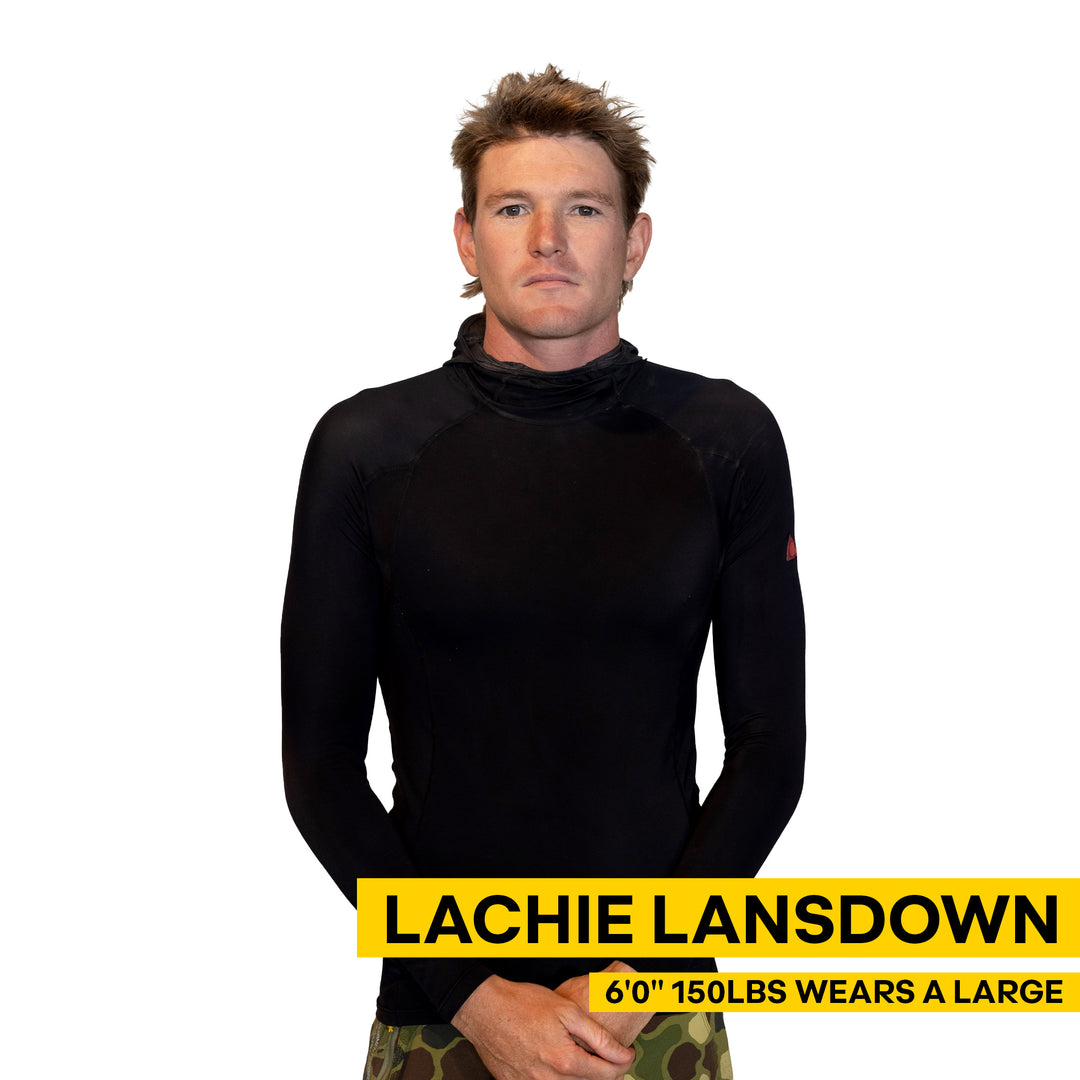
A rashguard that’s slightly too big is more likely to chafe than one that’s snug, which surprises people. Extra fabric shifts and folds, and a moving seam abrades far more than a stationary one. This is another reason the “when in doubt, size up” instinct backfires in grappling: compression gear is meant to be tensioned against the skin, not draped over it. Loose isn’t comfortable here — it’s a liability.
Fit Changes After the First Few Washes
One more variable the size tag can’t tell you: a rashguard’s fit isn’t fixed. Quality compression fabric relaxes slightly over its first several wears and washes, then stabilizes. A brand-new rashguard that feels aggressively tight in the shoulders will often settle into perfect over a week or two of training. That’s normal. What isn’t normal is a rashguard that keeps stretching — if it feels looser every single session, the fabric is fatiguing and the fit will only get worse.
Because of this break-in behavior, judge a new rashguard’s fit on the tight side rather than the loose side. Something that starts a hair too snug tends to land right; something that starts comfortably loose ends up sloppy. Cold wash and hang or low-tumble dry preserves the elastane and holds your dialed-in fit far longer — heat is what kills the stretch fibers that make the whole garment work.
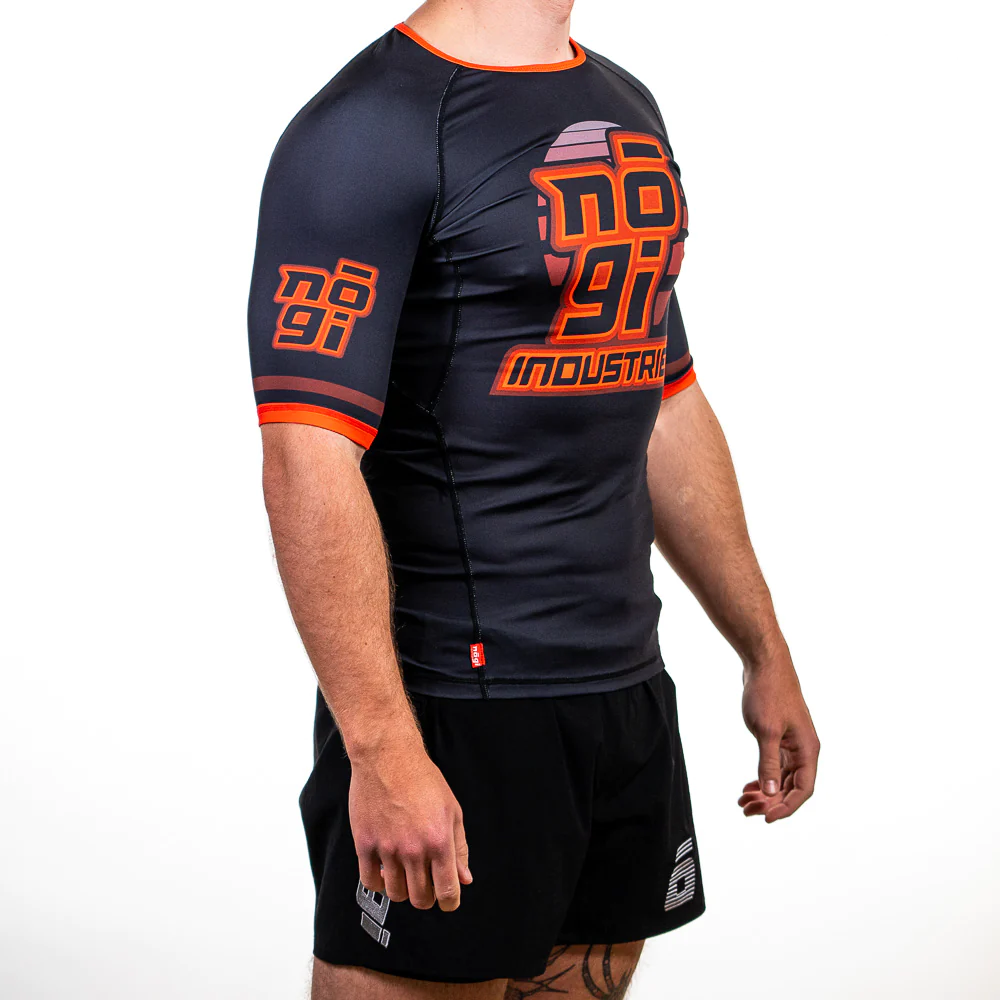
A Simple Test Before Your First Roll
You don’t need a partner to know whether a rashguard will survive a session. Put it on and run through a short sequence in front of a mirror: raise both arms overhead, shoot a level change as if for a double-leg, sprawl, then bridge and turn as if you’re escaping bottom side control. If the garment is back where it started with no tugging required, it fits your body — and it doesn’t matter that the tag inside says the same thing as your training partner’s. (The full version of this check, zone by zone, is in our main fit guide.)
That’s the whole point. “How rashguards should fit” has no single answer because there’s no single body. The right fit is the one that stays anchored on your torso, frees your shoulders, and ends every scramble exactly where it started. Learn how your particular build interacts with the fabric and you’ll stop guessing at sizes and start buying rashguards that just work.
Ready to find one cut for your build? Browse current no-gi options and compare athletic, raglan, and long-body cuts here: shop BJJ no-gi rashguards on Amazon.
Sources
- Rash guard — Wikipedia
- Compression garment — Wikipedia
- Submission wrestling (no-gi grappling) — Wikipedia