Triangle Choke: 7 Proven No-Gi Setups and Escapes
A well-applied triangle choke cuts blood flow to the brain in under ten seconds — long before your opponent feels any real pressure on their windpipe. That speed is exactly why it survives the sweaty chaos of no-gi grappling while collar grips and wrist control fall apart. You don’t need to hold anything. Once your legs lock the figure-four, the squeeze does the work, and a panicked opponent who postures the wrong way only tightens it on themselves. This guide breaks down how the position actually works, seven setups that hold up against resisting partners, why most triangles stall before the tap, and how to climb out when you’re the one trapped.
What Makes the Triangle Choke So Effective in No-Gi
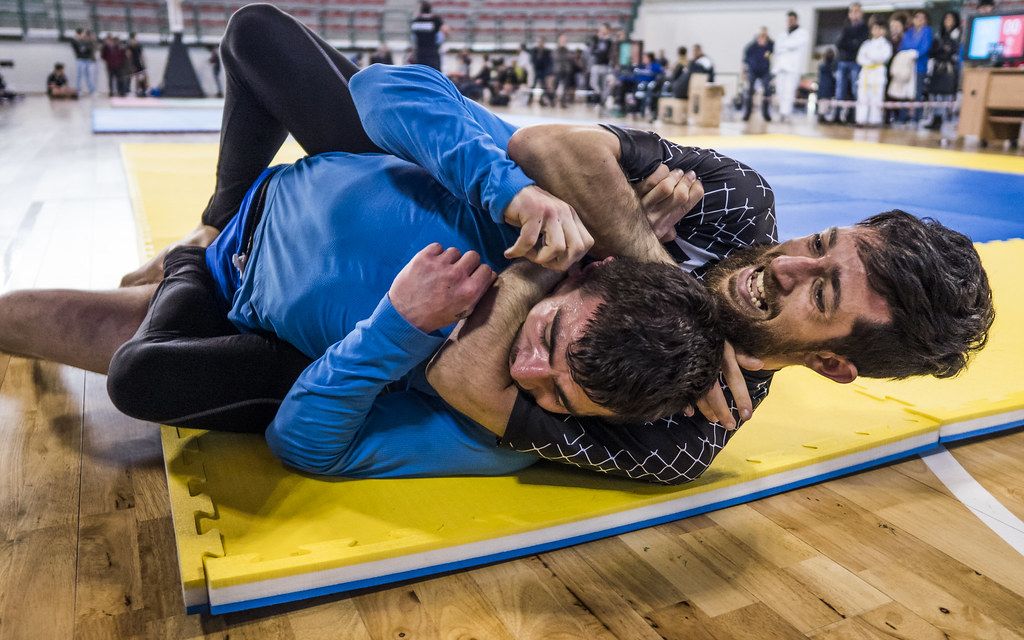
The triangle choke is a strangle, not a neck crank. You trap one of your opponent’s arms across their own body and wrap your legs around their neck and that trapped shoulder, forming a triangle with your shins and thigh. Their own shoulder presses into one carotid artery while your thigh closes the other. Cut both, and consciousness goes in seconds.
That mechanism is why it travels so well from gi to no-gi. A lot of submissions lean on fabric — lapel chokes, collar drags, sleeve control. Strip the kimono away and half of them evaporate. The triangle never depended on cloth in the first place. Sweat, which sabotages almost every hand grip in no-gi, does nothing to a pair of legs clamped behind a neck. If anything, a slick opponent is harder to hold but no harder to choke once the lock is set.
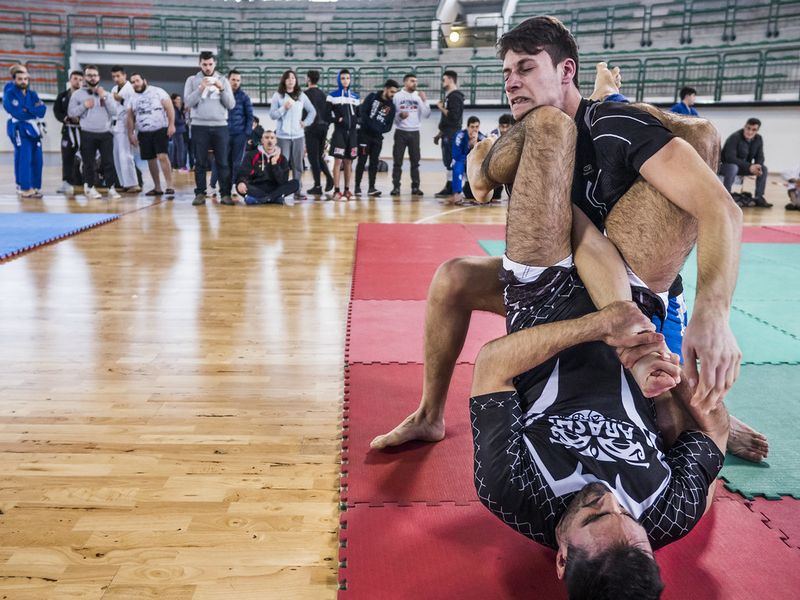
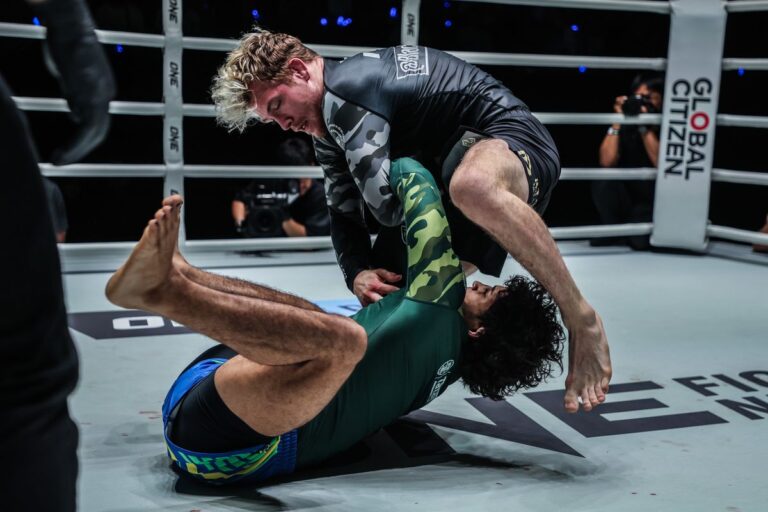
There’s a reason it shows up on the highlight reels at every level of the sport, from local smokers to the ADCC world stage. It rewards the smaller, more technical grappler. A 150-pound competitor can finish someone 40 pounds heavier with it, because legs are stronger than arms and the choke targets a structure no amount of muscle can protect.
How the Triangle Choke Actually Works
Most people who can’t finish their triangle are missing the angle, not the squeeze. Locking your legs straight up the middle, perpendicular to your opponent, leaves a gap where blood still flows. The fix is to pivot your hips off to the side — roughly 45 degrees — so the back of their neck settles into the crook of your knee. Pull their trapped arm across, and now their own shoulder is doing half the choking for you.
The second detail is their posture. As long as they can sit up tall, they relieve pressure and start hunting for a stack pass. Break that posture by controlling their head — hands clasped behind their skull, elbows tight — and curl them down into your hips. The choke that felt loose suddenly has nowhere to escape. Stephan Kesting and other no-gi coaches hammer this point endlessly: angle and posture beat brute-force squeezing every time.
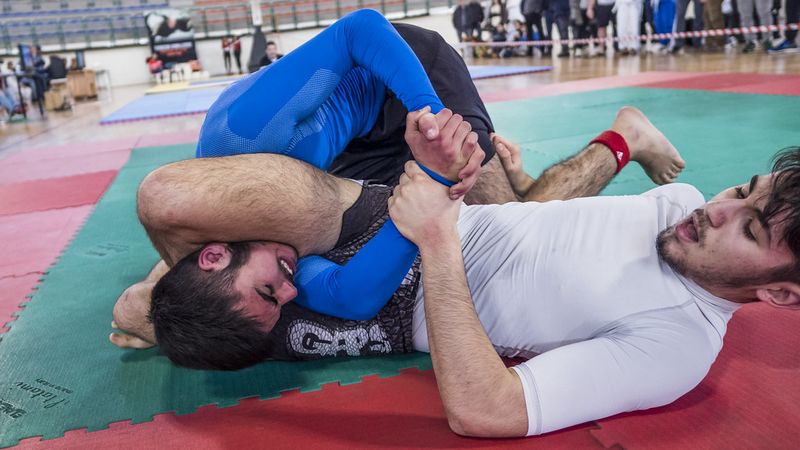
7 No-Gi Triangle Choke Setups
You almost never get a triangle handed to you. You bait it. Each of these setups creates the gap you need — one arm in, one arm out — and most flow naturally into the others when the first one stalls.
1. The Classic Closed Guard Triangle
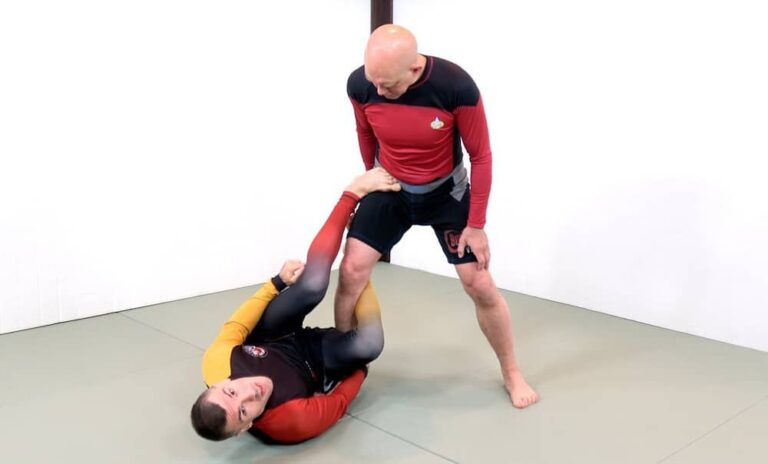
Break their posture from closed guard, control one wrist, and shoot the opposite knee across their shoulder. As their hand drops to your hip, throw your leg over the back of their neck. This is the foundation, and the version every gym teaches first for good reason — every other entry is a variation on this lock.
2. Off a Failed Armbar
When you go for the armbar and they rip their elbow free, their arm is already isolated and their posture is already broken. That’s a triangle waiting to happen. Swing your leg back over the neck instead of chasing the arm. The armbar-to-triangle-to-armbar cycle is the single most reliable submission chain in no-gi guard play.
3. From the Back
If your opponent defends the rear naked choke by stripping one of your hands down, that arm of theirs is now low and exposed. Trap it, swing your leg over the front of their shoulder, and roll them into a triangle from a position they thought they were winning. If you live on the back, study how this links with the rear naked choke — they cover each other’s escapes.
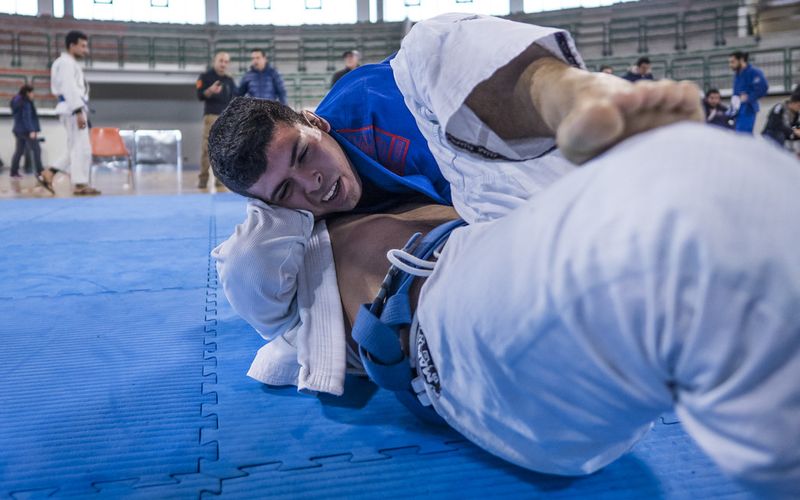
4. The Mounted Triangle
From mount, when they push into your hips to bench-press you off, they feed you an arm. Trap it, post, and step your leg over their head into a top-side triangle. It looks flashy but it’s mostly a control position that punishes anyone who frames carelessly from the bottom.
5. Off a Sloppy Guard Pass
A defender who reaches one arm deep to pass your guard has volunteered the exact configuration you want — one arm in, one arm out. Don’t fight the pass head-on. Angle off, clamp the leg, and lock up before they realize the pass turned into a submission.
6. The Counter to the Stack
When someone stacks you to escape — driving your knees toward your face — most beginners panic and open the lock. Instead, walk your shoulders toward the mat, re-pummel the angle, and finish as they post. A stack is uncomfortable, but it rarely actually breaks a well-locked triangle.
7. The Front Headlock Transition
Off a sprawl or a failed takedown, the front headlock gives you their head and one arm. If the guillotine stalls, spin to the back or drop straight into a triangle as they stand up to escape. This is bread-and-butter for wrestlers crossing over to no-gi.
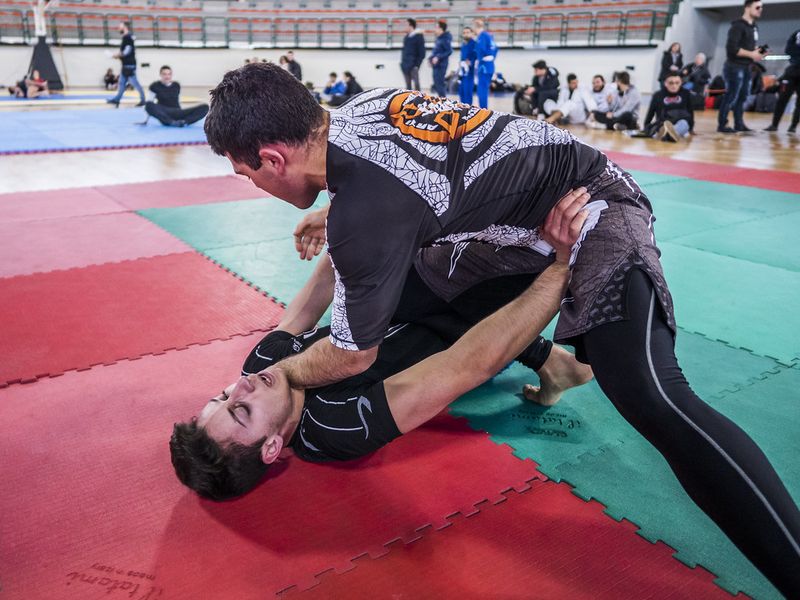
Why Your Triangle Isn’t Finishing
If you lock triangles in training but never tap anyone, the problem is almost always one of three things. You’re squeezing straight on instead of cutting the angle. You’ve let them posture up and stack. Or your locking leg is across their back instead of tucked under your own knee, which leaves the figure-four loose. Fix the angle first — pull their arm hard across the centerline and rotate your hips until your shin is glued to the back of their neck.
The other quiet killer is grip fatigue in your legs. A triangle held too long with bad mechanics gasses out your hamstrings, and a fresh opponent just waits you out. Clamp it correctly and you can hold the position for minutes with almost no effort, which is the whole point. If you find yourself straining, the lock is wrong, not your conditioning.
How to Escape a Triangle Choke in No-Gi
The first rule of escaping is the same as the first rule of finishing: posture. The instant you feel the legs close, get your hips back, drive your trapped-side shoulder forward, and stand tall before they can break you down. Once your spine is upright, the choke loosens and you can start passing.
The classic escape is to pin their choking-side hip to the mat, step your free leg up into a lunge, and stack them onto their shoulders while you slowly pass to side control. Whatever you do, get your trapped hand to the far hip — never let it stay in front of your own throat, where it does the choking for them. Watch the escape mechanics here:
Is the Triangle Choke Dangerous?
A clean triangle is one of the safer high-percentage submissions, which is part of why it’s legal at every belt and every ruleset. As a blood choke, it puts an opponent to sleep without crushing the trachea — recovery is fast and damage is rare when your partner taps on time. The real risk isn’t the choke, it’s the ego. People who refuse to tap to a strangle and ride it to unconsciousness are gambling with seconds of brain oxygen for no good reason.
One caution specific to no-gi: because the lock is so tight and slick, a stubborn opponent can get choked out before they realize how deep it is. Tap early, train smart, and treat a sunk triangle the way you’d treat a sunk arm triangle — the moment you can’t fix the angle, it’s done.
The Gear Side: Why No-Gi Punishes a Loose Triangle
Sweat changes the math. In the gi, a defender can grab your pants or your belt to anchor their posture and resist the break-down. Strip that away and there’s nothing to hold — which helps the attacker, but also means a bottom player slick with sweat can sometimes slither a head out of a lock that isn’t tight. The lesson cuts both ways: in no-gi your triangle has to be mechanically perfect, because there’s no friction bailing you out.
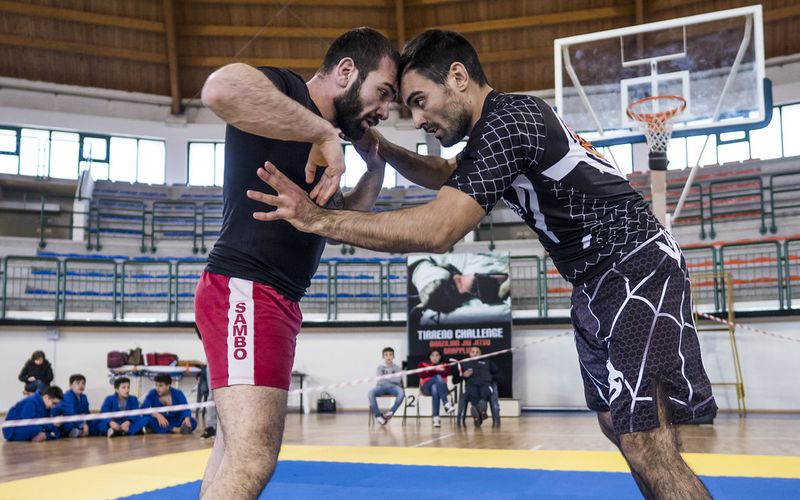
It’s also why a rashguard that actually fits matters more than people admit. A baggy top that bunches under the armpit gives a trapped arm somewhere to hide and a sliver of space to escape. A compression fit keeps the shoulder line clean, which is one small reason serious no-gi players obsess over their gear instead of rolling in a cotton tee.
The triangle isn’t the flashiest submission in no-gi, and it won’t win you any style points the way a flying attack will. But it’s the one that keeps working when your hands are too slippery to hold anything and your opponent is twice your strength. Drill the angle until it’s automatic, learn to chain it with the armbar and the back take, and it becomes the submission you reach for when everything else is sliding off. Next time you’re stuck under a heavier training partner, stop trying to muscle a sweep — bait the arm, find the angle, and let your legs do what your grips can’t.
Sources
- Evolve MMA — The Triangle Choke in BJJ Explained — mechanics and fundamental setups for the triangle choke.
- Wikipedia — Triangle Choke — history, variations, and the physiology of the blood choke.
- ADCC — Rules & Regulations — legality of chokes in elite no-gi submission grappling.
Browse our top-rated rashguards and no-gi gear at the RashguardGuy shop →