Shoulders First: Why No-Gi Rashguard Fit Starts at the Yoke and Collar
Ask a room full of grapplers how a rashguard should fit and almost every answer starts at the belly. They tug the hem, check for a muffin-top roll of fabric over the waistband, and call it a day. But the torso is the last place fit actually gets decided. If a no-gi rashguard is going to survive a five-minute scramble without twisting, riding up, or bunching under your chin, the work happens at the top — the shoulders, the yoke across your upper back, and the collar around your neck. Get those three right and the rest of the garment simply hangs where it should. Get them wrong and no amount of tightness around the ribs will save you.
This is a different way to shop for and evaluate a rashguard, and once you start looking at the upper anchor points, cheap gear becomes obvious in about thirty seconds. Below is a full walk-through of why fit starts up top, what a good shoulder and collar actually feel like, and how to test all of it before you ever step on the mat.
The Shoulder Is the Anchor, Not the Waist
Think about the forces a rashguard fights during a roll. When you shoot a takedown, post on a frame, or defend a guillotine, the load runs down through your arms and across your shoulders. That is where the garment is being stretched, dragged, and pulled diagonally. The waistband barely moves by comparison. If the shoulder seams sit exactly on the bony point at the top of your arm — the acromion — the fabric has a fixed pivot to work around and everything below it stays organized.
When the shoulder seam sits too far out, hanging down onto your upper arm, the whole panel has slack in it. That slack is what your training partner grabs, and it is what travels downward as a fold every time you raise your arms. You will feel it as a rashguard that “creeps” — you keep peeling it back down off your shoulders between rounds. The fix is never a smaller waist; it is a shoulder seam that lands on the joint.

How to Read the Shoulder in the Store or the Mirror
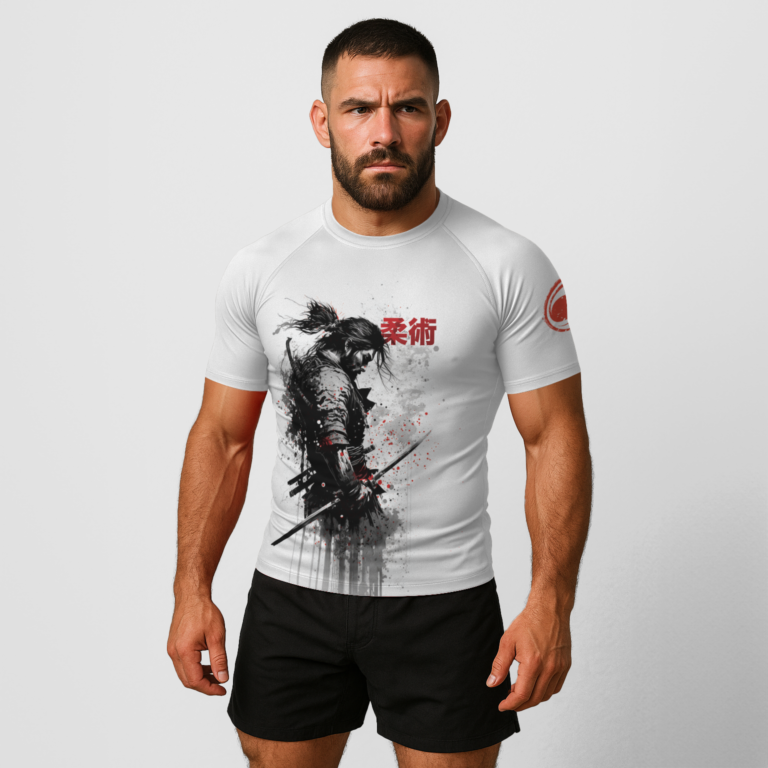
Stand relaxed with your arms at your sides and find the seam that runs over the top of each shoulder. Press a fingertip on the hard knob of bone at the end of your collarbone where it meets the arm. The seam should sit within a centimeter or two of that point. If it drapes noticeably down your bicep, the garment is cut too big through the upper body regardless of what the tag says. Now raise both arms overhead. A well-fitted shoulder lets the sleeve follow your arm cleanly; a poorly fitted one drags the entire front panel up toward your chin and exposes your lower stomach.
The Yoke: The Panel That Decides Whether You Twist
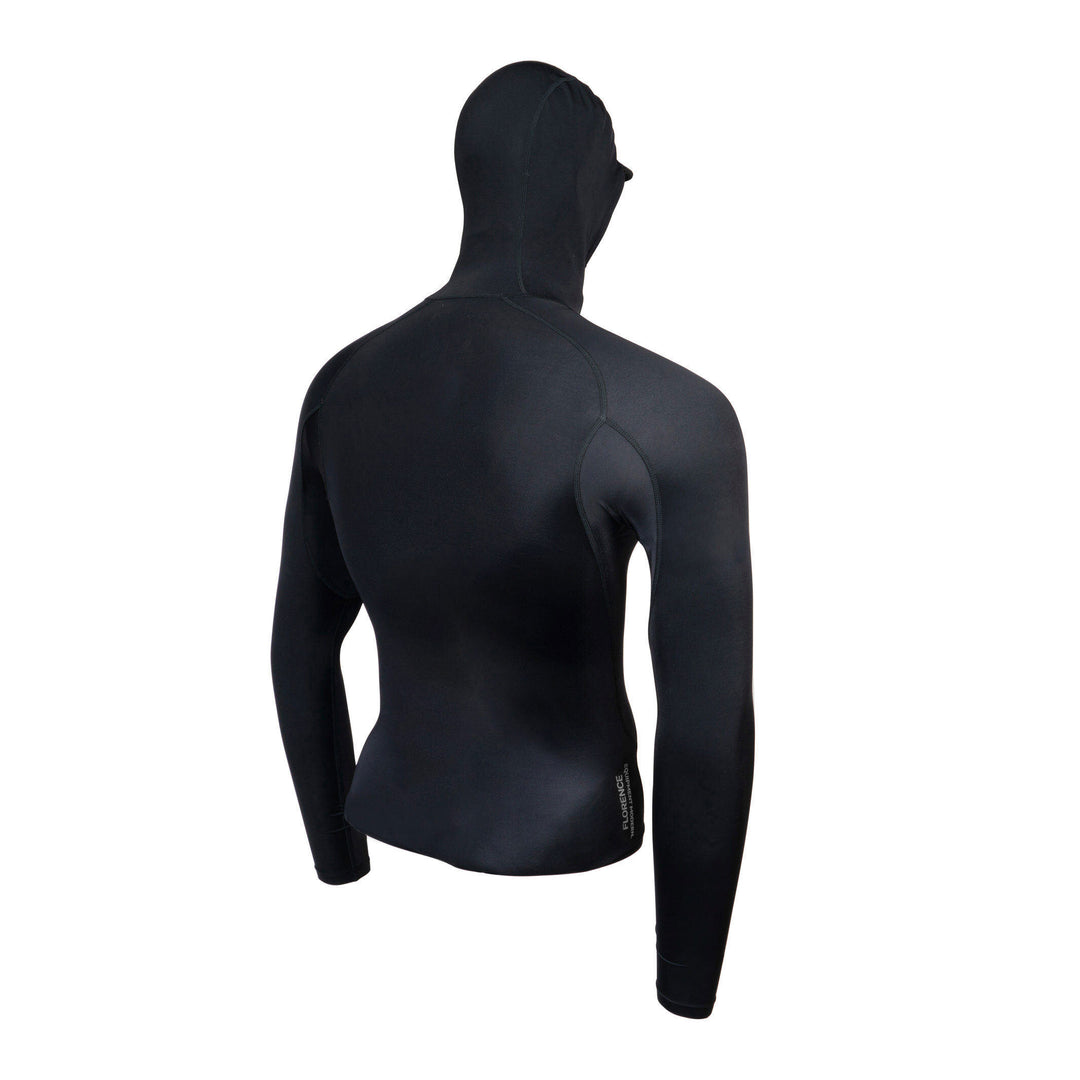
The yoke is the panel of fabric that spans your upper back between the two shoulders. Most people never think about it, but it is the single biggest factor in whether a rashguard rotates on your body during a scramble. A good yoke is cut and stitched so the stretch runs horizontally across the back, letting the shoulders move independently while the panel holds its shape. A bad yoke — usually one that is just an extension of a cheap tube-cut body — lets the whole shirt spin a few degrees every time you turn into someone.
You have felt a twisted rashguard even if you did not name it: the side seams migrate toward your front, one sleeve feels longer than the other mid-round, and the front logo ends up sitting on your ribs. That rotation almost always originates in a yoke that has too much give and no structure. Higher-quality no-gi tops solve this with a shaped upper-back panel and flatlock seams that lock the direction of the stretch. When the yoke is right, the rashguard can stretch to let you move but always returns to center.
The Twist Test
Put the rashguard on and note where the side seams sit — they should run straight down the middle of each flank, from armpit to hip. Now do ten fast torso rotations, throwing your arms across your body like you are framing and turning out of side control. Stop and look. If the side seams have crawled forward and the back panel has bunched to one side, the yoke is losing the fight. If everything is still centered, you have a top that will stay honest deep into a round.
The Collar: The Small Detail That Causes the Biggest Problems
The collar is the most ignored part of rashguard fit and, ironically, the part your opponent’s body is pressed against most often. In no-gi, faces, forearms, and shoulders are constantly grinding across your neckline — cross-face pressure from side control, an arm-in guillotine, a front headlock. A collar that fits correctly disappears. A collar that fits badly becomes a source of chin rub, mat burn, and a fold of fabric that gets shoved up under your jaw at the worst possible moment.
The right collar sits flat against the base of your neck with no gap you can hook a finger into and no pressure that feels like it is choking you on its own. It should be bound with a flatlock or a bonded finish rather than a folded-over hem that stands up off the skin. When the neckline stands proud like that, cross-face pressure catches the raised edge and drags it, and suddenly you are fighting your own shirt as well as the person on top of you.
Collar Height and Chin Clearance
Long-sleeve competition tops sometimes run the collar a little higher for coverage, and that is fine as long as it is cut to curve with the front of your neck rather than cut straight across. Tuck your chin hard to your chest, the way you would when defending a choke or stacking to pass. A good collar folds cleanly with you. A bad one bunches into a ridge right under your chin — that ridge is exactly what a forearm catches during a front headlock, and it can turn a survivable position into a genuine airway problem. Always chin-check a rashguard before you trust it in live rounds.
Why the Upper Body Sets the Compression for Everything Below
Compression is the whole point of a rashguard: fabric held against the skin so sweat wicks, muscles get light support, and there is nothing loose for grips. But compression is only even if the garment is anchored at the top. When the shoulders and yoke hold their position, the body panel stays under consistent, gentle tension from the collar to the hem. When the top slips, the compression pools — tight and bunched in one spot, loose and flapping in another. That uneven fabric is precisely the free material an opponent uses to steer you.

This is why two people can wear the same size from the same brand and have opposite experiences. A grappler with broad shoulders and a narrow waist gets perfect anchoring up top and the garment behaves beautifully. Someone with sloped shoulders and a fuller midsection in the same size gets a shoulder seam that slides and a hem that has to do all the work of holding the shirt down — and it can’t. Reading your own shoulder shape, not just your chest measurement, is what actually predicts fit.
Matching the Cut to Your Frame
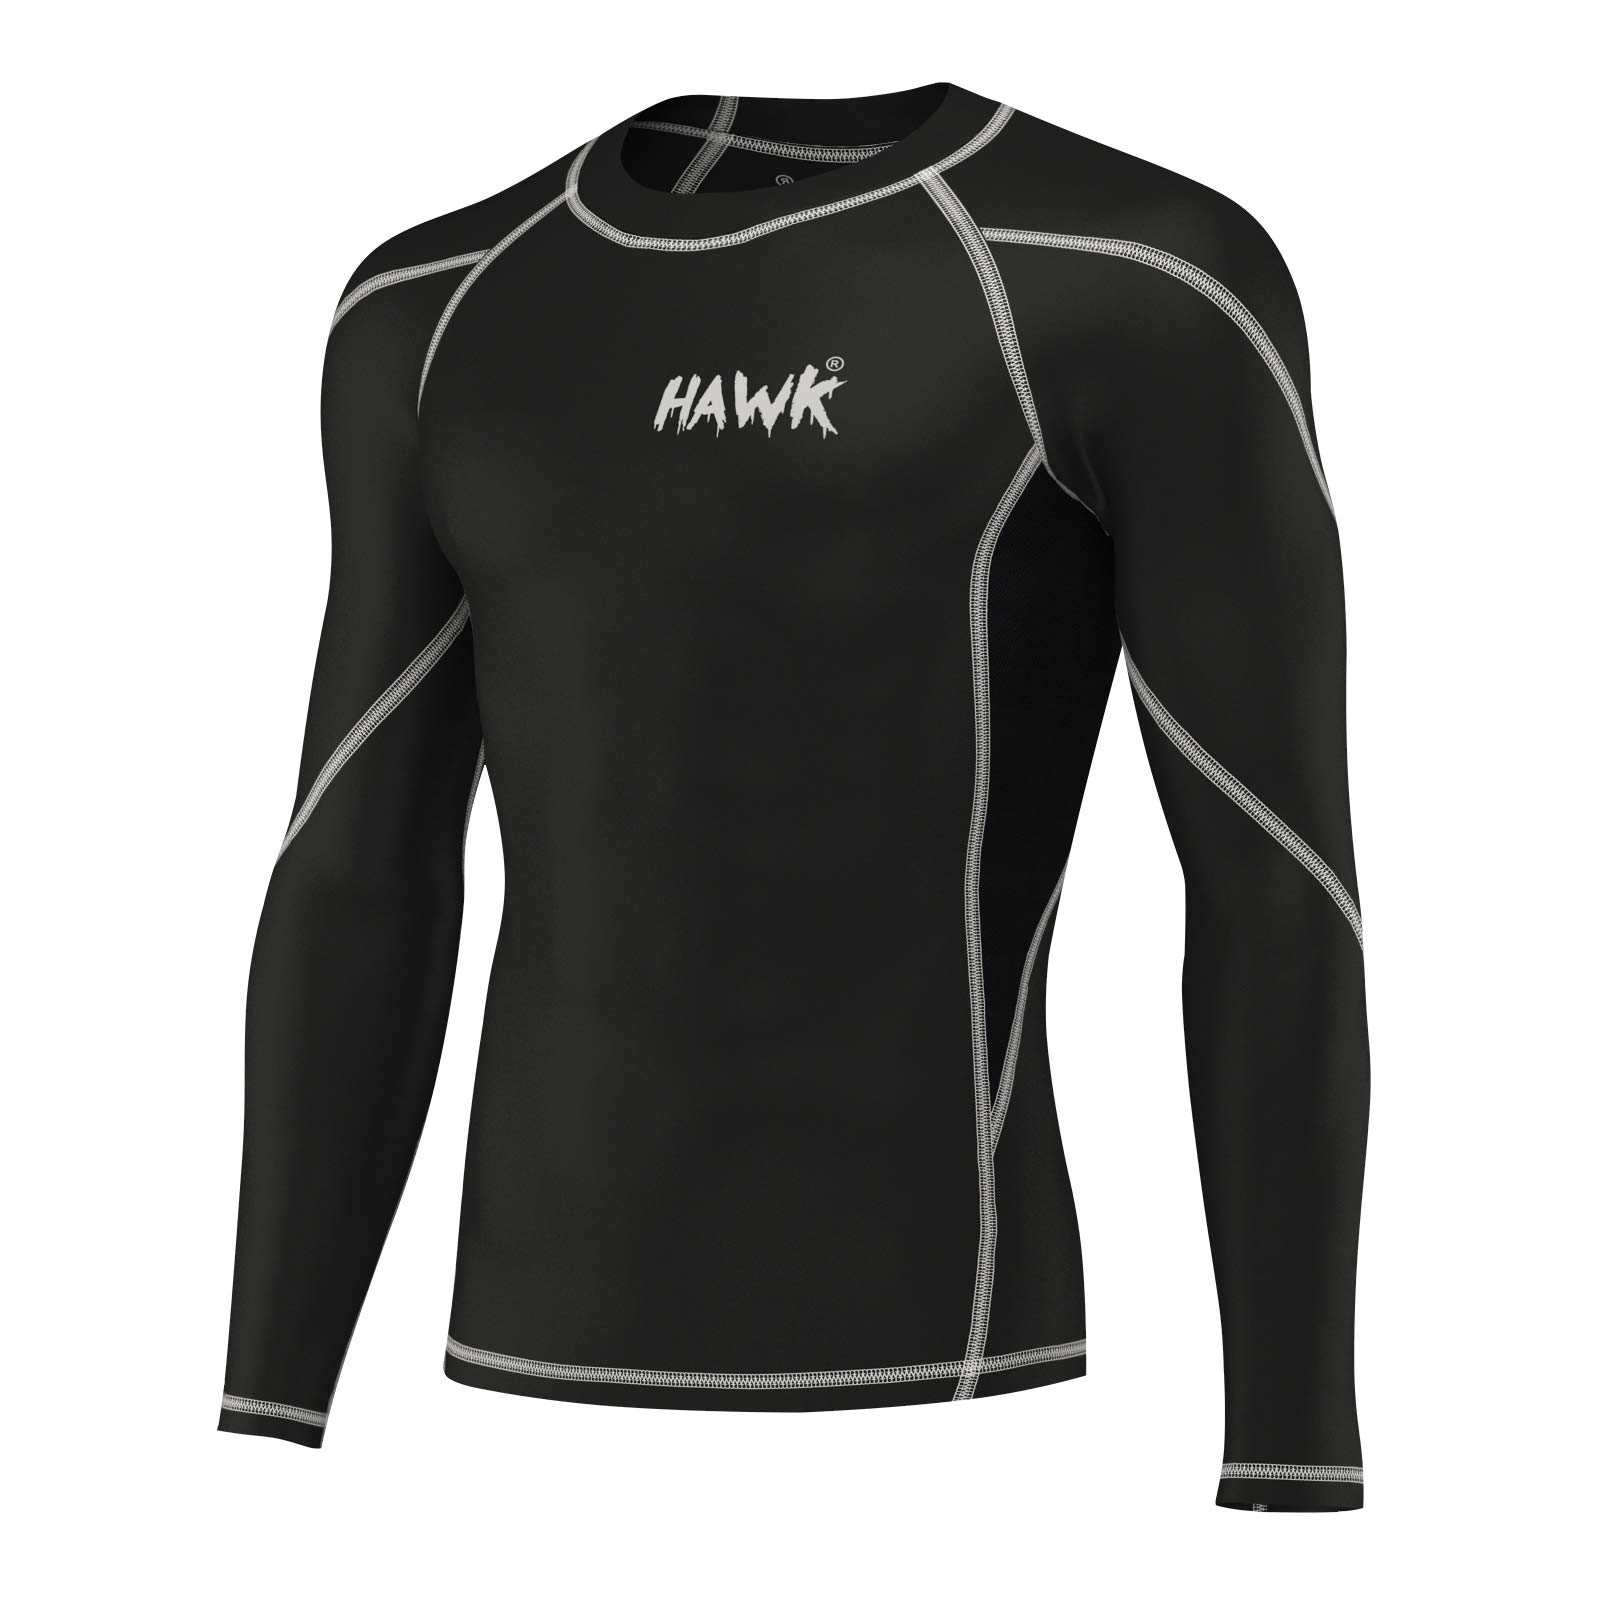
If your shoulders are broad relative to your waist, you generally want a top with a defined athletic or tapered cut so the yoke is built for the width you actually have; a straight tube cut will feel tight across the back and loose everywhere else. If you are leaner through the shoulders, look for panels described as “contoured” or raglan-style sleeves, which move the seam off the shoulder point and can actually fit a narrower frame better than a standard set-in sleeve.
Raglan construction — where the sleeve seam runs diagonally from the collar to the underarm instead of sitting on top of the shoulder — is worth understanding, because it changes the whole test above. On a raglan top there is no shoulder-point seam to line up; instead you judge fit by whether the diagonal seam sits smoothly without pulling at the neck or bagging at the armpit. Many of the most durable no-gi tops use raglan sleeves specifically because there is no seam sitting exactly where grips and pressure concentrate.
A Two-Minute Fit Routine Before You Buy or Roll
Put it all together and you have a quick sequence that tells you more than any size chart. Start by checking the shoulder seams against the bony point of each shoulder. Raise your arms overhead and watch whether the hem lifts your stomach into daylight. Rotate your torso hard ten times and confirm the side seams stay centered. Tuck your chin to your chest and feel for a ridge under your jaw. Finally, run a finger around the collar to make sure it lies flat with no standing edge. If it passes all five, the torso fit will take care of itself.
None of this requires a training partner or a live round — it is all a mirror and two minutes. But it is the difference between a rashguard you forget you are wearing and one you spend every round adjusting. When you are ready to compare cuts and constructions, an open search for no-gi rashguards lets you filter by sleeve style and read how each brand describes its shoulder and collar construction before you commit.

The Takeaway
The next time someone tells you a rashguard fits because it feels snug around the middle, ask them to raise their arms and rotate. Fit is not a measurement taken standing still — it is how the garment holds its position while you move, and that behavior is governed almost entirely by the shoulders, the yoke, and the collar. Anchor the top correctly and a no-gi rashguard becomes a genuine second skin: nothing to grab, nothing to fix, nothing between you and the roll.
Sources
- Wikipedia — Rash guard
- Wikipedia — Submission wrestling (no-gi grappling)
- Amazon — No-gi BJJ rashguards