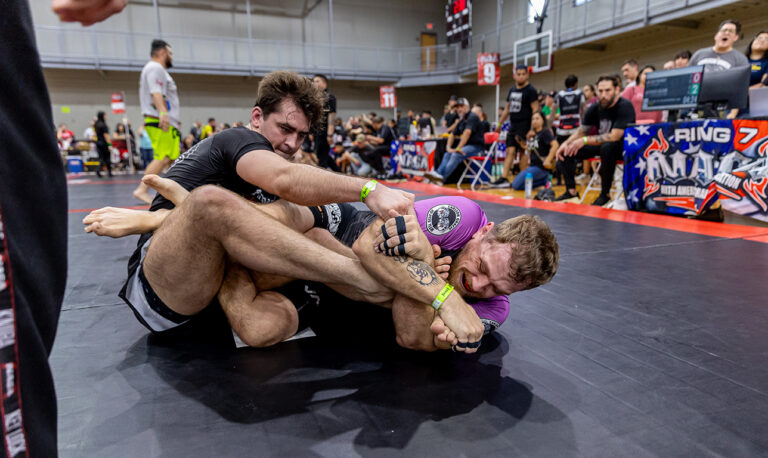
Kimura No-Gi: 7 Ways to Finish from Any Position
At ADCC 2022, kimura attempts posted a conversion rate near one in six across the bracket. That number climbs to roughly one in three when the lock is set from a controlled position like side control or north-south. The difference is not the grip. It is the position. A kimura with structural control behind it finishes. One grabbed in a scramble usually does not. That pattern is what this breakdown addresses: seven positions where the kimura has real conversion potential in no-gi, and the specific mechanical adjustments each one demands.
What No-Gi Changes About the Kimura
The gi version benefits from fabric grips — collar drags, sleeve control, and friction that helps pin the arm before the figure-four is even set. None of that is available in no-gi. Every pin has to come from direct body contact: chest pressure, knee position, hip weight. Lachlan Giles has argued this actually simplifies the lock. No-gi kimura creates a self-contained mechanical system. Once the joint is loaded, it produces a tap or a forced roll regardless of whether anything slides or slips. The precision requirement is higher — wrist control angles matter more, elbow elevation is stricter — but the payoff is a submission that works on every body type once the position is established correctly.
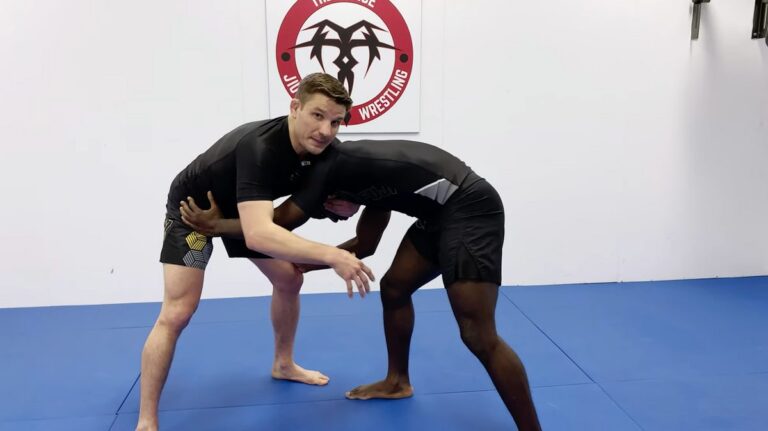
The grip: your near hand grabs their wrist with thumb pointing down, your far arm threads over their elbow, and your hands lock together with your far hand clasping your own near wrist — not theirs. From there, the seven positions below determine your rotation axis, your base, and how you close the space that lets them roll out of the pressure.
7 Positions to Finish the Kimura in No-Gi
1. Side Control — The Highest-Percentage Entry
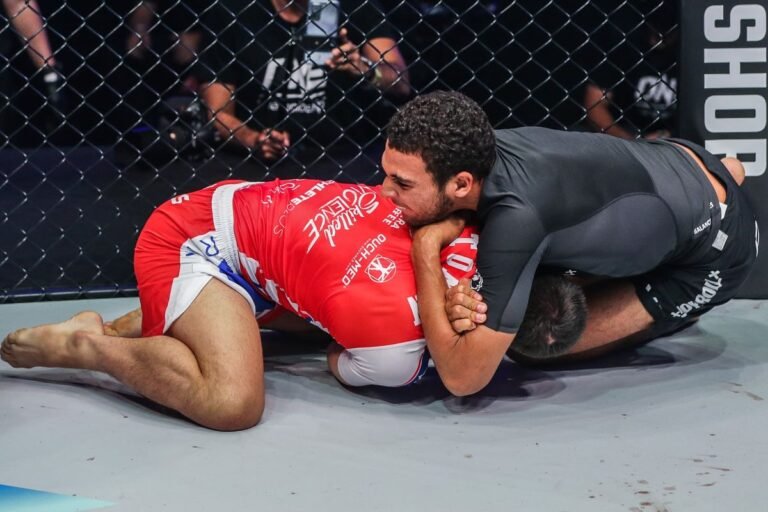
Side control is where most grapplers land their first competitive kimura. You already have structural control, your weight pins their far shoulder, and you are perpendicular to their torso — the optimal angle for loading the shoulder’s internal rotation limit.
From standard side control, secure their near wrist with your near hand, then step your near knee toward their head to cut off the bridge and roll escape. Thread your far arm over their elbow and lock the figure-four. The finish is not a pull toward yourself — it is a rotation skyward, lifting the elbow toward the ceiling while the wrist stays anchored to your body. Most people stall at 60–70% of full rotation because they are thinking “door handle” when the movement is closer to turning a screwdriver. If they turn into you when you start the rotation, that is the back take. If they straighten the arm to defend, that is the armbar.
2. Closed Guard — Sweep or Submit from the Bottom
The closed guard kimura attacks the near arm when your opponent posts a hand on the mat to establish base, or when they reach an underhook and extend the arm across your body.
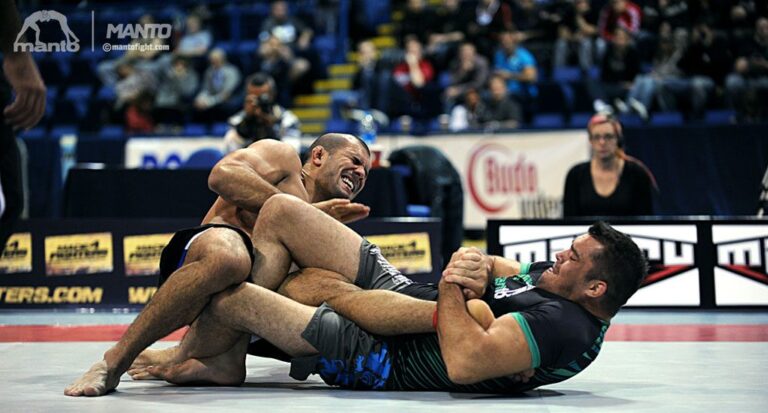
Break their posture first — one arm pulling the head down — then switch to a hip escape to create the angle for the figure-four. Finishing from the bottom requires momentum rather than gravity. If they sit up to defend the rotation, push their arm across your centerline and come up with them into a standing kimura or a direct sweep over the trapped arm. The connection point is critical: the elbow has to be pressed against your body before you rotate, or they straighten the arm and stall indefinitely. Keep your elbow inside their elbow the entire time.
3. Half Guard Bottom — Sweep Threat and Submission Combined
From bottom half guard, the kimura presents when your opponent reaches for a crossface or posts their near arm to stop you from coming up. That arm is directly in front of you.
Lock the figure-four, then use your hip escape to create space. The mechanic that makes this work — and that most people miss — is keeping their elbow elevated. Press your forearm into their tricep, not into the elbow crease, to prevent them from dropping the elbow and swimming through the lock. Once that elevation is maintained, a hip escape combined with the figure-four rotation either sweeps them over the trapped arm or finishes the submission as they reach forward trying to stop the sweep. The Kimura Trap system builds this into a full attack structure; the direct finish covered here is often faster when you catch the arm early before they can establish their base.
4. Half Guard Top — Attack the Far Arm
The far arm kimura from half guard top is underdeveloped in most people’s games. While you are working to pass — crossfacing, reaching for an underhook — your opponent posts their far arm on the mat to prevent you from flattening them. That post is the opportunity.
Thread your top arm under their body to secure the far wrist, then bring your other arm over their far elbow to lock the figure-four. Keep your chest low and your hips heavy to maintain pass pressure while you work the grip. The finish uses a hip-drop toward their feet — not a pull backward — which rotates the far shoulder through its range of motion. Training the far-arm kimura threat simultaneously with your passing makes both more dangerous: they cannot post the arm to stop the pass without exposing it, and they cannot hide the arm without giving up the pass.
5. Mount — Compact Rotation When They Frame
Mounted kimura comes off one specific response: your opponent frames their hand against your hip or chest to create distance. That extended arm is your entry.
Move your knee up toward their shoulder to cut off the elbow escape and prevent them from pulling the arm back. Execute the standard grip, then rotate the arm toward their head rather than away from their body. The difference from side control is range: this is not a large arc. The mount kimura is a compact movement — maybe 30–40 degrees of rotation past the resistance point. Most people stall because they expect a big visible sweep of the arm when the tap comes from a small, precise torque applied at the end range of motion. For the full menu of submission options from this position, the No-Gi Mount Attacks breakdown covers what else is available alongside the kimura.
6. North-South — Maximum Mechanical Range
North-south gives the kimura its maximum mechanical range of motion. A properly set north-south kimura almost always produces a tap or a forced roll before the attacker needs to increase pressure, because the joint has nowhere to go and the attacker’s bodyweight is fully behind the rotation.
From north-south, step your right leg over their head if you are attacking their right arm. Drop your hips low — the lower the center of gravity, the more controlled and efficient the rotation. Pull their arm across your body, then lift the elbow toward the ceiling. That upward elbow direction is the cue that separates a stalled north-south kimura from a fast finish. You are not pushing the wrist into the mat — you are elevating the elbow against the structural limit of the shoulder joint. The tap tends to come fast when the rotation is correct.
7. Back Control — Control Before Submission
Back control kimura works primarily as a positional control that blocks your opponent’s main escape. From a seatbelt, their primary exit is to slide their hips and turn into you. A kimura grip on their top arm makes that turn a submission attempt on themselves.
Transition your top seatbelt arm into a kimura grip on their near arm. Now they cannot turn in without submitting themselves, and the arm is isolated for a finish if they panic. To actually submit from back control, you typically release the back hook and rotate around to a modified north-south angle while maintaining the lock — the finish happens off the back position, not from within it. The more practical value here is defensive: when your opponent fights your hooks and tries to belly down or roll, the kimura grip keeps them in place while you reset.
Kimura vs. Omoplata vs. Americana
All three submissions attack the shoulder joint. Kimura and omoplata both apply internal rotation; americana applies external rotation. In no-gi, the decision usually comes down to one factor: where is the wrist?
If you can get both hands on their wrist directly, take the kimura — it is faster to set and provides the most positional control during the finish. If the arm is pinned under your own body (common in guard scrambles where you have rolled and their arm is trapped), the omoplata is the answer because it locks with your legs and bypasses the access problem entirely. The americana is a backup when kimura rotation is not producing pressure — sometimes the shoulder angle does not respond to internal rotation the same way, and switching to external rotation finds a different resistance point that produces the tap.
Defending the Kimura in No-Gi
Prevention outweighs recovery. Once the figure-four is locked with the elbow isolated, escape options narrow quickly. The most important defensive principle is keeping your arms from posting flat on the mat — that natural framing instinct exposes the wrist exactly when your opponent is looking for it. When you feel someone reaching for your wrist, pull it to your centerline immediately.
If the grip is already set, your position determines the option. From bottom side control, create space with a hip escape and reach your free arm across to strip their wrist grip before the rotation completes. From bottom half guard, a rocking motion that forces them to re-establish base disrupts the steady pressure a kimura needs to finish. From mount or north-south, the window is small — which is why many coaches who study back-control entries note that defending the kimura from those positions often leads naturally to a back take if the escape is timed correctly. Giving up back control during a kimura escape sometimes puts you in a better position than trying to hold both.
What the Competition Data Tells You
Kimura finishes account for roughly 5–10% of all submissions in elite no-gi competition. They are part of what analysts tracking ADCC and EBI brackets call the “big five” — armbar, rear naked choke, triangle, guillotine, and kimura — which together account for over 56% of all finishes at those events. Heel hooks have surpassed the kimura at the top levels of leg-lock-centric competition, but within arm attack submissions, the kimura remains the second most common finish after the armbar in no-gi settings.
The conversion context matters: roughly one in twenty kimura attempts converts in elite open competition. That figure reflects the scramble attempts that never had structural backing. In controlled positions — side control and north-south specifically — the conversion rate climbs significantly higher. David Avellan, who pioneered the systematic kimura approach first demonstrated publicly at ADCC 2009, has cited figures closer to one in three from those spots. Drilling the lock from positions you already win — not from scrambles — is where the actual conversion rate lives.
The kimura is not a technique you stumble into and finish on instinct. It rewards positional discipline: get the control first, then load the joint. That order is the difference between a one-in-twenty submission and a one-in-three one.
Sources
- Grapplearts — The Kimura Roadmap — Stephan Kesting’s analysis of kimura mechanics and entry positions.
- BJJ Heroes — Kimura Lock — History of the submission from Masahiko Kimura’s 1951 match against Hélio Gracie.
- ADCC — Rules and Regulations — Official competition format confirming kimura legality at senior level.
- Digitsu — Kimura Submission Statistics — Submission data from elite no-gi competition analysis.
- Evolve MMA — Kimura Grip Applications — Overview of the kimura as positional control and submission threat.