Body Triangle No-Gi: 7 Keys to Finish from the Back
When you take the back with two hooks in no-gi, your opponent has a clear map out: bump, hip escape to the free side, and roll through. The body triangle closes that exit before they find it. Instead of fighting to keep two hooks while they scramble, you lock a leg triangle around their waist and sit on the position while the squeeze does the work. It’s the difference between constantly defending exits and forcing them to solve a problem that has no clean answer.
The body triangle works differently in no-gi than in the gi. There’s no collar or lapel to anchor the choke, so the control itself needs to be tighter — and that’s exactly what the body triangle delivers. This guide covers seven specific keys to make it effective, from the initial lock-in to the finishes that actually work under no-gi rules.
What the Body Triangle Does from No-Gi Back Control
Two hooks from back control give you position, but the escape route is predictable: your opponent needs to get their hips to the mat and turn into one hook to neutralize it. This is a fundamental back escape that every experienced grappler drills. Once they’ve turned into one hook, they can begin working to face you and remove themselves from back control entirely.
The body triangle eliminates the turning escape. With your legs locked around their torso — one leg over the hip, the foot threaded behind their knee in the triangle — they cannot rotate their hips into the free side without dragging your entire lower body with them. The squeeze from the triangle also compresses the ribs and short-circuits their breathing in a way that two hooks alone cannot.
Anatomically, the triangle wedges against the floating ribs on the top side and the hip on the bottom, creating constant compression. According to research on trunk stability and lateral compression forces, sustained lateral trunk compression taxes the intercostal muscles within 60–90 seconds — which means the longer you hold it, the worse their situation gets. You don’t need a perfect choke. You need to sit there.
Key 1 — Lock In the Body Triangle Before They Settle
The biggest mistake people make with the body triangle is trying to switch to it after their opponent has already settled into a defensive posture. That’s when it becomes a wrestling match. The window to enter the triangle is when you first take the back — specifically during the two-to-three second scramble while they’re still adjusting.
When you secure back control, shoot your top leg over their hip and immediately find their far-side knee with your foot. The lock clicks into place when your top foot is hooked behind their knee and your bottom leg is flat against their thigh. Pull your feet together like a standard leg triangle — the tighter you make that initial lock, the less they can do to escape it. Don’t wait for them to settle. Build the triangle in the same breath you take the back.
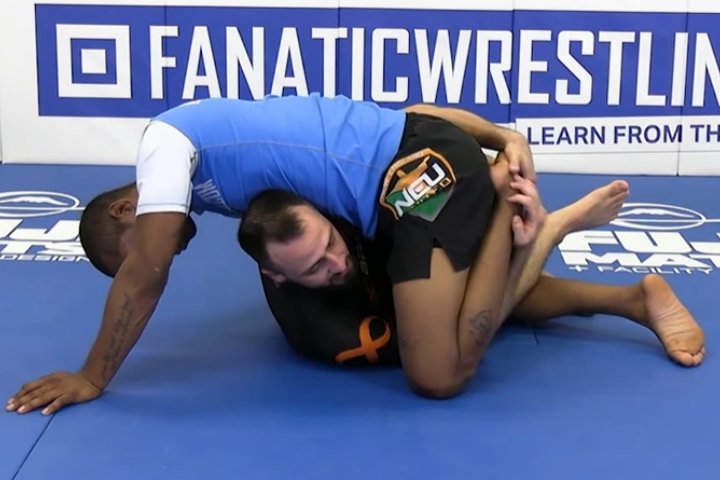
One common setup in no-gi is taking the back from the turtle position. As they’re on all fours and you’re riding from behind, slide your hips to one side, shoot your top leg over, and immediately thread the triangle before they can drop their hips. If they get their hips to the mat first, the body triangle becomes much harder to establish.
Key 2 — The Rear Naked Choke Finishes Faster from Body Triangle
The rear naked choke is still the primary finish from the back, but the body triangle makes it more reliable. Here’s the specific reason: with two hooks, your opponent can defend the choke and simultaneously work the escape. With the body triangle, defending the escape requires using their arms — which takes one arm out of the choke defense. They’re solving two problems with one arm.
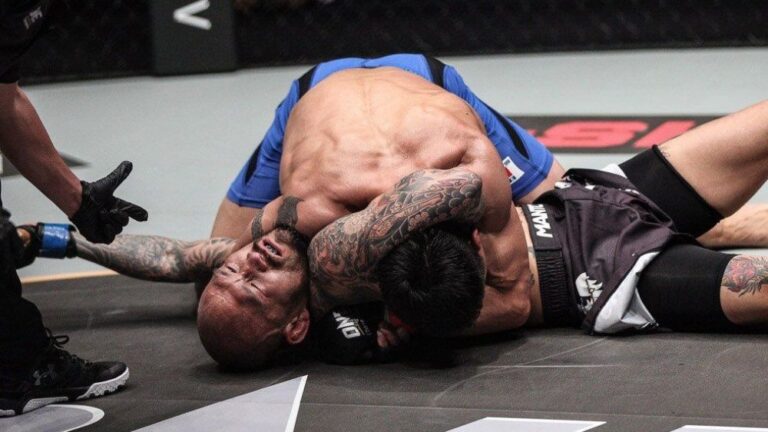
To finish the rear naked choke from body triangle, use the squeeze as the setup. As you increase the lateral pressure with your legs, their chin naturally drops to protect their neck and their elbows drop to brace against the compression. That’s your window. The moment their chin drops, your choking arm slides under the chin uncontested. Once you get your arm under the chin in no-gi, figure-four it behind their head and extend your chest forward rather than pulling back — the extension tightens the choke without giving them room to tuck their chin again.
See more choke details in our guide to the rear naked choke no-gi.
Key 3 — Force the Arm Trap When They Defend the Choke
Experienced grapplers defend the rear naked choke by pulling your choking arm down and tucking their chin. When they do this, they give you something else — their arm is now isolated below your choking arm, and you can arm trap it.
With your body triangle locked and their arm pulled down, slide your choking arm over their defending arm rather than fighting to get under it. Pull their arm across their chest. Now use your other arm to figure-four behind their head. The arm trap choke — sometimes called the mata leão with arm trap — compresses both carotid arteries more effectively than a standard rear naked choke because their trapped arm pushes against your forearm and increases the choking pressure automatically.
The body triangle is essential here because without it, trapping the arm while maintaining back position is extremely difficult. Their trapped arm would normally give them leverage to turn into you. The body triangle removes that option.
Key 4 — Far Side Armbar When They Reach Back to Frame
When they’ve given up on escaping the body triangle and shift focus to defending the choke by reaching back and framing with one hand against your face or shoulder, they’ve left their near-side elbow vulnerable. This is the setup for the far side armbar — and it’s cleaner in no-gi than in the gi because there’s no jacket to create drag.
As their far arm reaches back, grip their wrist with your non-choking hand. Pull their arm tight against your chest and rotate your weight toward that side. Your body triangle leg on the top side will naturally slide up their body as you rotate — use that to pin their arm against your torso. Extend your hips forward while pulling the wrist back. The leverage point is against your hip, not your arm.
This works consistently at the intermediate level because grapplers learn to frame against the choke but haven’t yet drilled the arm awareness to keep the far elbow tight. If you see the frame coming, skip the choke entirely and go for the armbar in the same motion.
Key 5 — Use the Body Triangle Squeeze as a Submission
The body triangle squeeze itself can function as a submission — it’s legal under most no-gi submission grappling rulesets, though not in all competitions (check your specific ruleset). Under ADCC and EBI rules, a body triangle squeeze that causes a tap is a valid finish.
To make the squeeze submission-level tight, align your knees directly over the opposite side of their floating ribs. The leverage comes from driving your knees toward each other while simultaneously pulling with your hamstrings to tighten the triangle. Don’t just squeeze — the effective motion is knees driving inward plus feet pulling toward your hips simultaneously. Competitors with strong adductors, like wrestlers with powerful hip flexion, often finish with this before even attempting a choke.
The psychological effect is also useful. When your opponent taps to the squeeze in a training session, they’re now aware that defending the choke isn’t their only problem. That second layer of threat opens the choke up considerably.
Key 6 — Transition to a Triangle Choke When They Escape the Hips
If your opponent manages to start turning into you despite the body triangle, don’t panic — use the momentum. As they rotate into your guard side, your top leg is already positioned across their body. Push their arm down with your near hand and shoot your top leg up to their neck. You’re now in a triangle choke from the back, using your body triangle leg as the closing leg of the triangle.
This is one of the reasons elite back-takers prefer the body triangle to hooks: it transitions into a front-facing attack if the position reverses. With two hooks, if they turn into you, you’re in guard with nothing locked. With the body triangle, their turn into you feeds directly into a triangle choke or omoplata opportunity depending on where their arm ends up.
The transition takes drilling to get the timing right, but the mechanics are simple. When they rotate: push the arm, shoot the leg to the neck, pull their head with your other arm. The triangle locks the same way it does from guard.
Key 7 — Chain Submissions to Exhaust Defenses
The most effective back control doesn’t come from picking one finish and committing to it fully. It comes from moving between threats fast enough that your opponent’s defense is always one step behind. The body triangle makes this chaining easier because your lower body is stable — you’re not fighting to keep hooks while attacking with your upper body.
A reliable chain from body triangle: Start with the rear naked choke grip. They defend by pulling your arm down. Switch to the arm trap choke. They defend by driving your arm off. Go back to the rear naked choke. They over-defend by tucking their chin aggressively and reaching back to frame. Take the far side armbar. They pull their arm in to protect it. The rear naked choke is open again.
Each move in the chain is a real threat, not a feint. If they give you anything, take it and finish. If they don’t, cycle again. The body triangle’s compression is doing damage the entire time. A well-conditioned grappler will last longer, but even they will start making mistakes after 90 seconds of sustained body triangle pressure and submission cycling.
For more on staying dominant from the back, see our complete guide to back control no-gi.
Why the Body Triangle Works Better in No-Gi
In the gi, back control benefits from collar and lapel grips that create strong choking connections without needing perfect body position. In no-gi, you don’t have those grips, which means your body position has to carry more of the load. The body triangle is specifically designed for that scenario — it does in no-gi what the gi collar does in terms of anchoring position and creating a stable platform for finishing attacks.
Two hooks in no-gi require constant active management: hooking, re-hooking, and fighting to keep the position while your opponent scrambles. The body triangle is a passive position once it’s locked in. You can focus entirely on upper body attacks because your lower body is doing the control work automatically.
You’ll also find the body triangle more durable in sweaty conditions — a reality in no-gi grappling. Hooks slip when both bodies are coated in sweat. A locked leg triangle doesn’t slip in the same way because the joint locks into the triangle rather than relying on friction.
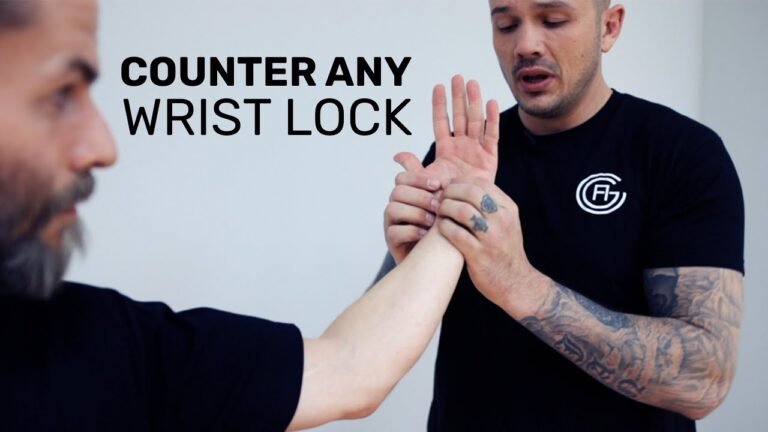
Check our guide on wrist locks no-gi for another submission option when they defend the choke by framing with their wrists.
Sources
- Body triangle (grappling) — Wikipedia — Overview of the body triangle position mechanics in grappling.
- 3 Ways To Secure A Stronger Body Triangle In BJJ — Evolve MMA — Technical breakdown of body triangle setup principles.
- Mastering Back Control with a Body Triangle — Southern Soul Academy — Application notes for back control with body triangle.
- Back Maintenance: Body Triangle From the Back — Outlier Mat Minute — Advanced body triangle retention strategies.
Image credit: fashionactivation.com