No-Gi Triangle Choke: 5 Best Setups
The triangle sits in a different category from most no-gi submissions. You don’t need particularly long legs. You don’t need elite leg lock entries or years of heel hook drilling. What you need is a sharp understanding of hip geometry — specifically, why the angle you create off centerline matters more than how hard you squeeze. Fighters who triangle well at the highest levels, from Ryan Hall to Marcelo Garcia, all share one thing: they don’t chase the squeeze first. They create the angle, then the submission takes care of itself.
This breakdown covers five distinct no-gi triangle setups — from the fundamental closed guard entry to the flying triangle that ends careers at ADCC. Each one is worth drilling in isolation before you chain them together.
1. No-Gi Triangle Choke from Closed Guard — Still the Best Starting Point
Every triangle choke entry traces back to the same mechanics. The closed guard version teaches them cleanest because your opponent’s movement is most controlled.
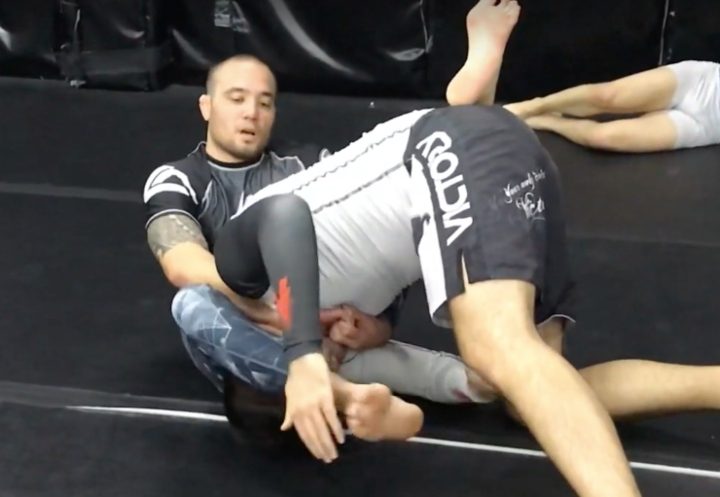
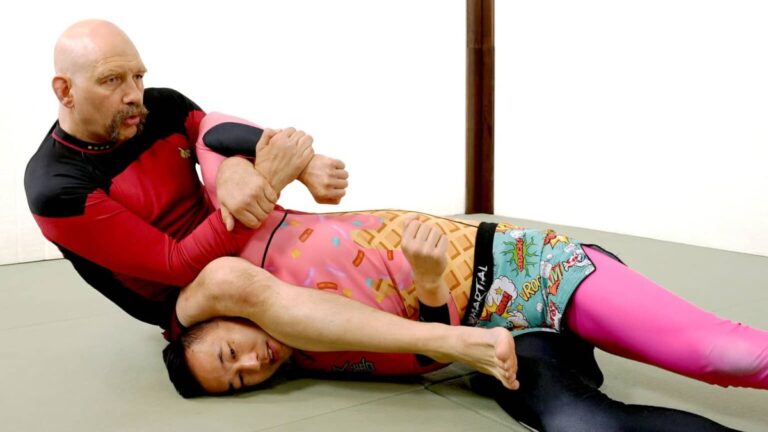
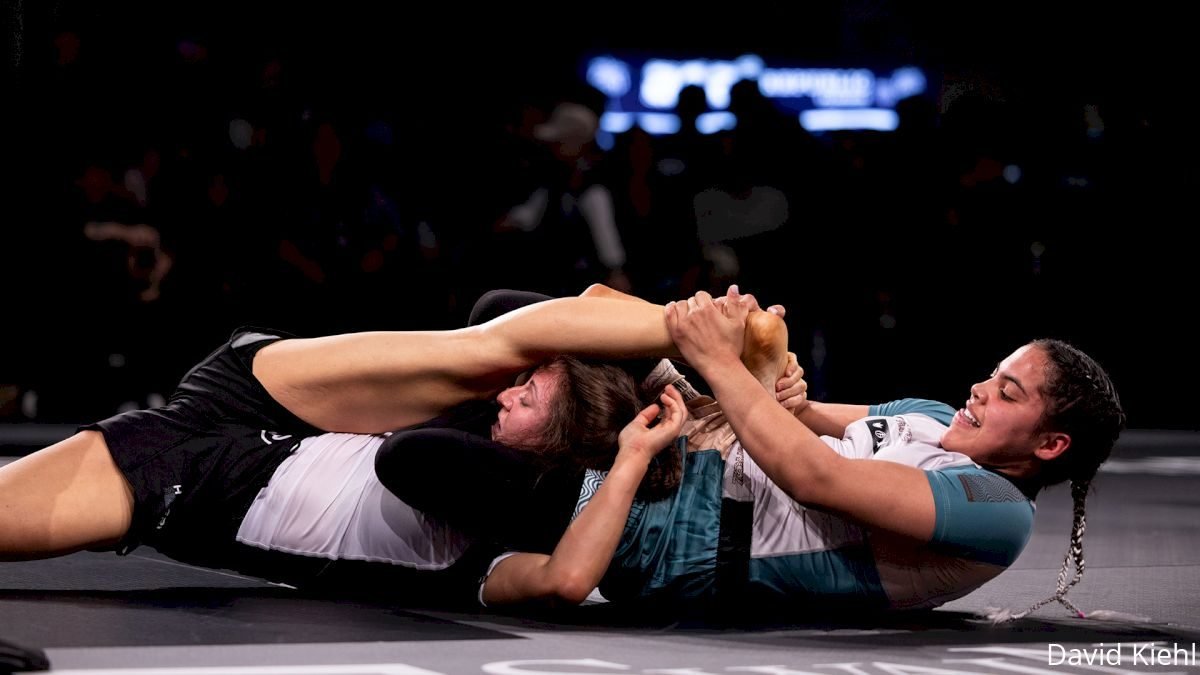
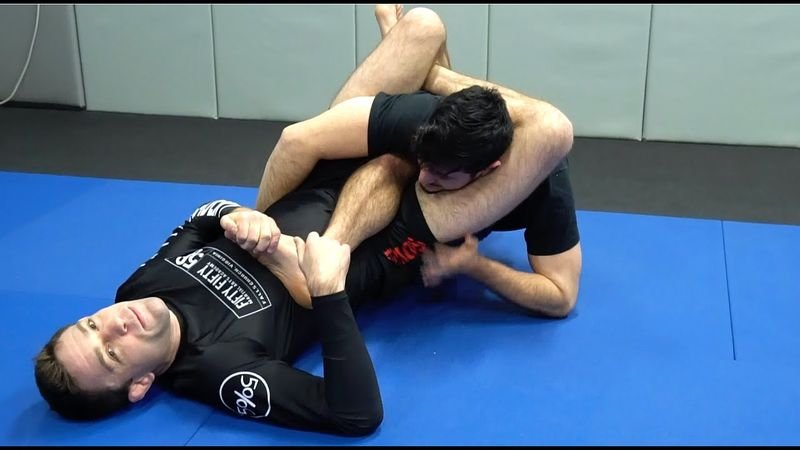
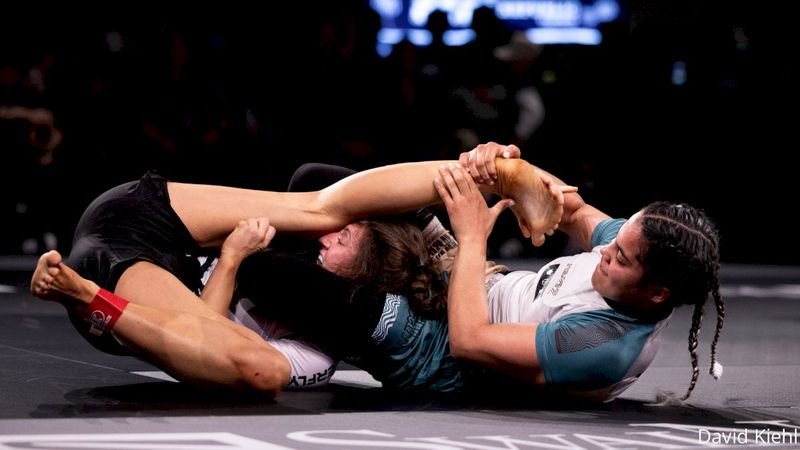
The moment most grapplers miss: the arm trap has to happen before the leg lock. When your opponent reaches in or pushes a knee down to open your guard, their arm crosses your centerline. That’s your window. Pull the wrist across your body, shoot your same-side hip up and out at a 45-degree angle, and throw your leg over the back of their neck. The leg doesn’t wrap — it sits on the back of the head. Your other leg creates the lock by crossing behind the first ankle.
What kills the closed guard triangle in no-gi is posture. Without lapels to drag them down, you’re relying on your guard pull, your shin pressing against their chest, and your hip angle. Drive your heel into their back, curl your body toward them as you cinch the lock, and turn your hips 45 degrees away from the trapped arm. That rotation is what generates the choke pressure — not squeezing your thighs together like a vise.
2. Triangle from Open Guard: Catching Them on the Pass
The closed guard triangle requires your opponent to be inside your guard. Most experienced grapplers aren’t staying there long. The open guard entry catches them mid-pass — the exact moment they’re committed to moving through.
From seated or butterfly guard, your opponent pushes forward to flatten you. As they drive in, you invert your hips and shoot your far leg up and over their near shoulder. This is the key timing: you’re not waiting for them to settle into position. You’re triangling as they move, using their forward pressure to help you get the leg over. The hip inversion looks awkward in drilling; in a live roll it happens almost automatically if your timing is right.
The seated guard version Marcelo Garcia used extensively works off a similar principle. As the opponent pushes to pass, you use the push itself to create the angle. You end up in a triangle from a position they thought was a pass attempt. It’s disorienting to defend because they feel like they’re winning until the choke clicks in.
3. Triangle After a Failed Armbar — The Most Common Chain in No-Gi
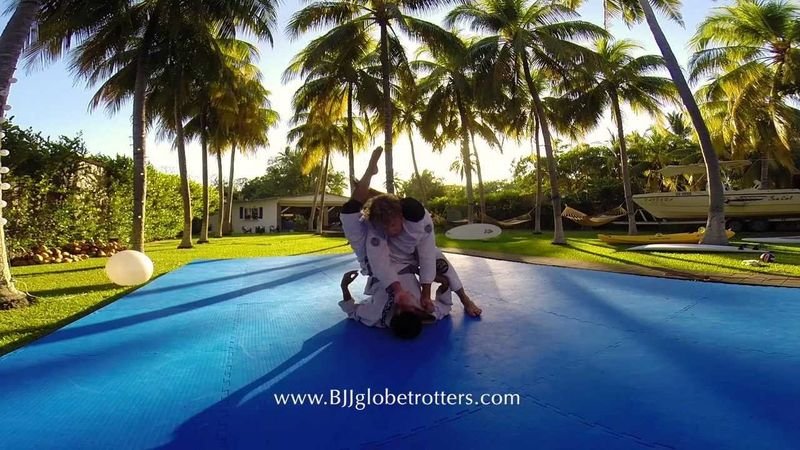
Armbar stacks happen constantly in no-gi. Your opponent stacks their weight into you to relieve elbow pressure. That stack is a triangle waiting to be taken.
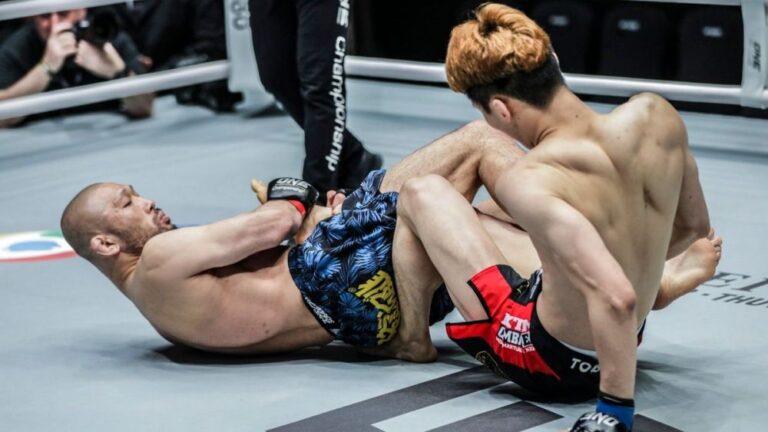
When stacked, most grapplers try to hold the armbar or switch to an omoplata. Instead, free your bottom leg, bring it across their far shoulder, and lock your triangle while keeping the arm trapped. Because their weight is already forward and their posture is bent, you get the leg over their head with almost no resistance. You went from losing an armbar to finishing a triangle — often in under two seconds.
This chain runs the other direction too. Triangle defenders usually posture and lift their trapped arm. That’s the armbar setup. The loop between these two submissions is the foundation of guard work at every high-level no-gi competition. Train them as a pair from day one. For a full armbar breakdown, check the arm bar no-gi guide.
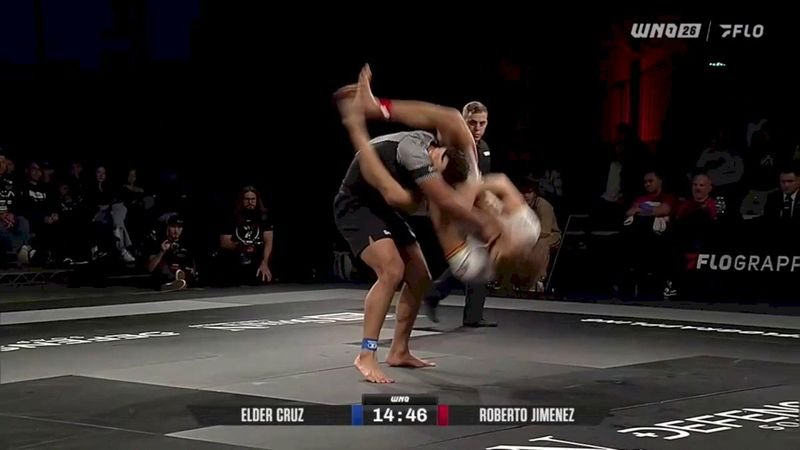
4. The Rear Triangle — When Back Defense Becomes an Offense
Back control is usually about the rear naked choke. But when your opponent’s chin is tucked and they’re defending well, a rear triangle gives you a second route to the finish without having to reset.
From seatbelt control with your hooks in, your opponent pulls down on your choking arm to defend. Instead of fighting for the neck, bring your choking arm back, swing your top leg over their far shoulder, and cross your ankles into a triangle lock with their arm and neck trapped. You’ve converted from a back attack to a triangled position — and they’re now defending from a worse angle than before.
The rear triangle finishes differently from the front triangle. You’re squeezing horizontally rather than vertically. Some grapplers finish by applying downward pressure with their legs while rolling slightly to the side. The trap is the arm — if the arm is free, the choke doesn’t work. Confirm the arm is inside before you apply any squeeze.
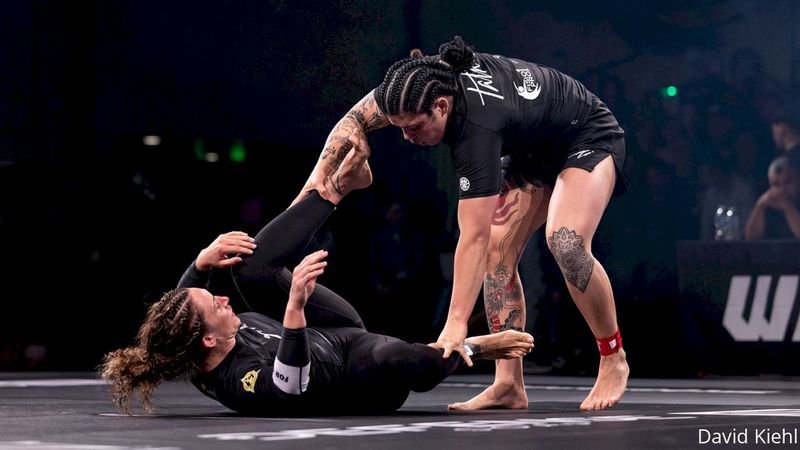
5. The Flying Triangle — High-Risk, High-Reward
Ryan Hall made his career partly on the flying triangle. Shinya Aoki hit it against multiple opponents at elite level. It’s not a beginner move — but it’s also not as reckless as it looks, because the timing window is extremely specific and therefore easier to identify than most people assume.
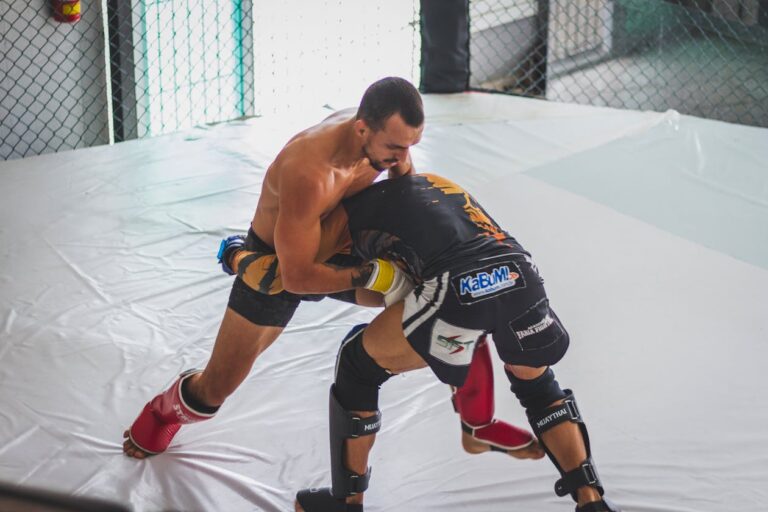
The entry works off a failed or over-committed single-leg takedown. When your opponent shoots in deep and your sprawl starts, you have a brief moment where their head is positioned perfectly to catch a triangle mid-fall. You jump into the triangle — both legs encircling their neck and one arm simultaneously — and use the fall to tighten the lock as you hit the mat.
The key detail: you’re not jumping blind. You jump only when the head is already at shoulder height on your body. If they’re too low, you end up in an awkward position with no leverage. If the timing is right, you land with the triangle already locked and their momentum doing half the work of the finish. Ryan Hall’s instructional on triangles goes deep on this timing — worth studying even if the flying version isn’t in your immediate game plan.
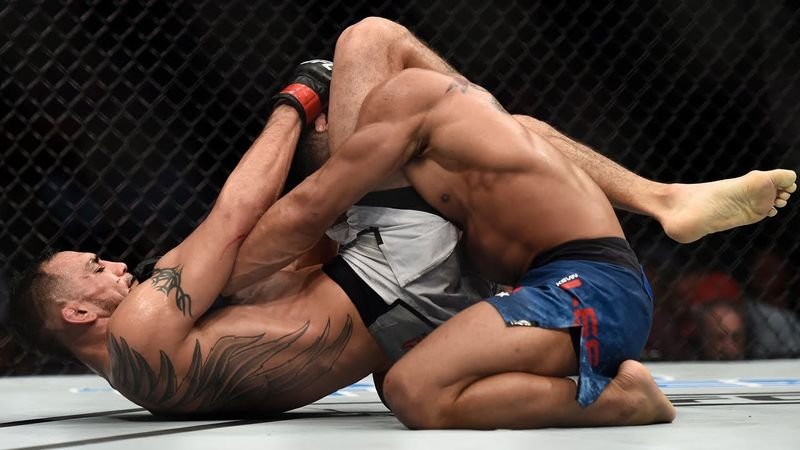
Why No-Gi Triangles Need More Hip Work Than Gi
In the gi, you can drag your opponent’s posture down with collar grips. Their head stays low, which makes getting your leg over the back of the neck easier and keeps the triangle tighter without as much hip work. No-gi removes that shortcut entirely.
Without the gi, you’re dealing with a slippery opponent who can posture freely. That’s why hip angle isn’t just important — it’s the entire game. A 45-degree angle off centerline creates carotid compression without squeezing. Staying flat gives you nothing but a leg lock that doesn’t finish.
Three hip cues to drill until they’re automatic: (1) When you throw your leg over, simultaneously push your hip away from the trapped arm. (2) Turn into the submission as if you’re trying to face the same direction as your opponent. (3) Don’t chase the lock with your legs — create the angle first, then bring the legs together. Skipping step one is the most common reason grapplers stall out on a triangle that looks locked.
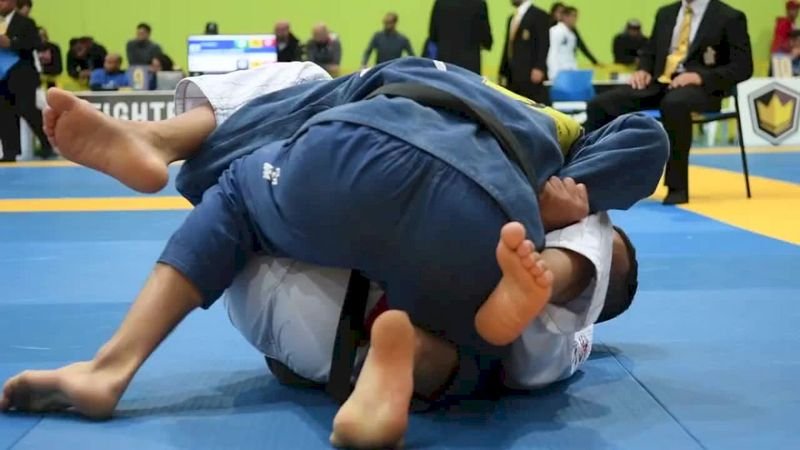
The Two Mistakes That Stall Every Triangle
The first mistake is chasing the finish before the arm is controlled. Grapplers lock their legs and start squeezing immediately, but if the arm isn’t trapped across the neck, all they’re doing is leg-pressing their opponent’s neck — uncomfortable, but not a choke. According to Grapple Arts, confirming arm position before applying squeeze pressure is the single most important technical detail separating a tight triangle from a stalled one. Verify the arm is inside before you apply any force.
The second mistake is staying flat on your back. Every triangle attempt that stalls does so because the person on bottom isn’t creating the hip angle. As soon as you feel them posturing or stack-escaping, rotate. Don’t wait for them to escape — rotate as a reflex when you feel any defensive pressure. This is the specific mechanical difference between a Ryan Hall triangle and a white-belt triangle: constant active adjustment, not a static hold.
Chaining the Triangle Into Your Guard Game
The triangle doesn’t live alone. It connects naturally to the armbar when opponents posture straight, the omoplata when they post on the mat, and the kimura when they base out to relieve pressure. The submissions in this chain cover every defensive response — there’s no safe direction for the person on bottom to move without entering a different attack. According to Digitsu’s breakdown, the triangle-armbar chain in particular accounts for a significant portion of competition guard submissions at all levels.
Start with the armbar and the triangle as your two primary guard attacks. Once those two are reliably sharp under pressure, add the D’arce and guillotine as secondary attacks from scrambles. The D’arce choke guide covers the front headlock entries that connect directly from a failed triangle, and the guillotine breakdown shows the defensive patterns you’ll use when someone tries to use the guillotine against your guard work. The combination of those four submissions covers virtually every defensive posture an opponent can take from inside your guard.
Sources
- Grapple Arts — Five Triangle Chokes You Should Know — Comprehensive breakdown of triangle choke variations and technical details by Stephan Kesting
- You Jiu Jitsu — Triangle Choke: The Complete Guide — Mechanics and finishing details including no-gi specific application
- Digitsu — Triangle Choke in BJJ Explained — Instructional breakdown including chain attack statistics and applications