Side Control Escape No-Gi: 7 Keys to Get Out
Side control is where a lot of no-gi matches quietly get decided. It’s not the position people train the hardest — most grapplers spend far more mat time drilling guard passes and submissions than they do bottom survival — but it’s the position you end up in constantly, off a stuffed takedown, a scrambled pass, or a failed submission attempt. Gordon Ryan has said in multiple interviews that his escape systems get drilled as hard as his offense, specifically because so much of live rolling happens from bad positions, not good ones.
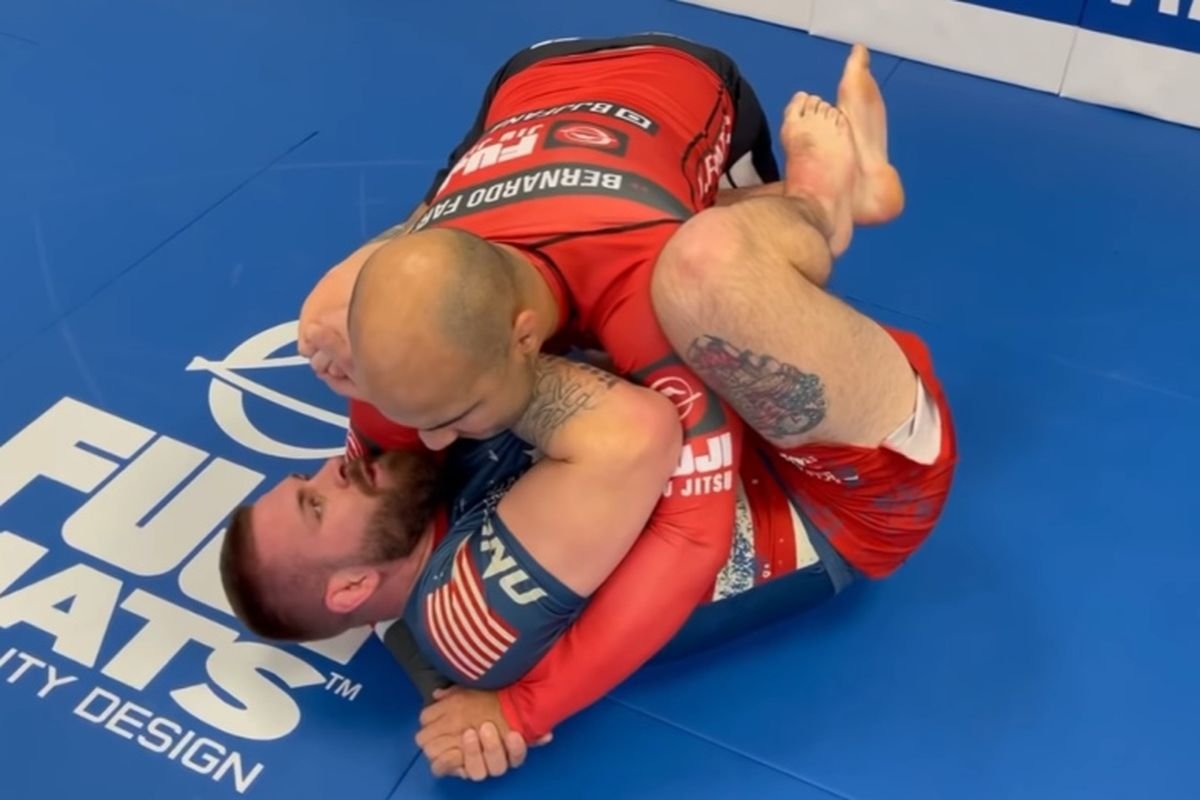
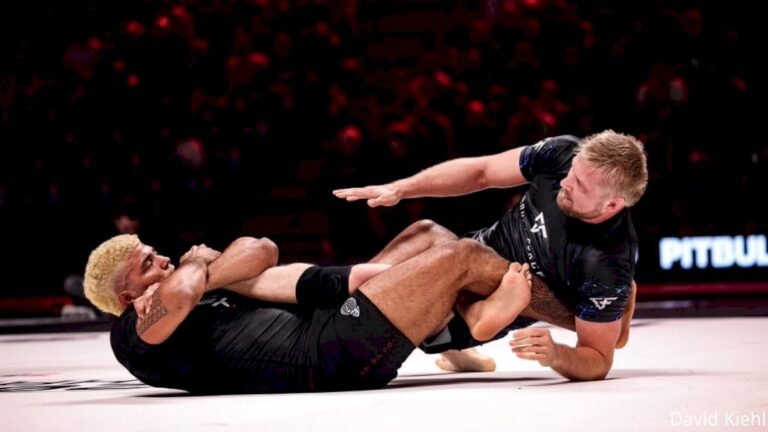
Gordon Ryan clearing a cross face on the way out of side control — the same frame-first principle that makes every escape in this article work.
Why No-Gi Side Control Escapes Depend on Frames, Not Strength
In the gi, a stalled escape can still work through sheer grip fighting — you can stall a cross face by grabbing a collar, or slow a far-side knee by grabbing a pant leg. None of that exists in no-gi. Every control point your opponent has on you is bodyweight and hand pressure, which means every frame you build back has to be precise, because there’s no second chance to grab fabric if your first frame slips.
That’s also why no-gi side control escapes tend to look faster and more explosive than their gi counterparts. Sweat cuts both ways — it makes your opponent’s pins harder to hold as much as it makes your frames harder to maintain — so a sharp, well-timed movement beats a slow, grinding one far more often than it does in the gi.
Key 1 — Build the Far-Hip Frame Before Anything Else
The instant you land in bottom side control, your first priority is a frame on your opponent’s far hip with your bottom-side arm. This single frame does the most work of anything you do in the entire escape: it stops your opponent from sliding their hip forward into mount, and it gives you the wedge you need to start shrimping away.
Grapplers who skip straight to fighting the cross face without securing this frame first usually get flattened before they ever get the chance to move their hips. The hip frame comes first, every time, regardless of which specific escape you’re aiming for.
Key 2 — Clear the Cross Face Before You Try to Move
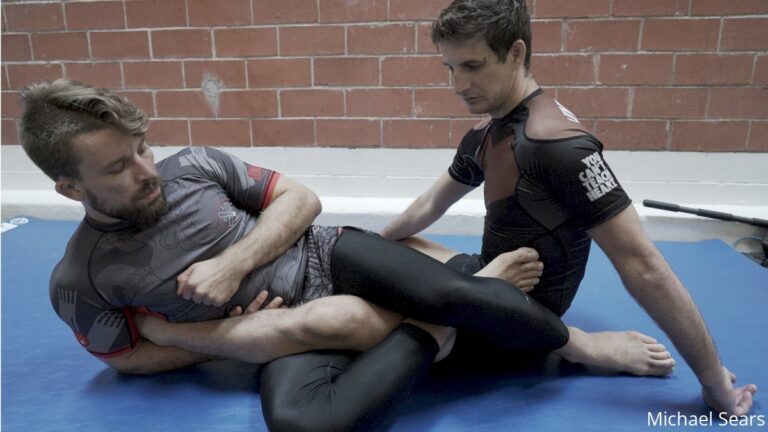
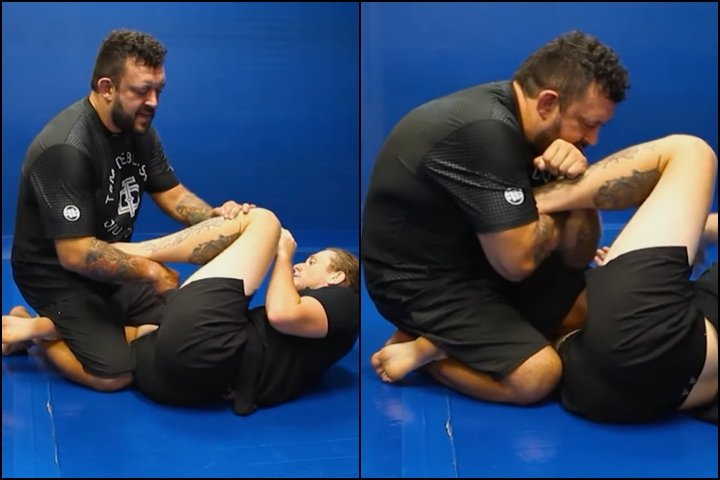
A tight cross face — your opponent’s arm or shoulder pinning your head to the mat — kills an escape before it starts, because you can’t shrimp your hips away while your head is nailed in place. Reach your top-side hand inside their cross-facing arm, palm your own head, and flare your elbow out and up. That single motion breaks the connection between their upper body and yours.
This is the detail most white belts miss entirely. They fight the hip and ignore the head, and wonder why their hips move three inches and then stop dead. Clear the head first — the hips follow once that pressure is gone.
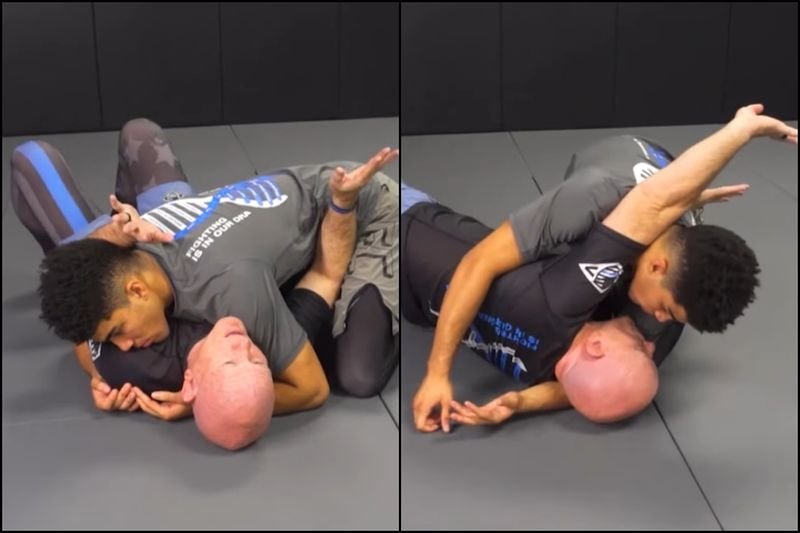
Moving the top player’s head changes the entire geometry of the pin — a detail that matters more than fighting the hip first.
Key 3 — Fight for the Underhook the Moment It’s Available
If your opponent’s far arm is light or their hips are slightly elevated, reach your bottom-side arm underneath them for an underhook. The common mistake is punching straight through their armpit with a stiff arm — your elbow needs to slide along their ribcage first, threading through rather than forcing through. A forced underhook gets stuffed; a threaded one doesn’t.
Once the underhook is in, it becomes your steering wheel for the rest of the escape. Push off it to create the space your hips need, and use it to control whether your opponent can follow you as you recover guard or come up to your knees.
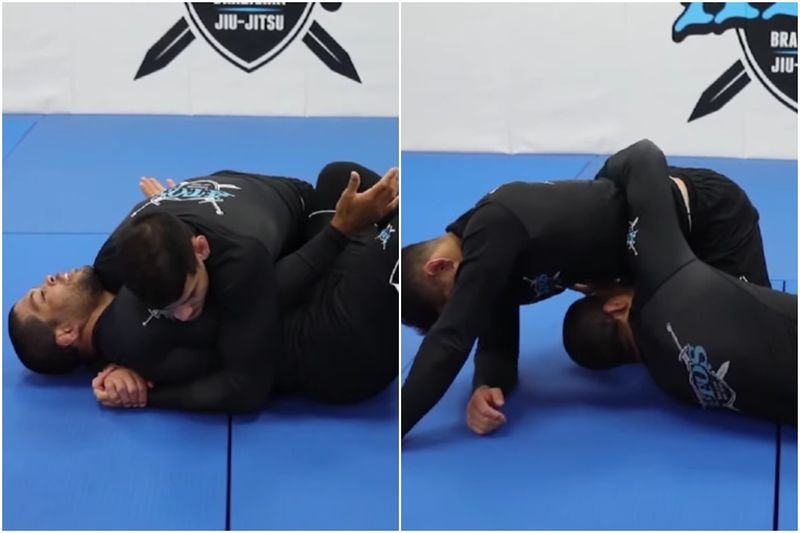
André Galvão threading an underhook through rather than forcing it — the detail that separates a working escape from a stuffed one.
Key 4 — Use the Pillow Frame When Your Bottom Leg Is Pinned
Sometimes the standard knee-to-elbow recovery isn’t available because your opponent’s far knee is already monitoring your hip, blocking the space you’d need to bring your knee back inside. Lachlan Giles built an answer for exactly this scenario: what he calls the pillow escape. Get your head onto your own arm, tuck your top arm tight to your body, and hip escape just enough to create a tight, hard-to-flatten structure — a “pillow” your opponent can’t easily collapse.
From there, walk your legs out to 180 degrees so your body aligns away from your opponent, flatten all the way to your belly, and only then work back up to your knees while keeping your head in contact with your arm the whole way. Trying to stand up before you reach your belly is the single most common way this specific escape fails — the position only holds together while you’re still low.
Key 5 — Recognize When to Recover Guard vs. Come Up to Your Knees
Not every successful escape ends the same way. If your underhook is strong and your opponent’s base is compromised, coming up to your knees and driving into a single leg or a body lock often beats resetting to guard — you keep the momentum you just built instead of giving it back. If your opponent recovers their base quickly, recovering guard is the safer option; it costs you the momentum, but it keeps you out of a scramble you might not win.
The same decision shows up in mount escapes: sometimes the better exit is a scramble to top position, not a reset to the bottom of guard. Reading which option your opponent’s reaction actually gives you matters more than having a single go-to answer.
Key 6 — Don’t Panic When the First Frame Fails
Most grapplers’ escapes die the moment their first attempt gets stuffed, because they only drilled one sequence and have nothing to fall back on. A stuffed hip frame doesn’t mean the escape is over — it usually means your opponent just invested weight and position into stopping that specific attempt, which opens a different one. A defended far-hip frame often leaves an underhook available on the near side; a defended underhook often leaves space for the pillow frame.
Treat your escape options as a connected chain rather than a single move you either hit or fail. Grapplers who only know one side control escape get predictable fast, and predictable escapes get shut down by anyone who’s trained against them before.
There’s also a breathing component that gets overlooked. Heavy side control pressure restricts your rib cage, and grapplers who panic and rush every frame burn through their gas tank fast — usually faster than the person pinning them, who’s expending far less energy to hold position than you are to escape it. Slow your breathing down between frame attempts where you can. A controlled pace keeps your movements sharp through a long exchange instead of degrading into rushed, weak attempts by the second minute.
Key 7 — Drill Escapes From a Dead Start, Not a Rolling Start
Most live-rolling reps of side control escapes happen mid-scramble, with some momentum already built from the transition into the position. That’s useful, but it hides a weakness: can you still escape from a completely static start, with your opponent already settled and heavy? Set rounds specifically from a dead, pre-settled side control pin, with zero transitional momentum to work with. It’s a noticeably harder rep, and it’s closer to what you’ll actually face against a training partner — or an opponent — who’s good at holding position.

Common Mistakes That Stall a Side Control Escape
- Fighting the hip before clearing the cross face, which leaves your head pinned and your hips with nowhere to go
- Punching straight through the armpit for an underhook instead of threading the elbow along the ribs
- Standing up before reaching the belly during the pillow escape, collapsing the frame early
- Only drilling one escape sequence, which becomes predictable and easy to shut down
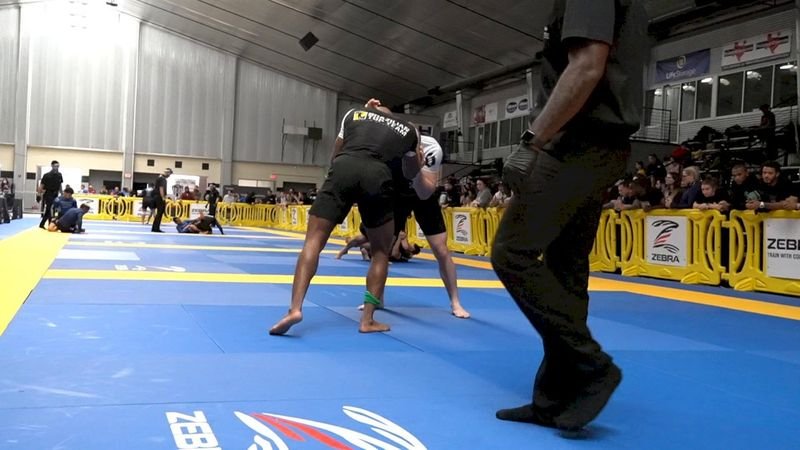
Competition pressure is where a drilled escape either holds up or falls apart — static reps on the mat are what make the live version possible.
A bad side control escape attempt can also hand your opponent a submission they weren’t hunting a second earlier — an exposed far arm during a rushed underhook attempt is a common way a kimura or an arm triangle shows up out of nowhere. Knowing what a compromised shoulder position actually risks is worth understanding before you force an escape attempt that isn’t really there yet.
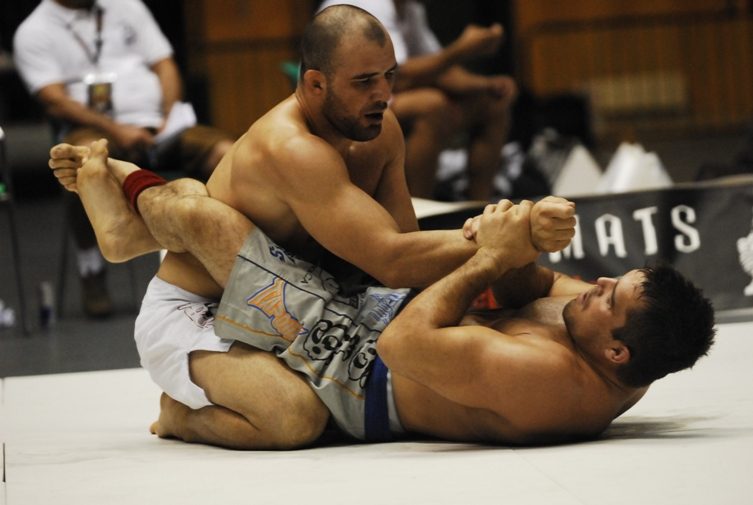
At the highest level, side control escapes are won in inches — the frame that works today is the one that was drilled thousands of times before it ever mattered in competition.
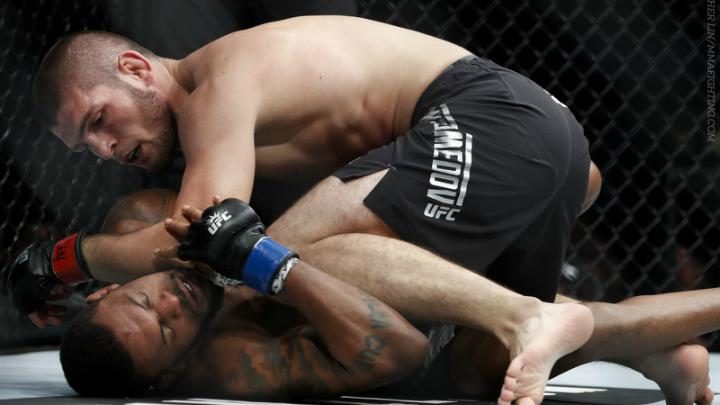
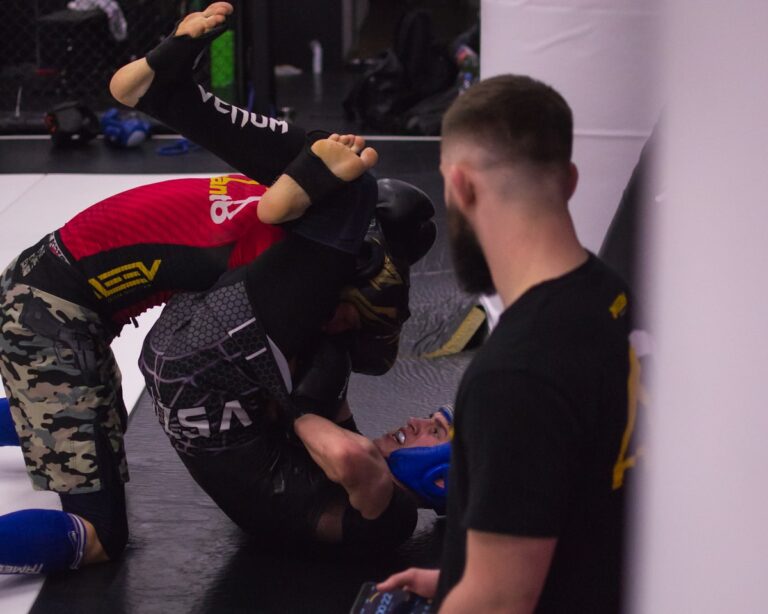
The same hip-frame-then-head-clear sequence that works on the mat holds up under cage pressure too — the mechanics don’t change just because the stakes do.
Sources
- Exit Bottom Side Control with Lachlan Giles — BJJ Fanatics
- Crucial Side Control Escape Concept: Move Their Head — BJJ Eastern Europe
- The Underhook Escape Is a Great Side Control Escape Option — BJJ Eastern Europe
- Gordon Ryan Reveals Details to Escaping From Mount, Side Control, & North South — BJJ Eastern Europe