Short Sleeve or Long Sleeve? The Real Trade-Offs in a Men’s Rashguard
Walk into any grappling gym’s pro shop and watch how men actually shop for rashguards. Almost nobody reads the sizing chart. Almost nobody checks the seam construction. They look at the color, maybe the brand logo, grab a size Large because that’s what they wear in t-shirts, and move on. Then three months later that same rashguard is bunching up mid-roll, riding up over the stomach during a scramble, or has a seam blown out along the ribs. None of that is bad luck. It’s the predictable result of buying a compression garment the same way you’d buy a hoodie.
A rashguard for men isn’t really a shirt. It’s closer to a piece of equipment, sitting on the body the way a wetsuit does, and it fails or succeeds based on decisions that have nothing to do with the graphic printed on the chest. This is a practical look at the parts of a men’s rashguard that actually determine whether it holds up on the mat: sizing, sleeve length, compression level, seam quality, and the maintenance routine that decides how long any of it lasts.
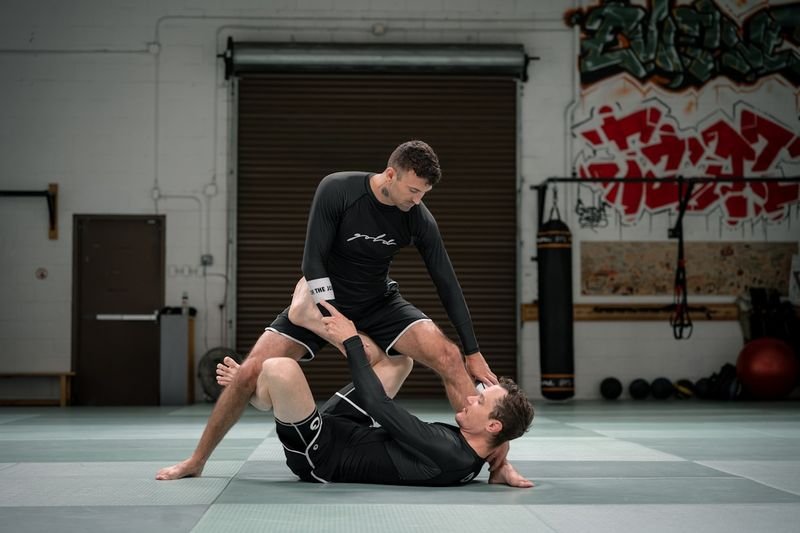
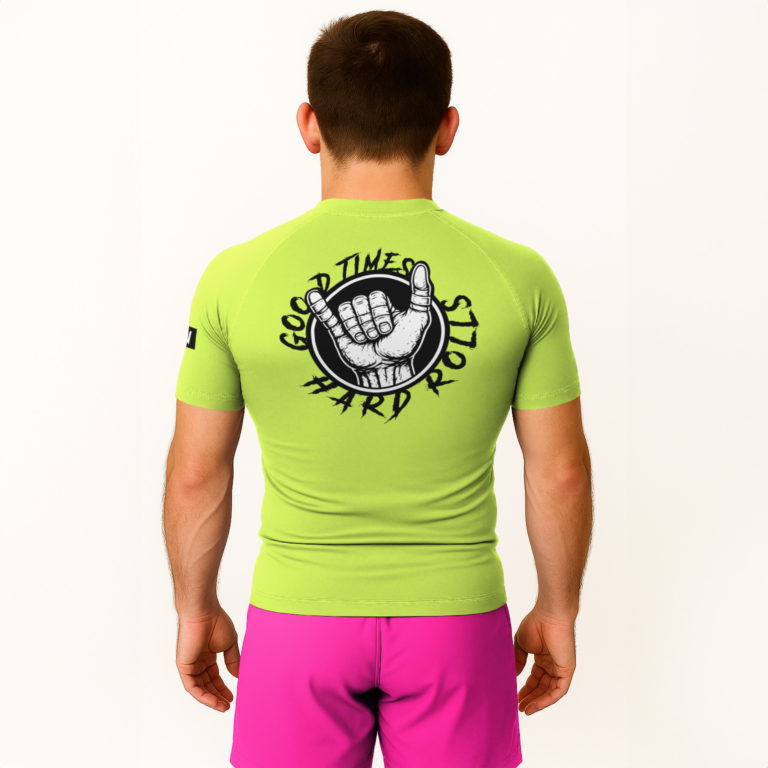
A rashguard that fits correctly sits against the skin with zero slack, the same way these do.
The Sizing Chart Isn’t Lying, You’re Just Reading It Wrong
Rashguard brands size by chest and torso measurement, not by the shirt size printed on the tag of your everyday clothes. A man who wears a size Large t-shirt might genuinely need a Medium or even a Small in a compression rashguard, because the garment is designed to sit against the skin with zero slack. Any extra fabric isn’t comfort, it’s failure. Loose fabric around the torso is exactly where an opponent’s grip finds purchase, and it’s exactly where the material bunches during a scramble and starts to feel like it’s fighting you instead of protecting you.
The fix is almost boring: measure your actual chest and torso length with a tape measure, ignore what size you normally buy, and match those numbers to the brand’s specific chart, because sizing is not standardized across companies the way it is with basic apparel. A rashguard that fits correctly should feel tight when you first put it on and normalize within a few minutes of movement. If it still feels loose after warmup, it’s the wrong size, not the wrong day.
Short Sleeve or Long Sleeve: What Actually Changes When You Roll
This decision gets treated like a style preference, but it changes how a roll actually feels within the first few minutes.
When Long Sleeves Win
Long sleeves cut down on mat burn and skin-on-skin friction during extended guard passing exchanges, and they cover the forearm skin that’s most exposed to an opponent’s gi-less grip fighting. Guys who spend a lot of time in wrestling-heavy scrambles, or who train on mats that get slick and rough by the end of a long class, tend to prefer the extra coverage. The tradeoff is heat. A long-sleeve rashguard traps more warmth, which matters if you’re training somewhere humid or doing back-to-back rounds without much rest.
When Short Sleeves Win
Short sleeves breathe better and give a slightly freer range of motion at the shoulder for guys who rely heavily on overhooks and underhooks. Some competitors also prefer short sleeves specifically because grip fighting on bare forearm skin is different from grip fighting through fabric, and they want that feedback. The obvious downside is more exposed skin, which means more direct contact with the mat surface and a higher chance of mat burn on the forearms during long sessions.
Neither option is objectively better. It comes down to how much time you spend in scrambles versus positional control, and how your gym’s mats and climate feel on a given night.

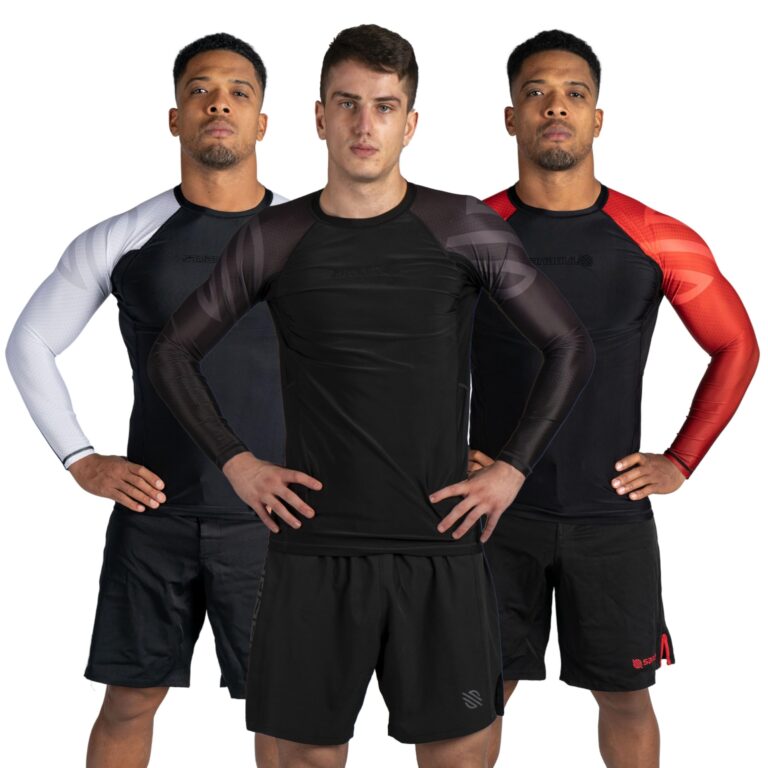
Long sleeves add coverage during extended scrambles, at the cost of extra heat.
Compression Level Isn’t a Badge of Honor
There’s a common assumption that the tighter a rashguard, the more “serious” it is, but extreme compression has a real downside: it can restrict blood flow and breathing on longer training days, especially for bigger-framed men who already run warm. The goal of compression is to keep fabric flush against the body so it doesn’t shift or bunch, not to squeeze as hard as physically possible.
A properly fitted rashguard should feel snug everywhere but shouldn’t leave deep red pressure lines after training, and it shouldn’t make it noticeably harder to take a full breath during hard rounds. If it does either of those things, size up one notch rather than assuming tighter is always correct.

Compression should keep fabric flush against the body without restricting a full breath.
Seams, Stitching, and the Month-Three Test
Cheap rashguards almost never fail on day one. They fail around week eight to twelve, usually along a side seam or under the armpit, because the stitching wasn’t built for the constant stretch-and-release cycle of grappling. Flatlock stitching, where the seam sits flush against the fabric instead of raised, is the standard for a reason: it distributes stress across a wider stitch line instead of concentrating it, and it doesn’t chafe against skin that’s already getting dragged across a mat for an hour.
Before buying, it’s worth turning a rashguard inside out and checking the seam lines directly rather than trusting marketing copy. Raised, single-line stitching along high-stress zones like the underarm and side ribs is the first place a budget garment gives out, usually right when you’re mid-scramble and least able to deal with it.
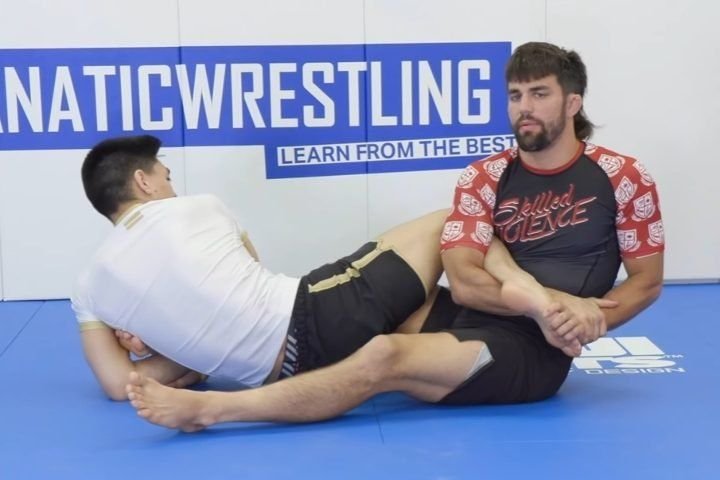
Grip-heavy exchanges like this are exactly where flatlock stitching gets tested hardest.
Keeping It Alive: Washing and Storage That Actually Matters
A rashguard’s biggest enemy after seam failure is heat. High-heat dryers break down the elastane fibers that give compression fabric its stretch, which is why a rashguard that used to hug the body starts feeling loose and papery after a few months of normal washing. Cold or cool water, a mild detergent, and air drying flat or on a hanger will extend the useful life of a rashguard dramatically compared to tossing it in with the rest of the gym laundry on a hot cycle.
Odor is the other practical issue. Sweat gets trapped in tight-weave synthetic fabric more than it does in cotton, and letting a rashguard sit damp in a gym bag for even a few hours is enough to set in bacterial odor that a normal wash cycle won’t fully remove. Rinsing it out immediately after training, even just under a sink before the full wash later, makes a noticeable difference over time.
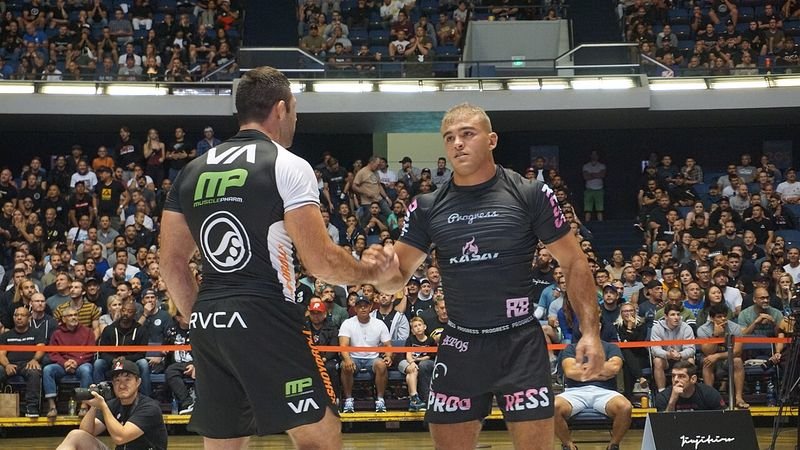
A rashguard that still holds its shape after a full day of matches has already passed the hardest test it will see.
The Signs It’s Time to Retire a Rashguard
Fabric doesn’t need to rip for a rashguard to be done. The clearest sign is a loss of recovery: stretch the collar or hem and watch how quickly it snaps back. If it stays loose and takes a few seconds to return to shape, the elastane has broken down and the garment will keep bunching and riding up no matter how it’s washed from here forward. Fading alone isn’t a reason to replace one, but fading combined with looseness usually means the whole weave has lost tension, not just the color.
Seam separation, even a small half-inch gap, is also worth addressing immediately rather than waiting for it to tear further mid-roll. A rashguard is cheap enough, and training time is valuable enough, that there’s little reason to keep rolling in one that’s already visibly failing.
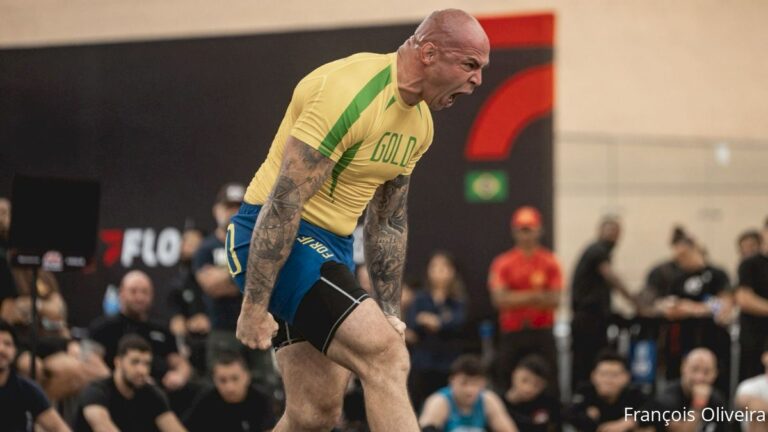
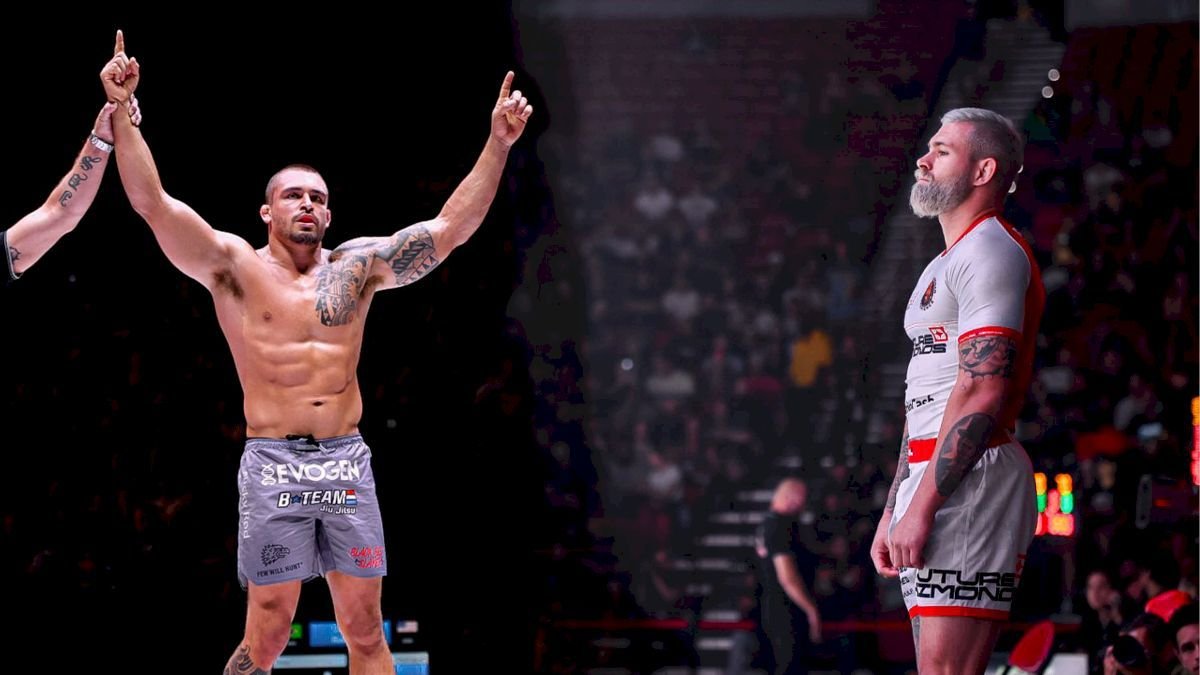
Watching enough high-level no-gi competition makes it clear how often top competitors replace gear.
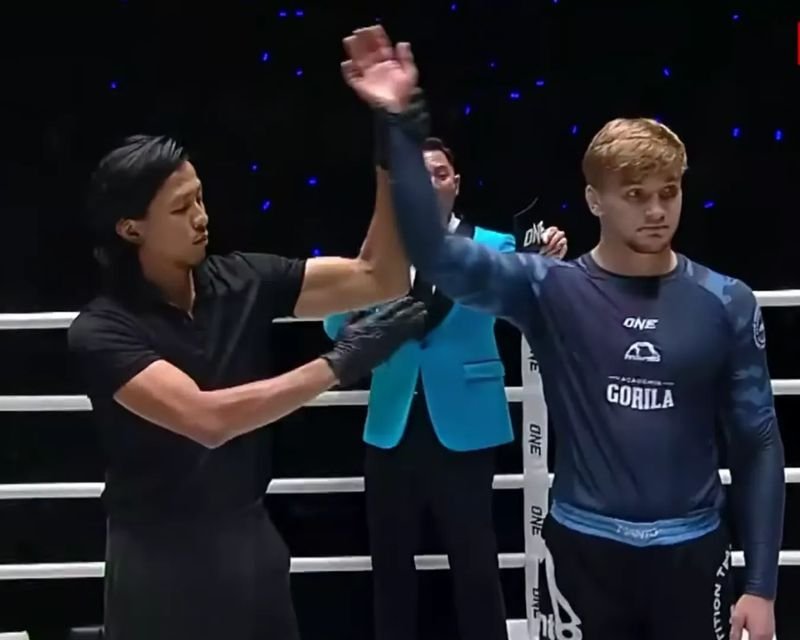
Competition-grade gear like this is built for a shorter, harder lifecycle than a hobbyist’s rotation.
A Quick Checklist Before You Buy
None of this requires overthinking a purchase, just checking a few specific things before checkout rather than after the first wash:
- Measure chest and torso length directly, then match to that specific brand’s chart rather than your usual t-shirt size
- Decide sleeve length based on how much time you spend in scrambles versus positional grinding, not aesthetics
- Check that compression feels snug, not restrictive to breathing after ten minutes of movement
- Turn the garment inside out and inspect for flatlock stitching along the underarm and side seams
- Plan on cold-water washing and air drying from day one, not after the first shrink
A men’s rashguard that gets these fundamentals right will outlast two or three that were chosen on color alone, and it’ll actually behave the way it’s supposed to under an opponent’s grip instead of working against you. None of this takes more than fifteen minutes at checkout, and it’s fifteen minutes most guys skip entirely, right up until a blown seam or a bunched-up sleeve costs them a position mid-roll. Buy for the sport, not for the print, and the rest of the garment tends to take care of itself.
Sources
Wikipedia: Rash guard — background on the garment’s design and materials.
IBJJF — competition apparel and rashguard regulations referenced by grappling organizations.
FloGrappling — event coverage and competitor gear across major no-gi tournaments.
Shopping for one: browse men’s BJJ rashguards on Amazon.