Seam by Seam: Why Most Men’s Rashguards Fail at the Armpit Before Anywhere Else
Walk through the tape-up area at any regional no-gi event and you’ll see the same failure over and over: a rashguard that looked brand new three weeks ago, now split open at the underarm seam, fabric puckering away from the stitch line like a zipper that gave up. It’s not the fabric that quit. It’s the seam. And almost nobody shopping for the best rashguards for men is looking at seam construction, because nobody markets it. Brands sell compression numbers, sublimation prints, and moisture-wicking claims. They rarely explain why the exact same fabric survives on one rashguard and shreds on another — and the answer has almost nothing to do with the material and everything to do with how the panels were cut and joined.
No-gi grappling puts unique stress on a garment that gi training simply doesn’t. There’s no jacket over the top absorbing friction from grips, sprawls, and scrambles — the rashguard is the only layer taking the load, and it’s taking it directly against skin, mat, and an opponent’s grip. Understanding where that load concentrates, and how different seam types respond to it, is the difference between a rashguard that lasts two seasons and one that’s rag-status by month two.
Why the Armpit Fails Before Anywhere Else
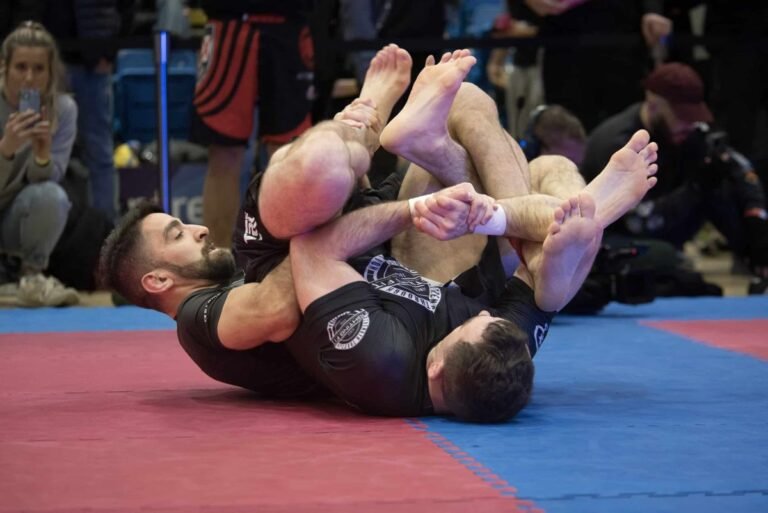
The underarm gusset is the single highest-stress point on a rashguard, and it’s not close. Every overhook, every underhook, every scramble to re-guard puts the shoulder into extreme ranges of motion that pull the sleeve and torso panels in opposite directions at exactly the seam that joins them. Add sweat, which weakens thread tension and softens adhesive bonding over time, and you have a joint that’s being stretched, twisted, and chemically degraded simultaneously, every single training session.

Compare that to the side seams running down the ribs, which see mostly linear tension, or the collar, which barely moves once it’s set. The armpit gusset is doing dynamic, multi-directional work on every single exchange. If a brand is going to cut a corner anywhere to hit a price point, it’s almost always here — because reinforcing this zone properly means extra panels, extra stitch passes, and extra labor cost that doesn’t show up in a product photo.
The Three Seam Types, and Why Only One Belongs Against Skin
Flatlock Stitching
Flatlock is the industry standard for a reason: it interlocks the fabric edges into a flat band rather than stacking them, which means no raised ridge digging into skin during a scramble. A properly executed flatlock seam distributes tension across multiple thread passes, so if one thread abrades through, the seam doesn’t instantly blow open. The catch is that flatlock quality varies enormously by stitch density — count the stitches per inch if you can see the garment in person. Sparse flatlock stitching looks identical to dense flatlock stitching in a product photo and behaves completely differently on the mat.
Cover-Stitch (Overlock) Seams
This is the seam type responsible for most of the underarm blowouts you’ll see on budget rashguards. It’s cheaper to produce and holds fine under static load, but it creates a raised seam allowance that concentrates stress into a narrow band rather than spreading it. Under the twisting load of an underhook fight, that narrow band is exactly where the fabric starts to separate from the thread. It’s not that overlock stitching is inherently bad — it’s fine on a t-shirt. It’s the wrong tool for a garment that has to survive someone actively trying to break your grip by yanking on your sleeve.
Bonded and Laser-Cut Seams
Higher-end competition rashguards increasingly skip stitching at the highest-stress panels entirely, using heat-bonded or ultrasonically welded seams instead. Done well, this eliminates needle holes altogether — which matters, because every needle puncture is a micro-weak-point in the fabric weave. Done poorly, on cheap adhesive with no stitched backup, bonded seams delaminate under heat and sweat faster than a well-made flatlock seam fails. The presence of bonded seams isn’t automatically a quality signal; it depends entirely on whether the brand backed it with a mechanical stitch as a failsafe.
Panel Count and Fabric Grain: The Part Nobody Photographs
A rashguard built from four large panels is cheaper to manufacture than one built from eight smaller, contoured panels, because fewer panels means fewer seams and less cutting waste. But fewer panels also means the fabric grain is fighting the shape of the body across a wider stretch of material, which is precisely what causes twisting and bunching under the arm during dynamic movement. Higher panel counts, when done correctly, orient the four-way stretch fabric so its grain lines up with the direction of movement at each zone — vertical stretch through the torso, diagonal stretch across the shoulder girdle.
This is genuinely difficult to assess from a listing photo, which is why so much of the best-rashguard conversation online gets stuck comparing prints and price instead of build quality. The panel lines are usually visible if you look closely at the product photography, though — count the seams running from the collar down through the underarm before you buy, not just the ones on the front print.
How Competition-Level Gear Handles This Differently
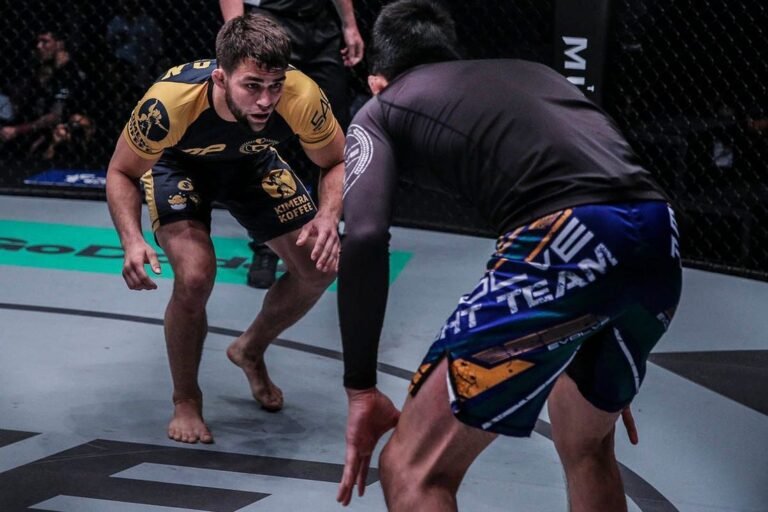
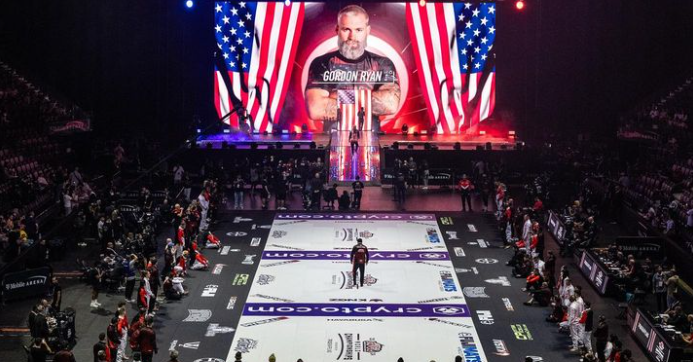
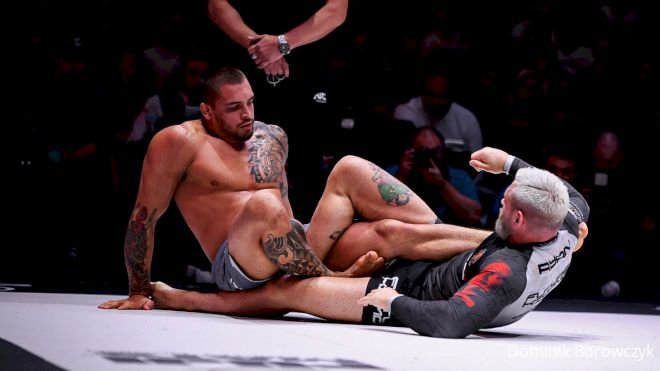
Watching high-level no-gi events makes the construction gap obvious in a way spec sheets never will. At events like ADCC and the Polaris and PGF circuits, athletes are rolling in the same rashguard for multiple matches across a single day, under referee handling, weigh-ins, and repeated live grip fighting — conditions that expose a weak underarm seam within a single tournament rather than over a training cycle. The rashguards that survive that workload consistently share the same traits: dense flatlock or reinforced-bonded seams specifically at the gusset, contoured multi-panel construction through the shoulder, and flat-felled or double-stitched hems everywhere else. None of that shows up as a marketing bullet point, but it’s visible if you know what you’re looking at on broadcast footage.


What to Actually Check Before You Buy
Skip the compression percentage and the fabric-weight number for a second and look at three physical things instead. First, pull gently on the underarm seam if you can handle the garment in person — a well-built seam has almost no give before the fabric itself starts to stretch; a weak one will show the thread separating from the fabric edge immediately. Second, count panels across the shoulder and underarm; more contoured panels generally means the pattern was engineered for movement rather than stamped out of a flat template. Third, check the hem and collar for a double row of stitching rather than a single pass — single-stitch hems are almost always the first thing to unravel after repeated washing, well before the main body fabric shows any wear.

None of this means you need to spend competition-tier money on a rashguard for weekly training. It means the price difference between a $30 rashguard and a $65 one is very often sitting entirely in the underarm gusset — a part of the garment you’ll never see mentioned in a review, but the one part of the garment that decides whether it’s still wearable by the time you’ve paid it off in mat time.
How to Extend the Life of a Seam You Already Own
Even a well-built underarm seam degrades faster than it should if the garment is treated the way most people treat gym laundry. Sweat is mildly acidic and, left to dry inside a gear bag for six or eight hours after a session, it keeps working on thread tension and adhesive bonding long after you’ve left the mat. Rinsing a rashguard in cold water immediately after rolling, even a quick sink rinse before the real wash, measurably slows that degradation at exactly the seams that take the most load.
Heat is the other quiet killer. Tumble-drying on anything above low heat softens the same bonding agents used in cover-stitch and welded seams, which is why a rashguard that seemed fine for a year can suddenly start separating at the gusset within a few weeks of switching to a hot dryer cycle. Air-drying inside-out, with the underarm seam turned away from direct sun, protects both the stitching and the fabric’s UV-sensitive elastane content. If a dryer is unavoidable, low heat and a shorter cycle beat a single high-heat pass every time.
Rotation matters more than most grapplers assume. Wearing the same rashguard for every single session means the same seam is absorbing the same stress, sweat cycle, and wash cycle on a daily basis with no recovery time between uses. Owning two or three rashguards and rotating them spreads that load out, and a seam that gets 48 hours to fully dry and relax between wears simply lasts longer than one that goes from sweat-soaked to balled-up in a bag to sweat-soaked again the next morning. None of this replaces buying a rashguard with proper gusset construction in the first place, but it does mean two otherwise-identical rashguards can have very different lifespans depending on how they’re cared for between rolls.